
Your formal event deserves a hairstyle that makes you feel confident and beautiful. Let’s explore these transformative options that celebrate thin hair’s unique qualities.
Table of Contents
Understanding Thin Hair and Formal Styling

Thin hair has distinct characteristics that influence styling choices. The individual strands typically have a smaller diameter than other hair types. This creates unique challenges when attempting formal updos and elaborate styles.
Understanding your hair type is the first step toward achieving stunning results. Fine strands can actually hold certain styles better than thick hair. The key lies in selecting techniques that enhance natural texture while creating the illusion of fullness.
Volume becomes the priority for most formal hairstyles with thin hair. Strategic placement of pins, teasing at the crown, and proper product selection all contribute to lifted, dimensional looks. These elements work together to create styles that photograph beautifully and last throughout your event.
Why Traditional Formal Styles Don’t Always Work
Many classic formal hairstyles were designed with thick, heavy hair in mind. Slicked-back buns and tight updos often fall flat on thin hair. The lack of natural volume means these styles can appear sparse or lifeless.
Bobby pins struggle to grip fine strands effectively. Heavy styling products weigh down delicate hair instead of providing support. These common pitfalls explain why many people with thin hair feel frustrated by traditional formal styling approaches.
The Secret to Volume and Texture
Creating fullness starts with proper preparation. Volumizing products applied at the roots lift hair from the scalp. Dry shampoo adds grip and texture that helps styles hold throughout the day.
Teasing remains one of the most effective techniques for thin hair. Gentle backcombing at strategic points creates a foundation for volume. When smoothed over carefully, this technique remains invisible while providing crucial lift and dimension.
Curls and waves naturally add visual weight to thin hair. A curling iron becomes your best friend for formal events. Even subtle waves create the illusion of thicker, more abundant hair that elevates any style from simple to spectacular.
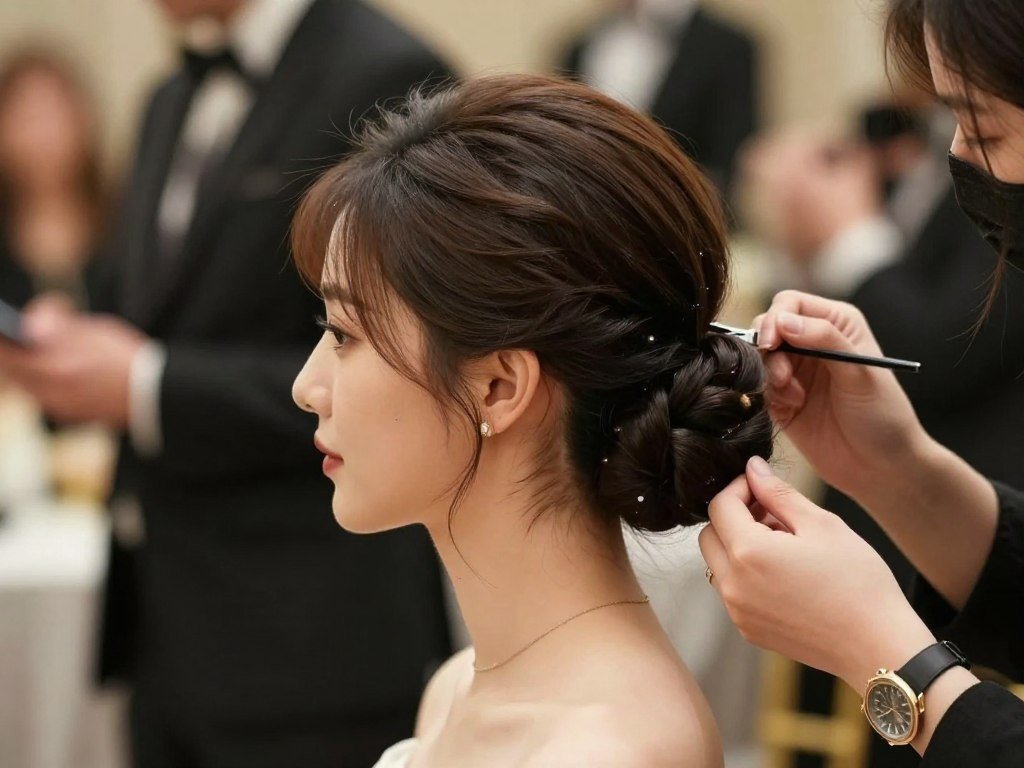
Classic Low Bun Variations for Thin Hair
The low bun stands as a timeless choice for formal occasions. This versatile style works exceptionally well for thin hair when executed with volume-building techniques. The nape neck placement creates an elegant silhouette that flatters most face shapes.
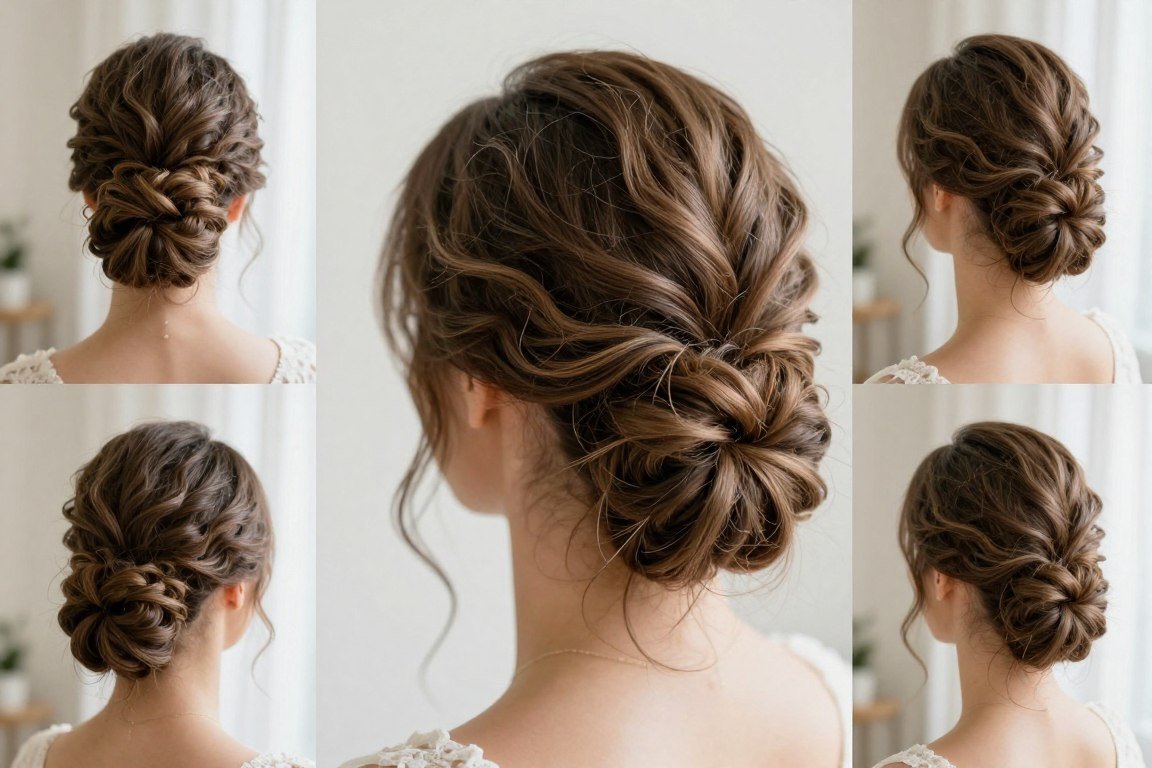
1. Textured Low Bun with Volume
This modern take on the classic low bun prioritizes texture over sleekness. Start by curling all your hair with a medium-barrel curling iron. The waves create a foundation that makes thin hair appear fuller and more substantial.
Pull hair into a low ponytail at the nape neck, leaving a few face-framing pieces loose. Tease the ponytail gently to add height and dimension. Wrap the teased hair around the base and secure with bobby pins, pulling small pieces out strategically to create an intentionally undone effect.
This style excels because it transforms thin hair’s natural texture into an asset. The deliberately messy finish disguises any areas where hair might appear sparse. A light texturizing spray holds everything in place without weighing down fine strands.
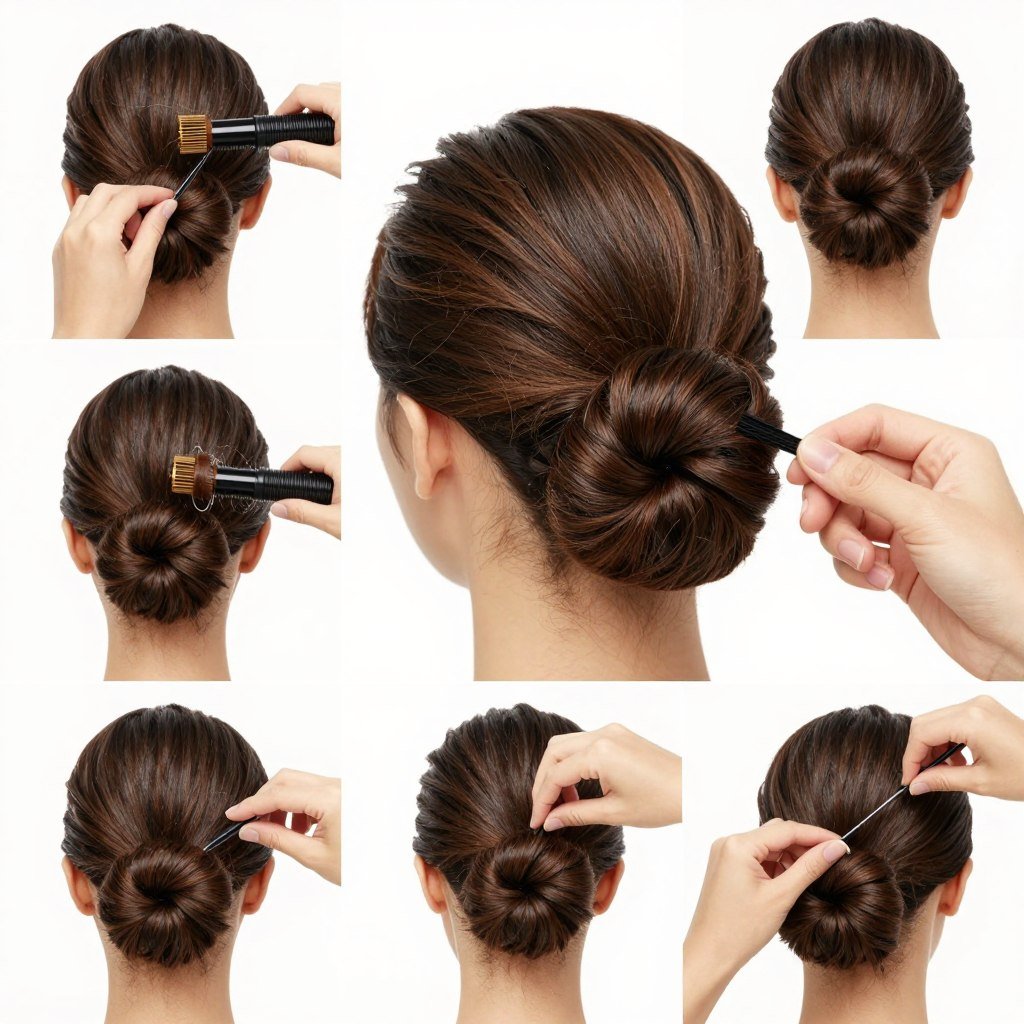
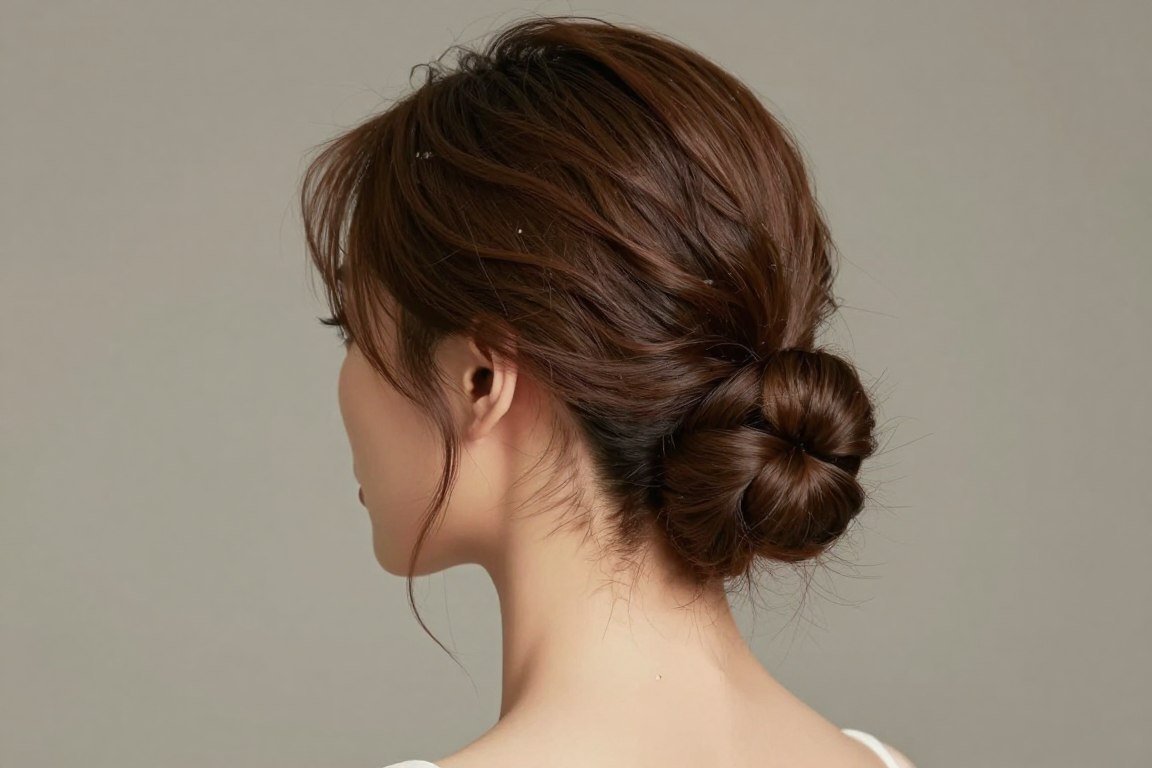
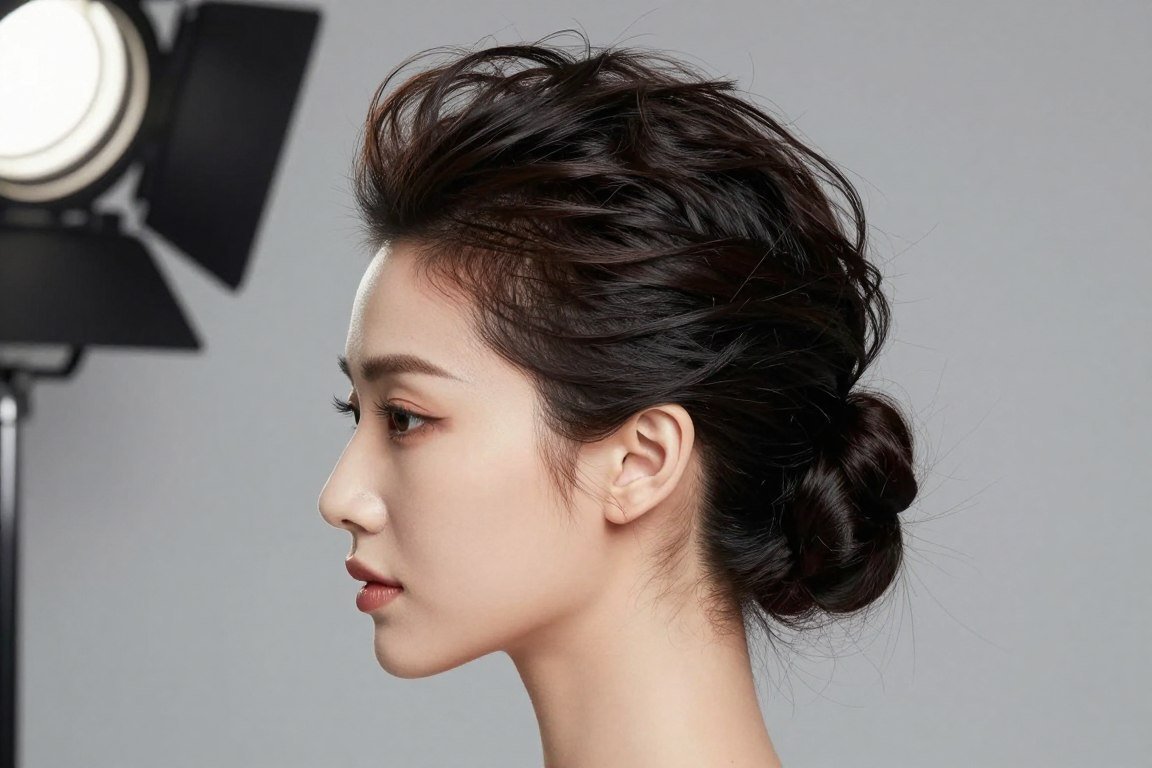
2. Sleek Low Bun with Side Part
For a more polished look, the sleek low bun offers sophistication. Create a dramatic side part to add interest and dimension. Apply a smoothing serum to damp hair before blow-drying with a round brush for maximum smoothness.
Gather hair at the nape neck and secure tightly with an elastic. Before forming the bun, add a small hair padding or insert underneath. This simple trick creates the illusion of a fuller, more substantial bun that won’t look flat against your head.
Wrap the ponytail around the base, securing with pins as you go. Use a fine-tooth comb to smooth any flyaways. A strong-hold hairspray ensures your style stays perfect throughout the day. This polished option works beautifully for black-tie events and formal weddings.
3. Braided Low Bun
Incorporating braids adds intricate detail that draws the eye away from hair density. Create a Dutch braid starting from one side of your head, working diagonally toward the opposite side at the nape. This technique naturally adds volume as the braid lifts hair away from the scalp.
Gather remaining hair into a low ponytail with the braid. Form a messy bun with the ponytail, then wrap the braid around it decoratively. Pull gently on the braid edges to make it appear wider and fuller, a technique that creates beautiful texture.
This style combines the elegance of an updo with the visual interest of braided detail. The combination disguises thin hair density while creating a complex, eye-catching look. Small pearl pins or delicate accessories can enhance the romantic feel.

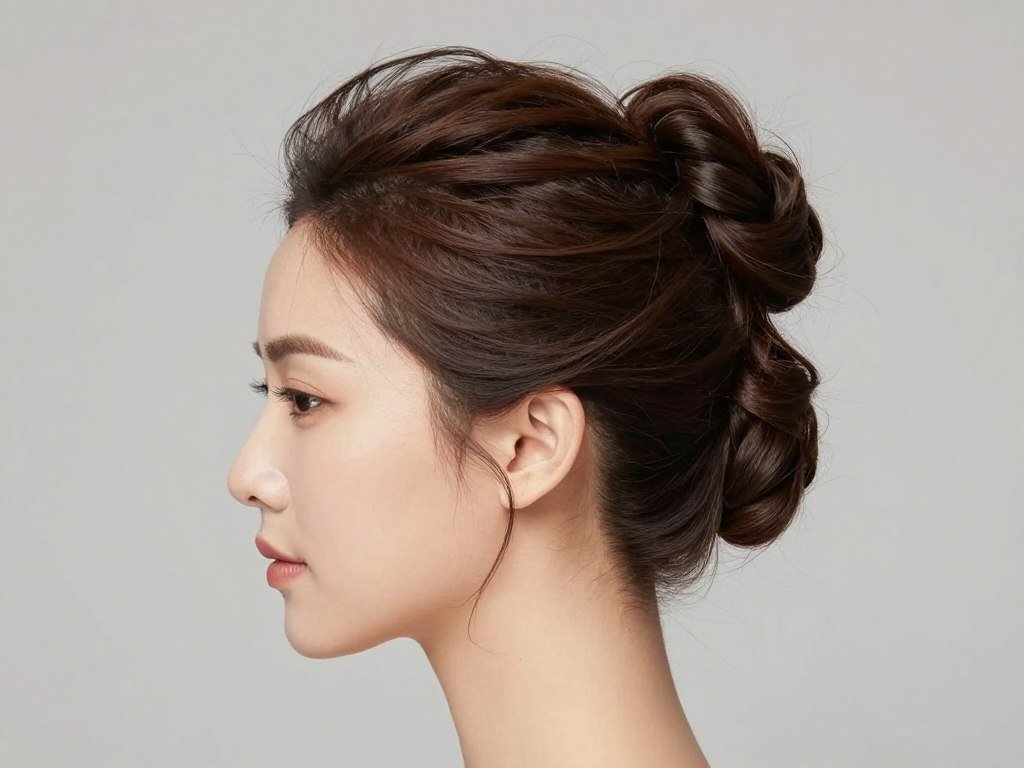
4. Low Chignon with Twisted Sides
The classic chignon receives a modern update with twisted side sections. Divide hair into three sections: two at the sides and one at the back. Twist each side section toward the back, securing with bobby pins as you reach the nape neck.
Roll the back section into a low chignon, tucking the ends under and pinning securely. The twisted sides add width and dimension that makes hair appear thicker. This technique works particularly well for medium to long hair length.
The depth created by multiple sections gives thin hair architectural interest. Each twist adds a layer that builds visual volume. This sophisticated style suits elegant evening events and pairs beautifully with statement earrings.
5. Messy Bun with Pulled-Out Pieces
The intentionally undone messy bun has become a formal hairstyle staple. Its casual-yet-polished aesthetic works perfectly for thin hair because imperfection becomes part of the design. Start by creating loose waves throughout your hair for added texture and grip.
Gather hair into a low ponytail, leaving strategic face-framing pieces free. Don’t smooth too much—you want texture to remain visible. Twist the ponytail loosely and wrap it around the base, securing with pins. Pull out small sections throughout to create a fuller, more voluminous appearance.
This approach turns thin hair’s tendency toward movement into a styling advantage. The loose, romantic effect looks effortless while hiding any sparse areas. A texturizing spray adds hold without stiffness, keeping the look soft and touchable throughout your event.
Elegant Updo Styles That Add Height
Updos offer the ultimate formal hairstyle option. They keep hair elegantly off the face and neck while creating sophisticated silhouettes. For thin hair, height becomes the key to making these styles work beautifully.
6. High Crown Updo
This regal style creates maximum height at the crown for dramatic effect. Begin by sectioning the top portion of your hair from ear to ear. Tease this crown section thoroughly at the roots to create substantial lift. Smooth the surface gently while maintaining the volume underneath.
Gather remaining hair at the nape neck into a low bun or twist. Pin the crown section over this base, securing it at various points to maintain height. The elevation at the top creates the illusion of abundant hair throughout the style.
This updo works exceptionally well for formal events where you want to make a statement. The vertical dimension flatters your face and draws attention upward. Strategic placement of decorative pins or a small tiara can enhance the elegant effect even further.
7. French Twist with Volume
The French twist epitomizes timeless sophistication. Creating volume within this classic style makes it perfect for thin hair. Tease hair at the crown before beginning to add crucial fullness that prevents the style from looking flat.
Sweep all hair to one side and secure with bobby pins vertically along the center back. Roll the hair inward, tucking the ends and pinning as you go. The key for thin hair lies in loosening the twist slightly to create width and dimension rather than pulling it tight.
A volumizing powder worked into the roots before styling provides extra lift. The finished twist should have depth and presence rather than lying flat against your head. This polished option remains perfect for formal occasions where elegance is paramount.
8. Braided Crown Updo
Braids incorporated into updos create stunning visual interest. Create two braids starting from each side of a center part, working toward the back of your head. Cross them over each other at the crown, pinning securely to form a braided band across the top.
Gather remaining hair into a low bun or leave it flowing in soft waves. The braided crown adds dimension and draws the eye to an area where you’ve created intentional volume. Pull gently on the braid edges to widen them and create a fuller appearance.
This style combines multiple elements that work favorably for thin hair. The braids provide structure and interest, while the varied textures create the illusion of more hair. It’s particularly beautiful for outdoor formal events and garden weddings.

9. Twisted Updo with Side Sweep
This asymmetrical style creates visual intrigue through its off-center placement. Create a deep side part and sweep hair to one side. Divide the hair into several sections, twisting each one individually before pinning it at the back to form an organic, sculptural updo.
The multiple twists create layers and dimension that make thin hair appear fuller. Each twist can be gently pulled and loosened to increase width. This technique builds a three-dimensional effect that photographs beautifully from every angle.
The side sweep adds elegance while the twisted texture keeps the style interesting. This updo works well for both formal and semi-formal occasions, adapting easily to different dress codes and personal styles.
10. Vintage-Inspired Victory Rolls Updo
Vintage styles offer built-in volume that suits thin hair perfectly. Victory rolls create dramatic height and retro glamour. Section the front portion of hair on each side of a center part. Roll each section backward toward the crown, securing with bobby pins to create the signature roll shape.
Gather remaining hair at the back into a low roll or bun. The combination of height at the front and smoothness at the back creates a balanced, elegant profile. This style requires some practice but delivers stunning, unique results.
Modern interpretations can soften the classic victory roll into a more relaxed version. The key element—creating volume at the front—remains, but the overall effect can be adapted to feel contemporary. This option stands out at vintage-themed events or for anyone wanting a distinctive formal look.
Half-Up Hairstyles for Versatile Formal Looks
Half-up styles offer the perfect compromise between wearing hair down and creating an updo. These versatile options work beautifully for thin hair because they showcase length while creating height and interest at the crown. The style adds sophistication without completely concealing your hair’s natural movement.
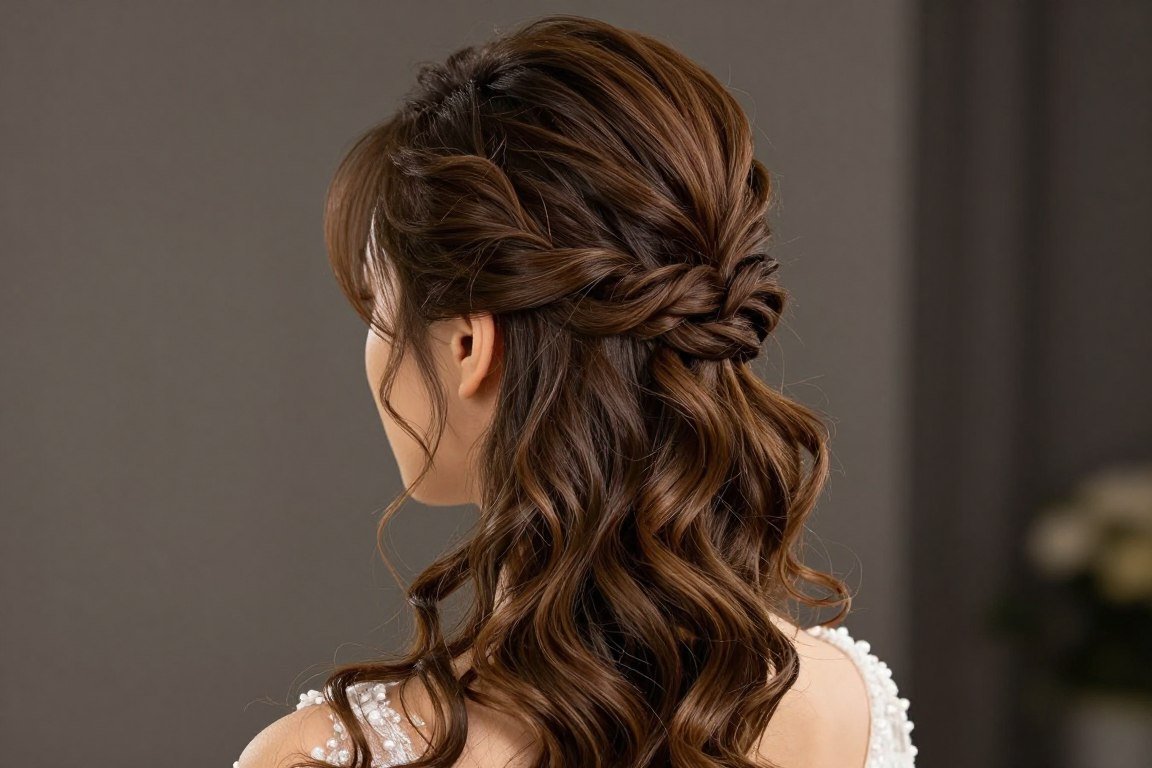
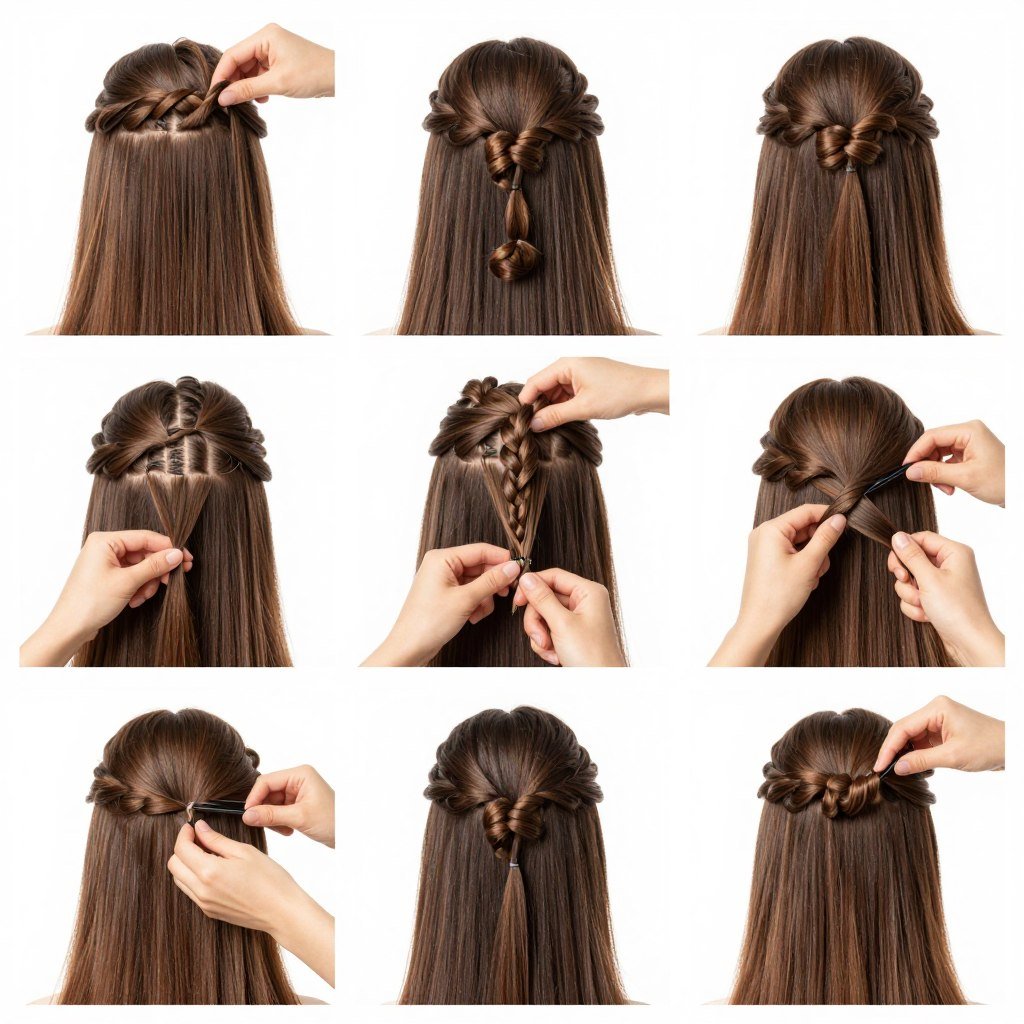
11. Half-Up Twisted Crown
This romantic option frames the face beautifully while adding height. Take a section of hair from each side of your head, starting just above the ears. Twist each section toward the back, then cross them over each other and secure with bobby pins at the crown.
The twists create natural lift that makes thin hair appear fuller. Leave the remaining hair flowing in soft waves or curls for a dreamy effect. This style works exceptionally well for outdoor formal events and looks stunning in photographs.
Adding small flowers or decorative pins where the twists meet enhances the romantic aesthetic. The combination of structure on top and flowing hair below creates beautiful dimension. This versatile look transitions easily from day to evening events.
12. Half-Up Top Knot
The half-up top knot combines casual and formal elements perfectly. Gather the top section of your hair from the crown area, including hair from the temples. Tease this section at the roots before securing it in a high ponytail positioned at the crown.
Wrap the ponytail around itself to create a small bun, securing with bobby pins. The remaining hair flows freely below, creating length and movement. This style adds instant height and works particularly well for thin hair because the concentration of hair in the top knot creates visible volume.
A sleek version with straight hair below offers modern sophistication. Alternatively, adding waves to the lower section creates a softer, more romantic feel. Both variations photograph beautifully and hold up throughout long events.
13. Half-Up Braid with Curls
Combining braids with loose curls creates textural interest that enhances thin hair. Start by curling all your hair with a curling iron to create a voluminous base. Take sections from each side of your head and create small braids working toward the back.
Join the braids at the center back and secure with an elastic or decorative pin. The contrast between the structured braids and flowing curls adds visual complexity that makes hair appear thicker. Pull gently on the braid edges to make them appear fuller and more substantial.
This style suits both formal and semi-formal occasions. The romantic texture works particularly well for outdoor events and photographs beautifully from every angle. It’s a pro choice for spring and summer formal occasions.

14. Half-Up with Volume Bump
The volume bump creates retro-inspired height that flatters thin hair beautifully. Section the front portion of hair from the crown to mid-head. Tease this section thoroughly at the roots, then smooth the surface gently while maintaining volume underneath.
Secure the bumped section at the back with bobby pins, allowing the remaining hair to fall freely. The elevated crown creates the illusion of fuller hair throughout. This technique adds instant glamour and sophistication to any formal look.
The bump technique works across different hair lengths and can be adjusted for subtle or dramatic effect. Pair it with straight hair for sleek sophistication or waves for softer romance. A light finishing spray holds the volume in place throughout your event.
15. Waterfall Braid Half-Up Style
The waterfall braid creates an intricate appearance that showcases styling skill. Begin a French braid at one side of your head, but instead of incorporating all hair into the braid, drop sections as you go, allowing them to cascade down like a waterfall.
Work the braid across the back of your head to the opposite side and secure. The dropped sections blend with the remaining hair, creating beautiful dimension. This intricate detail draws attention and adds visual interest that makes thin hair look more abundant.
Curl the loose hair below for added texture and fullness. The combination of the structured braid and flowing curls creates a stunning contrast. This option suits formal events where you want your hairstyle to be a conversation piece.

Elevated Ponytail Styles for Formal Events
Ponytails have evolved far beyond casual styling. Modern formal ponytails incorporate texture, volume, and strategic placement that make them perfect for elegant events. These styles work exceptionally well for thin hair when enhanced with volumizing techniques.
16. High Voluminous Ponytail
The high ponytail creates instant drama and sophistication. Start by applying volumizing mousse to damp hair and blow-drying with your head flipped upside down for maximum lift. Tease the crown section generously before smoothing the surface layer.
Gather all hair into a high ponytail at the crown of your head. The key for thin hair is wrapping a small section of hair around the elastic to conceal it while adding polish. Tease the ponytail itself for added fullness, then smooth the outer layer gently.
This style elongates the neck and creates a sleek, modern silhouette. The height draws the eye upward and creates the illusion of abundant hair. A strong-hold spray keeps everything in place, while a small amount of shine serum adds polish without weighing down fine strands.

17. Low Side Ponytail with Waves
An asymmetrical approach adds interest to the classic ponytail. Create a deep side part and sweep all hair to one side. Curl hair in large sections with a curling iron to create soft, voluminous waves that add fullness to thin hair.
Gather hair into a low ponytail positioned just behind one ear. The waves create texture and dimension that make the ponytail appear much fuller. Leave a few face-framing pieces loose on the opposite side to soften the look and add romantic appeal.
This style offers old Hollywood glamour with modern ease. The side placement creates visual interest while the waves add crucial volume. It’s an excellent option for formal events where you want to look polished without appearing too structured.
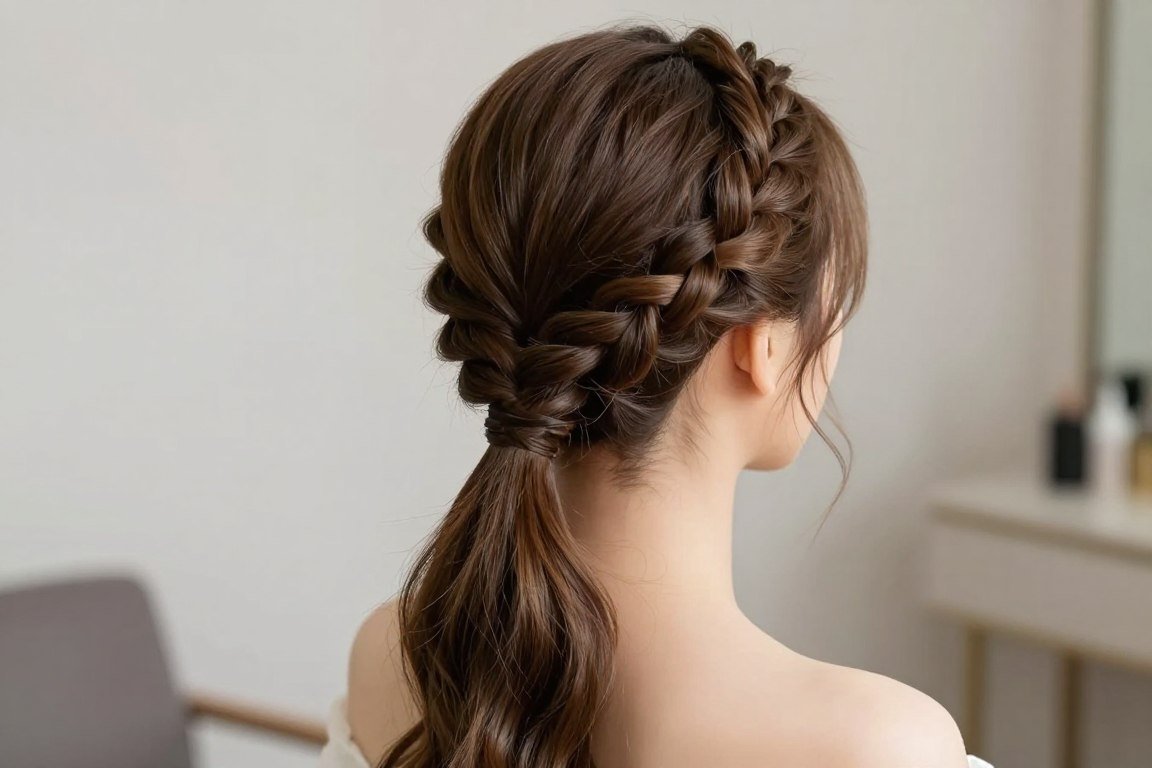
18. Braided Ponytail with Wrapped Detail
Adding braided elements elevates a simple ponytail into formal territory. Create a Dutch braid starting at the crown and working down to where you want the ponytail to sit. This technique naturally adds height and dimension at the top of the style.
Secure the braid with the rest of your hair in a ponytail. Take a small section from the ponytail and braid it, then wrap this thin braid around the elastic. This detail adds sophistication and creates the illusion of a fuller, more substantial ponytail.
The combination of braided texture and wrapped detail creates visual complexity. This style works beautifully for medium to long hair length and suits both outdoor and indoor formal occasions. The braided crown provides structure that helps thin hair appear more voluminous throughout the entire style.
19. Bubble Ponytail with Volume
The bubble ponytail creates a playful yet sophisticated look perfect for modern formal events. Create a high or mid-height ponytail and secure it firmly. Add additional elastics down the length of the ponytail at regular intervals, spacing them about two to three inches apart.
Between each elastic, gently pull the hair outward to create rounded “bubbles” of volume. This technique works exceptionally well for thin hair because it creates the illusion of much fuller, more abundant hair. Each bubble becomes a focal point that draws attention.
The dimensional effect of the bubbles adds visual interest from every angle. This style suits contemporary formal events and looks particularly stunning in photographs. A texturizing spray helps maintain the bubble shapes throughout your day or evening.
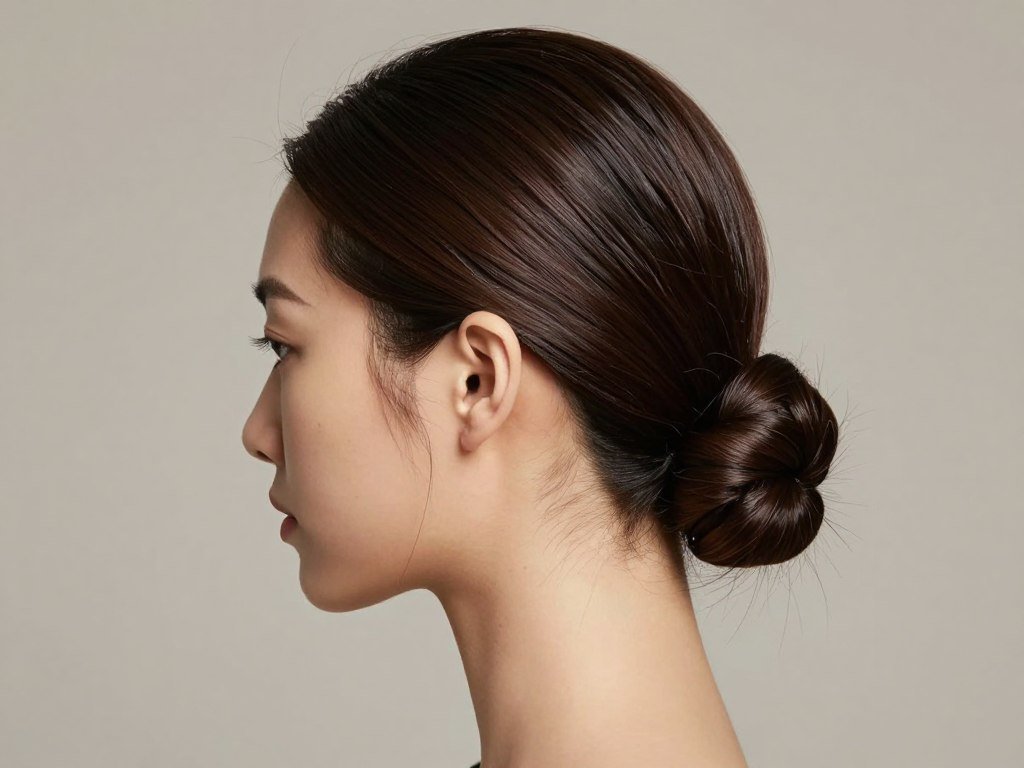
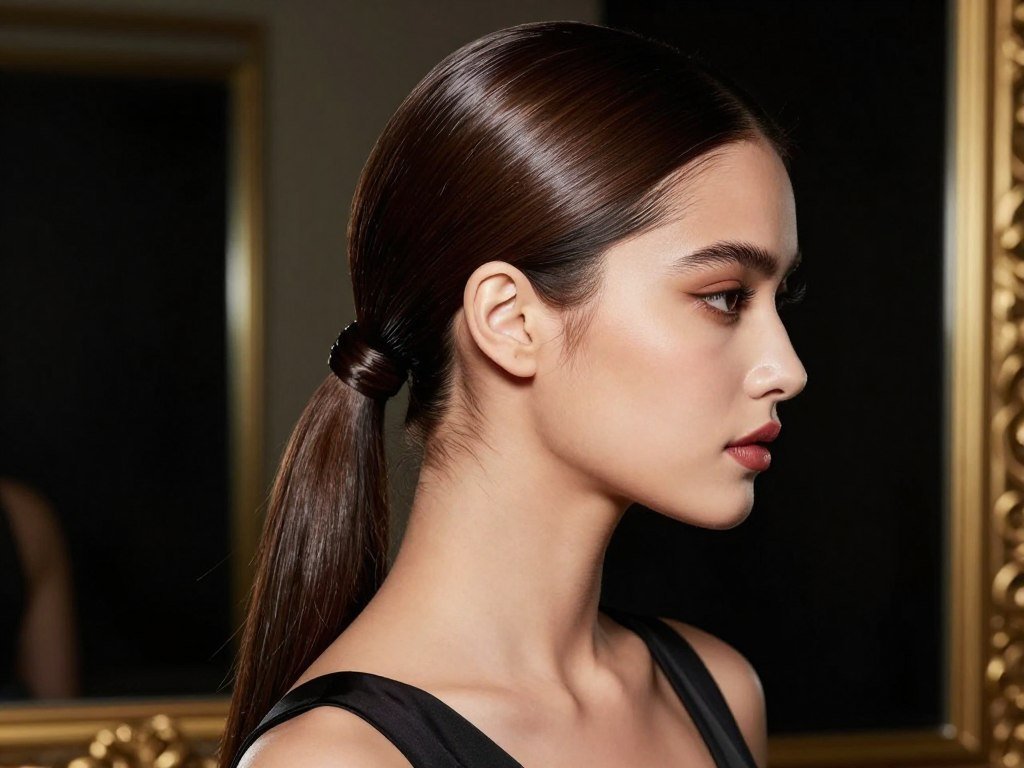
20. Sleek Low Ponytail with Side Part
Sometimes simplicity creates the most impact. A perfectly sleek low ponytail exudes understated elegance. Create a dramatic side part for added dimension, then apply smoothing serum throughout damp hair.
Blow-dry hair straight using a paddle brush, then flat-iron for extra sleekness. Gather hair into a low ponytail at the nape neck, positioning it slightly off-center for modern appeal. Wrap a small section of hair around the elastic and pin underneath for a polished finish.
This minimalist approach works beautifully for thin hair because the focus shifts to the style’s precision rather than volume. The sleekness creates a sophisticated, contemporary look perfect for black-tie events and formal business occasions. Strong-hold hairspray maintains the polished appearance throughout the day.
Essential Styling Tips for Thin Hair Success
Achieving these gorgeous formal hairstyles requires more than just technique. The right products, tools, and preparation methods make the difference between styles that fall flat and those that hold beautifully throughout your event. Understanding how to work with thin hair’s unique properties ensures consistent success.
Product Selection for Maximum Volume
Volumizing products form the foundation of successful thin hair styling. A lightweight mousse applied to damp roots before blow-drying creates lift that lasts. Look for formulas specifically designed for thin hair that won’t weigh down delicate strands.
Dry shampoo serves double duty for thin hair. Beyond refreshing hair between washes, it adds crucial texture and grip that helps styles hold. Apply it to roots before styling for instant volume and at the crown for targeted lift.
Texturizing sprays create the gritty texture that gives bobby pins something to grip. This proves essential when securing updos and preventing pins from sliding out of fine strands. A light application throughout prevents slippage while maintaining a natural appearance.
Tool Techniques That Build Volume
A curling iron becomes your most valuable tool for formal thin hair styling. Medium-barrel irons create waves that add visual weight. Curl away from your face in alternating directions for natural-looking texture that builds fullness.
Round brushes during blow-drying create lift at the roots. Choose a medium-sized brush and focus on the crown area, rolling the brush as you direct heat upward. This simple technique provides the foundation for volume in any style.
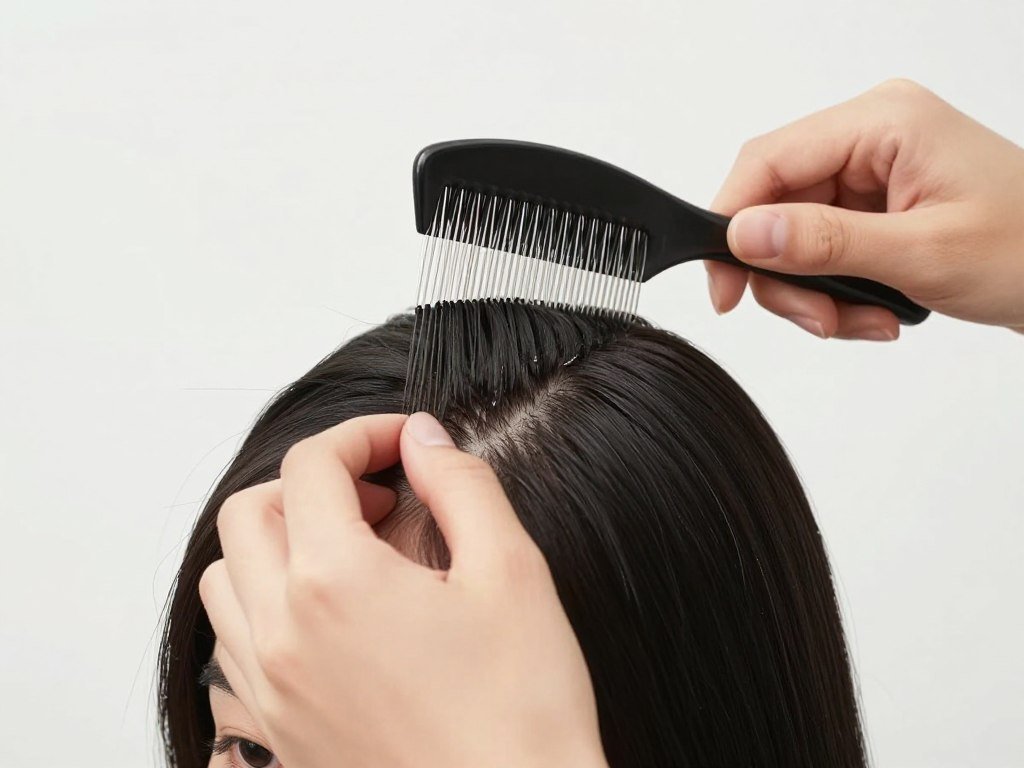
Teasing combs allow you to create strategic volume where needed. Use gentle backcombing at the crown and wherever your style requires lift. Always smooth the surface layer gently to maintain a polished appearance while preserving the volume underneath.
Preparation Methods for Long-Lasting Styles
Start with clean, properly conditioned hair. Avoid heavy conditioners that weigh down thin hair. Focus conditioner on mid-lengths and ends only, keeping it away from roots where it can cause flatness.
Second-day hair often holds styles better than freshly washed hair. The natural oils provide grip and texture that help pins stay in place. If you must wash the day of your event, use dry shampoo afterward to restore some texture.
Allow enough time for styling without rushing. Thin hair benefits from patience—gentle teasing, careful pinning, and allowing curls to cool before handling all contribute to longer-lasting results. Build your style in sections rather than attempting to work with all your hair at once.
Strategic Pinning for Secure Hold
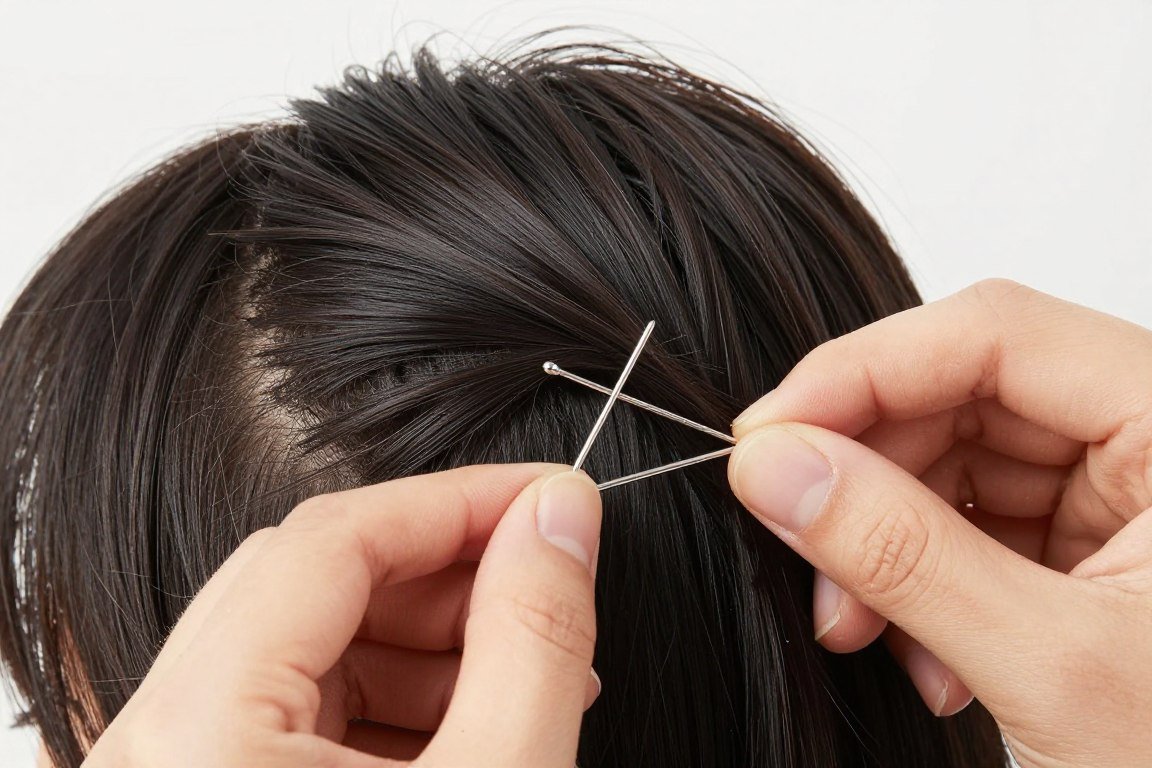
Bobby pins work best on thin hair when inserted correctly. Cross two pins in an X formation for maximum security. Insert pins with the wavy side down, as this provides better grip than the straight side.
Match pin color to your hair for invisible hold. Use more pins than you think necessary—thin hair requires extra anchoring. Place pins strategically every inch or so around updos and buns to distribute the hold evenly.
U-shaped pins work better than bobby pins for securing larger sections. These provide stronger hold for the base structure of updos. Reserve bobby pins for finishing touches and securing smaller sections that need extra attention.
Extensions as Volume Enhancers
Clip-in extensions provide an instant volume solution for formal events. Choose extensions that match your hair color and texture precisely. Focus on adding pieces at the crown and mid-lengths where volume has the most impact.
Ponytail extensions create the illusion of a much fuller ponytail. These wrap around your natural ponytail and blend seamlessly when secured correctly. This option works particularly well for high ponytails where you want maximum volume and length.
Temporary extensions specifically designed for updos add fullness without commitment. Small wefts strategically placed before creating your bun or updo provide the volume base that makes the finished style appear much fuller. These tools help thin hair achieve looks that might otherwise seem impossible.
Weather Considerations and Hold
Humidity challenges thin hair styles more than thick hair. Use anti-humidity products before styling if you’ll be in humid conditions. A strong-hold finishing spray creates a protective barrier that prevents frizz and maintains your style’s shape.
Wind requires extra security in your styling. Add additional bobby pins to any style if you’ll be outdoors. Consider slightly tighter updos for windy conditions, as loose styles may not hold up as well.
Cold weather can actually benefit thin hair styles. The lack of humidity helps styles hold longer. However, static becomes a concern—carry a small amount of lightweight oil or anti-static spray for quick touch-ups throughout your event.
Choosing the Right Style for Your Face Shape

Your face shape plays a crucial role in determining which formal hairstyles will flatter you most. Understanding your facial structure helps you select styles that enhance your natural features. The right choice creates harmony and draws attention to your best attributes.
Oval Face Shape Recommendations
Oval faces are considered the most versatile shape. Nearly any formal hairstyle works beautifully with this balanced proportion. Low buns, high ponytails, and elaborate updos all flatter oval faces equally well.
Take advantage of this versatility by experimenting with different styles. Side-swept options add interest, while symmetrical styles showcase your balanced features. The key is choosing based on the event’s formality level and your personal style preferences rather than face shape limitations.
Round Face Shape Solutions
Round faces benefit from styles that add height and create vertical lines. High ponytails and updos with elevated crowns elongate the face visually. Avoid styles that add width at the sides, as this emphasizes roundness.
A side part helps create asymmetry that slims a round face. Styles with volume at the crown rather than the sides prove most flattering. Leave a few face-framing pieces loose to add vertical lines that draw the eye downward.
Square Face Shape Options
Square faces feature strong jawlines that benefit from softening elements. Styles with soft waves and wispy pieces around the face create a gentler frame. Avoid severely pulled-back styles that emphasize angular features.
Side-swept styles work beautifully for square faces. The asymmetry softens strong angles while adding interest. Low buns positioned slightly off-center provide elegance while keeping the overall look soft and romantic rather than severe.
Heart Face Shape Strategies
Heart-shaped faces are wider at the forehead and narrow at the chin. Styles that add width at the jawline create better balance. Low buns and styles with volume at the nape neck prove particularly flattering.
Bangs work wonderfully for heart-shaped faces, minimizing a wider forehead. Side-swept bangs offer a formal-appropriate option that balances proportions. Avoid styles that add volume at the crown, as this emphasizes the already-wider upper portion of the face.
Long Face Shape Selections
Long faces benefit from styles that add width rather than height. Half-up styles work particularly well, creating horizontal interest that shortens the face visually. Avoid very high updos that further elongate.
Styles with volume at the sides prove most flattering. Waves and texture that extend outward create width that balances length. Bangs also work beautifully for long faces, shortening the vertical line from forehead to chin.
Making Your Formal Hairstyle Last All Day
Creating a beautiful style is only half the challenge. Ensuring it lasts throughout your entire event requires strategic planning and the right maintenance approach. These professional tips help your formal hairstyle remain perfect from arrival through the final dance.
Pre-Event Preparation
Timing your hair washing makes a significant difference. Washing hair the day before your event rather than the same day provides the ideal balance of cleanliness and texture. Day-old hair holds styles better and gives products something to grip.
Sleep in a loose braid the night before if you’ve washed your hair. This creates gentle waves that add texture while keeping hair manageable. Avoid tight ponytails or buns that create creases in your hair before styling even begins.
Schedule your styling session to allow adequate time without rushing. Most formal hairstyles require 45 minutes to 90 minutes to complete properly. Factor in extra time for any complications or adjustments that might be needed.
During-Event Touch-Ups
Carry a small touch-up kit to your event. Include bobby pins, a mini hairspray, and a small comb or brush. These essentials allow you to address any loosening or flyaways that might occur throughout the day or evening.
Check your hairstyle periodically rather than constantly fussing with it. Visit the restroom every few hours to assess whether any pins need reinforcement. Quick adjustments prevent small issues from becoming major problems.
Avoid touching your hair unnecessarily. The natural oils from your hands transfer to hair and can cause styles to loosen or collapse. If you must adjust something, use a tissue or ask someone else to help rather than using your bare hands.
Product Application for Longevity
Layer your styling products strategically for maximum hold. Start with volumizing products at the roots, add texturizing spray mid-lengths, and finish with a strong-hold hairspray over the completed style. This layering creates multiple levels of hold that work together.
Allow each product to dry completely before adding the next. This prevents products from mixing and potentially weighing down your hair. Patient application ensures each product can do its intended job effectively.
Don’t skimp on finishing spray. A generous application creates a protective shell that holds your style in place. Hold the can 10-12 inches from your head and apply in a sweeping motion to ensure even coverage without wet spots.

Managing Common Style Challenges
If pins start slipping, reinforce them with additional pins in an X pattern. The crossed pins provide much better hold than single pins. Always have extra bobby pins available for these reinforcements throughout your event.
Flyaways can be tamed with a small amount of hairspray on a toothbrush or clean mascara wand. Gently brush the spray over the stray hairs to smooth them into place without disrupting the overall style.
Volumizing powder applied to roots provides emergency volume restoration if your style starts falling flat. Lift sections carefully and apply sparingly at the roots, then gently massage to distribute. This technique revives lift without requiring you to redo the entire style.
Post-Event Hair Care
Remove pins carefully rather than pulling them out forcefully. Work systematically from the bottom of your style upward to avoid creating tangles. Take your time with this process to prevent unnecessary breakage.
Brush hair gently with a wide-tooth comb before washing. This removes tangles while hair still has some of the styling product’s slip. Start from the ends and work upward to minimize damage and breakage.
Use a clarifying shampoo to remove all styling product buildup. Multiple products and strong-hold formulas can leave residue that makes hair feel stiff or look dull. A thorough cleansing restores hair to its natural state and prepares it for future styling.
Accessories That Enhance Thin Hair Formal Styles

Accessories serve a dual purpose for thin hair formal styling. They add visual interest and elegance while strategically concealing areas where hair might appear sparse. The right accessories transform simple styles into extraordinary looks that feel complete and polished.
Strategic Placement for Maximum Impact
Position accessories where they’ll draw attention to your style’s strongest features. A decorative comb placed at the crown highlights volume you’ve created there. Side clips emphasize asymmetrical styles and add sparkle near your face where it catches light beautifully.
Hair jewelry works particularly well at the base of buns and chignons. These pieces fill space around the bun’s perimeter, making it appear fuller while adding decorative flair. Choose accessories with slight dimension rather than flat pieces for maximum effect.
Face-framing accessories like delicate pins or small clips near the temples draw the eye upward and create focal points. These pieces work especially well with half-up styles, adding polish and interest to the portions of hair pulled back.
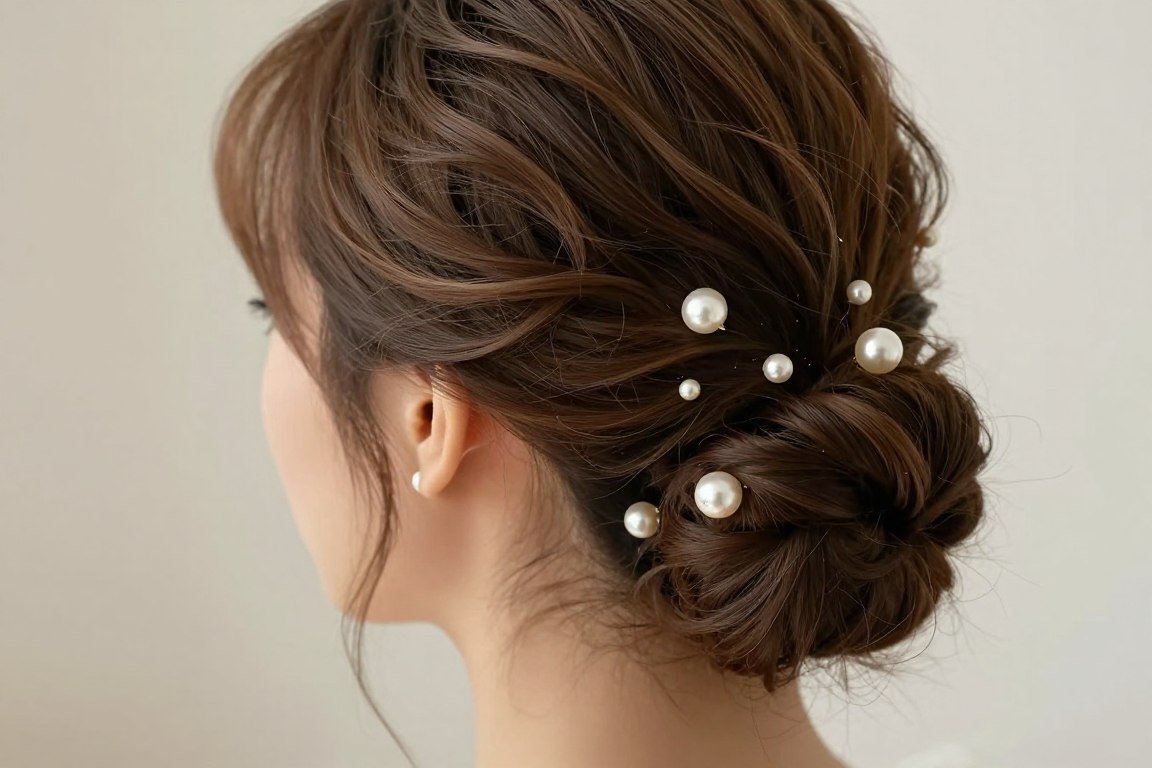
Pearl and Crystal Embellishments
Pearl pins scattered throughout an updo create elegant sparkle without overwhelming. Use multiple small pins rather than one large piece for a delicate, sophisticated effect. The scattered placement also helps disguise any sparse areas within the style.
Crystal combs add glamour and secure styles simultaneously. Place them at the crown of French twists or at the base of chignons. The teeth provide functional hold while the crystals create a luxurious focal point.
Headbands with pearl or crystal details offer vintage elegance. Position them across the crown for a Gatsby-inspired look or at the hairline for a more subtle enhancement. These accessories work particularly well with sleek styles where you want to add interest without texture.
Floral Accents for Romantic Styles
Fresh or silk flowers bring natural beauty to formal hairstyles. Small blooms tucked into buns or woven through braids create romantic, garden-party elegance. Choose flowers that complement your outfit’s color palette for a cohesive look.
Flower crowns suit outdoor formal events beautifully. For thin hair, choose delicate crowns with smaller blooms that don’t overwhelm. Position the crown slightly back from the hairline to showcase any volume you’ve created at the front.
Single statement flowers make dramatic focal points. Place a larger bloom at the base of a low bun or behind one ear with a side-swept style. This approach works particularly well for beach or destination formal events where you want a relaxed yet elegant aesthetic.
Ribbons and Fabric Accents
Velvet ribbons add richness and can be woven through braids or tied around ponytails. The soft texture complements formal attire while adding visual weight that makes thin hair appear fuller. Choose colors that either match or elegantly contrast with your outfit.
Silk scarves create vintage-inspired elegance. Fold a small scarf into a band and wrap it around the base of a ponytail or bun. The fabric adds dimension and interest while covering the elastic for a polished finish.
Ribbon-wrapped elastics provide a simple upgrade to basic ponytails. Wrap ribbon around the elastic several times, securing with a dab of fabric glue. This detail transforms an everyday ponytail into an elegant formal option suitable for sophisticated events.
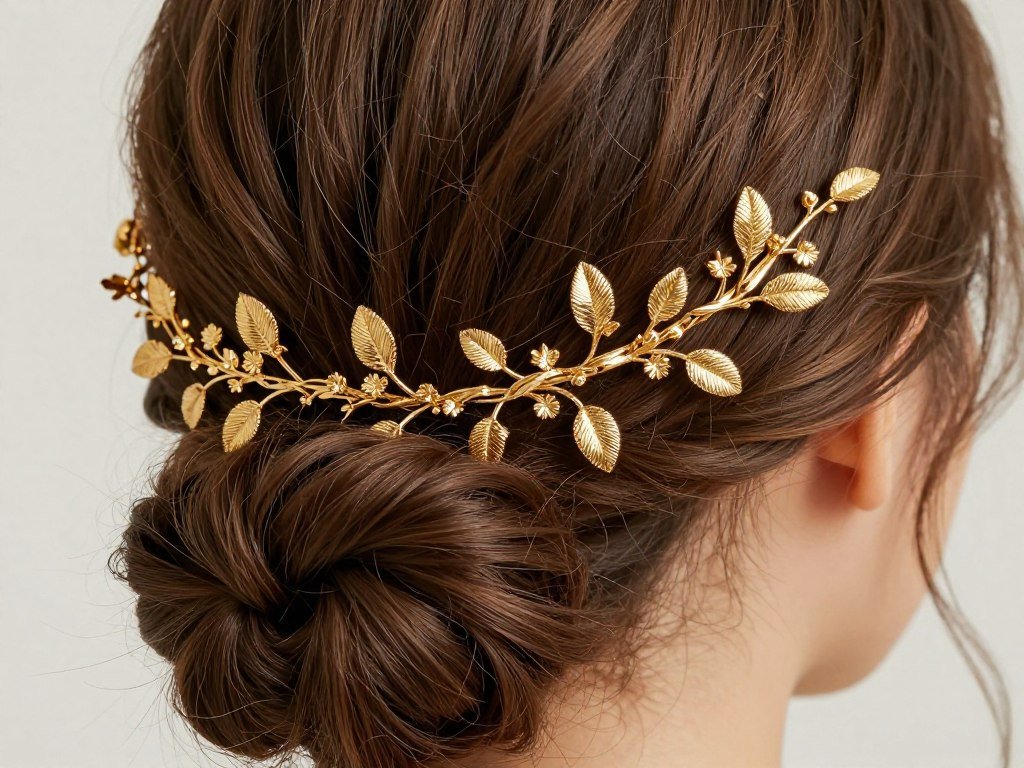
Metallic Hair Jewelry
Gold or silver hair vines create delicate sparkle that traces along braids or around buns. These flexible pieces conform to your hairstyle’s shape, adding continuous shimmer. The linear quality creates visual interest without requiring abundant hair to make an impact.
Barrettes in metallic finishes offer both function and fashion. Modern geometric designs suit contemporary formal events, while vintage-inspired pieces complement classic styles. Use them to secure half-up sections while creating a decorative focal point.
Hair chains drape elegantly across updos or from crown to nape. These delicate accessories catch light beautifully and create interesting lines that draw the eye. They work particularly well with sleek, minimalist styles where you want to add one stunning detail.
Choosing Accessories for Your Event Type
Wedding guest styles benefit from pearls and subtle crystals that add elegance without competing with the bride. Choose classic, timeless pieces that photograph beautifully. Avoid anything too large or attention-grabbing that might distract in group photos.
Prom and formal dance accessories can be more playful and trendy. Sparkly pins, colorful flowers, or metallic accents suit these youthful occasions. Don’t be afraid to make your accessories a statement that reflects your personality and complements your dress.
Black-tie events call for sophisticated, refined accessories. Diamond-like crystals, elegant pearls, or simple metallic pieces maintain appropriate formality. Choose quality over quantity—one beautiful piece often makes more impact than multiple accessories.
When to DIY and When to See a Professional Stylist

Deciding whether to style your own hair or book a professional depends on several factors. Your comfort level with styling, the complexity of your desired look, and the importance of the event all play roles in this decision. Understanding the pros and cons of each approach helps you make the best choice.
Advantages of Professional Styling
Professional stylists bring years of experience working with various hair types. They understand exactly how to maximize volume in thin hair and which techniques work best for lasting hold. This expertise often translates to styles that look more polished and hold better throughout your event.
A stylist can assess your face shape, hair texture, and outfit to recommend the most flattering option. Their objective perspective helps avoid choices that might not suit you as well as you imagined. They can also adjust styles on the fly if something isn’t working as planned.
The time savings of professional styling proves significant. What might take you two hours at home takes a skilled pro 45 minutes to an hour. This extra time before your event can be spent on other preparation, reducing stress on your special day.
Professional results typically last longer because stylists know exactly how much product to use and where to place pins for maximum security. They have access to professional-grade products that often outperform consumer versions. The investment often pays off in confidence and photographs that capture your style at its best.
When DIY Styling Makes Sense
Budget constraints make DIY styling an attractive option. Formal hairstyling can cost anywhere from fifty dollars to several hundred dollars depending on location and stylist experience. If you’re comfortable with basic styling techniques, creating your own look saves considerable money.
Practice makes DIY styling more feasible. If you’re willing to attempt your chosen style several times before the event, you can achieve professional-looking results at home. Document your successful practice runs with photos to reference on the actual day.
Simple styles lend themselves better to DIY approaches. A sleek low ponytail or basic low bun requires less technical skill than an elaborate braided updo. Be realistic about your abilities and choose accordingly—attempting something too complex risks frustration and poor results.
Familiarity with your own hair gives you an advantage. You know exactly how it behaves, which products work, and how long styles typically hold. This knowledge can be leveraged to create styles that work specifically for your hair’s unique characteristics.
Hybrid Approaches That Work Well
Consider a professional blowout the day before your event, then style it yourself the next day. This gives you a polished base to work with while reducing overall costs. The professional blow-dry adds volume and smoothness that makes DIY styling much easier.
Book a consultation with a stylist without the full styling service. Many professionals offer lessons where they teach you how to create specific styles on your own hair. This one-time investment provides techniques you can use for multiple future events.
Have your regular stylist teach you a signature style during a regular haircut appointment. Most stylists are happy to share techniques when asked. Practice this style between appointments so you feel confident recreating it for formal occasions.
Questions to Ask When Booking a Stylist
Ask about their experience specifically with thin hair. Not all stylists understand the unique challenges and best techniques for fine strands. A pro who regularly works with thin hair will be better equipped to create volume and lasting styles.
Request to see photos of formal styles they’ve created on hair similar to yours. This gives you realistic expectations of what they can achieve with your hair type. It also helps ensure their aesthetic aligns with what you’re envisioning.
Inquire about their approach to thin hair styling. Do they use extensions, padding, or specific volumizing techniques? Understanding their methods helps you know what to expect and whether their approach aligns with your preferences.
Confirm what’s included in the service and what costs extra. Some stylists charge separately for extensions, elaborate accessories, or trial runs. Clear communication about pricing prevents surprises and helps you budget appropriately.
Making the Most of a Trial Run
Schedule your trial appointment at the same time of day as your event styling. This ensures your hair behaves similarly to how it will on the actual day. Bring your outfit or photos of it so the stylist can ensure the style complements your look.
Test the style’s longevity after your trial. Keep the style in for several hours to see how it holds. Take notes on any areas that loosen or lose volume. Share this feedback with your stylist so adjustments can be made for the actual event.
Photograph your trial style from multiple angles. These photos serve as a reference for both you and your stylist. They ensure everyone’s on the same page about the final look and help recreate it exactly on your event day.
Embracing Your Thin Hair at Formal Events
Thin hair offers unique opportunities for creating stunning formal hairstyles. The twenty styles presented here prove that fine strands can achieve elegant, sophisticated looks that rival any hair type. Success lies in understanding which techniques maximize your hair’s natural qualities.
Volume, texture, and strategic styling transform thin hair into formal masterpieces. Whether you prefer classic buns, modern ponytails, or romantic half-up styles, options abound that flatter and last. The key is selecting styles that work with your hair rather than fighting against it.
Your formal events deserve hairstyles that make you feel beautiful and confident. These twenty options provide inspiration for every occasion, from weddings to galas. With proper technique and the right approach, thin hair becomes an asset rather than a limitation.
Remember that professional guidance remains available when needed. Expert stylists who understand thin hair can help you achieve looks you might not attempt on your own. Whether DIY or professional, the goal stays the same: a stunning style that lasts throughout your special day and makes you feel absolutely gorgeous.