
Creating a curly deco mesh wreath brings instant charm to any door or wall. This popular craft project combines colorful mesh with simple techniques to produce stunning home decor. Whether you’re new to wreath making or looking to expand your skills, this guide walks you through each step.
The curly deco mesh style creates a full, textured look that catches the eye. These wreaths work for any season or holiday. You can customize colors and embellishments to match your home perfectly.
Table of Contents
What Makes Curly Deco Mesh Special
Curly deco mesh wreaths stand out from traditional wreath designs. The mesh material creates bouncy, springy curls that add dimension. This technique uses strips of deco mesh twisted and secured to a wire form.

The beauty of this craft lies in its versatility. Deco mesh comes in countless colors and patterns. You can mix metallic, solid, and printed mesh for unique combinations. The curly method works with any color scheme or theme.
These wreaths maintain their shape season after season. The mesh resists weather and fading better than fabric options. This makes them perfect for outdoor decor that lasts through multiple holidays.
Essential Materials and Tools You’ll Need

Gathering the right supplies before you start ensures smooth crafting. Here’s what you need for your curly deco mesh wreath project:
Primary Supplies
- Wire wreath form in your desired size (10-inch, 12-inch, or 14-inch work well)
- Deco mesh rolls in 2-3 coordinating colors (10-inch wide mesh is standard)
- Pipe cleaners or chenille stems for securing mesh
- Wire cutters or sharp scissors for cutting
- Ribbon for accent bows (optional but recommended)
Optional Enhancement Tools
- Floral wire for extra security on windy locations
- Hot glue gun for attaching embellishments
- Measuring tape to ensure consistent strip size
- Wire wreath form with multiple rings for fuller wreaths
Get Your Complete Supply Kit
Save time and ensure you have everything needed. Quality materials make a noticeable difference in your finished wreath.
The wire wreath form serves as your foundation. Forms with multiple rings create fuller wreaths with more curls. Single-ring forms work fine for beginners or simpler projects.
Deco mesh quality varies significantly between brands. Premium mesh holds curls better and resists fraying at the edges. Look for mesh with a tight weave pattern for best results.
Preparing Your Workspace
Setting up a proper work area makes the process easier and more enjoyable. Clear a large table or counter space where you can spread out materials. Good lighting helps you see the mesh colors and form clearly.

Keep your supplies organized by color. This saves time when you’re working through the project. Place pipe cleaners in an easy-to-reach container. Position your wreath form on a lazy Susan or turntable if available.
Have a trash bag nearby for mesh scraps and packaging. The process creates some waste from cutting strips and opening new rolls. Staying organized keeps the creative flow going smoothly.
Cutting Your Deco Mesh Into Perfect Strips
Proper strip cutting sets the foundation for beautiful curls. The size of your strips determines the fullness and curl size of your finished wreath.

Cut your deco mesh into strips approximately 10 inches long. This length creates nice full curls without wasting material. You can adjust based on your wreath size and desired look.
Cutting Tips for Clean Edges
- Use sharp scissors to prevent fraying along the edges
- Cut on a flat surface for straight, even strips
- Mark your first strip as a template for consistency
- Cut multiple strips at once by folding the mesh carefully
The deco mesh material naturally resists fraying, but clean cuts look more professional. Take your time with this step. Consistent strip size creates a uniform appearance in the finished wreath.

Count out your strips before starting. A standard 14-inch wreath uses approximately 40-50 strips total. Having them ready prevents stopping mid-project to cut more.
Creating the Signature Curly Deco Look
The curling technique is where your wreath comes to life. This method creates the bouncy, dimensional loops that make curly deco mesh wreaths so appealing.

Step 1: Form the Basic Curl
Take one strip of deco mesh and scrunch it together at the middle point. This creates two equal tails on either side. The scrunching motion gathers the mesh naturally.
Hold the gathered middle section firmly. The mesh should form a butterfly or bow shape. Keep the pressure even to maintain the curl shape.
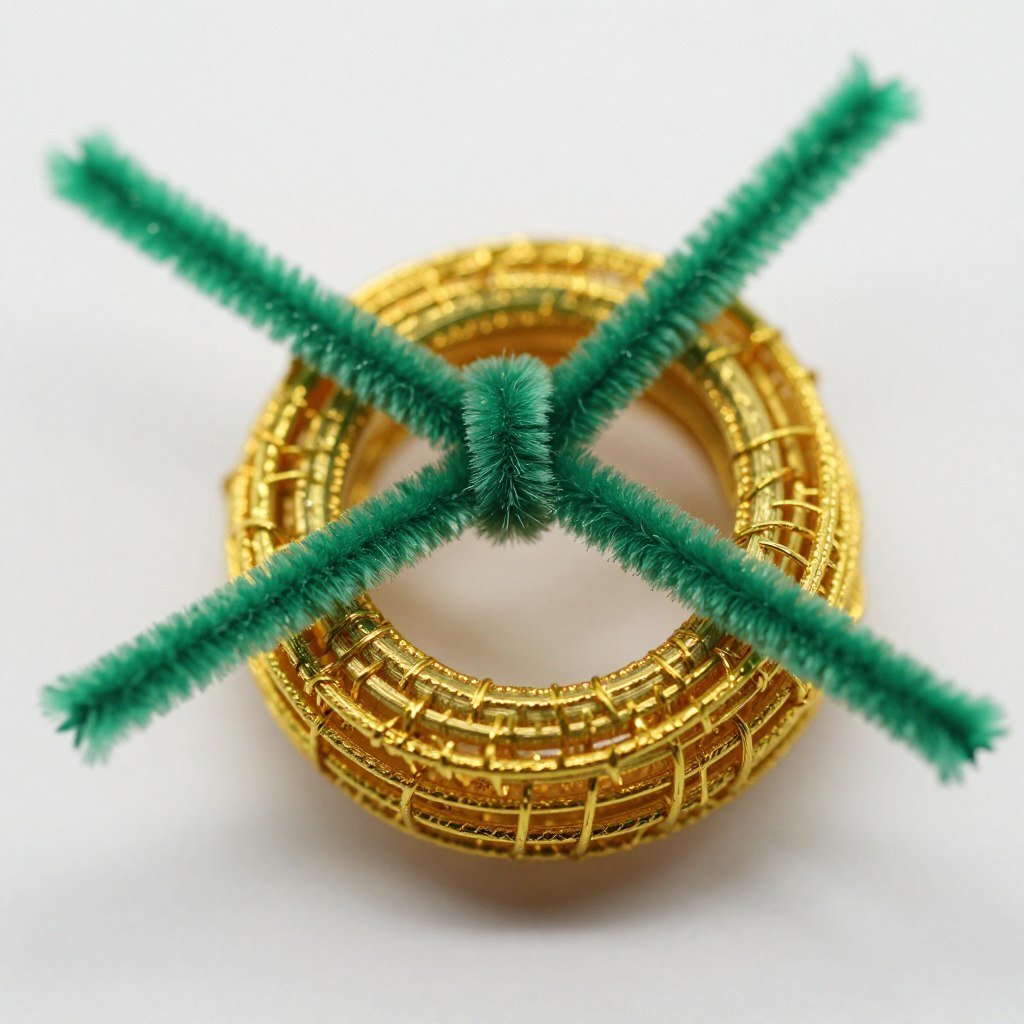
Step 2: Secure With Pipe Cleaner
Wrap a pipe cleaner around the gathered middle section. Twist the pipe cleaner tightly to hold the mesh in place. Leave the pipe cleaner ends long for attaching to the form.
The pipe cleaner becomes invisible once the wreath fills out. Choose colors that blend with your mesh or stick with neutral tones. Chenille stems work identically to pipe cleaners for this process.
Step 3: Fluff and Shape
Gently pull and fluff each tail of the mesh curl. Separate the mesh layers to create fullness. This step adds dimension to each individual curl.
The fluffing process takes practice. Don’t worry if your first few curls look uneven. You’ll develop a rhythm as you work through the project.
Attaching Curls to Your Wire Wreath Form
The attachment method determines how full and secure your wreath becomes. Proper spacing creates an even, professional look around the entire form.

Starting Your First Row
Begin at any point on the wire form. Wrap the pipe cleaner ends from your first curl around the wire. Twist tightly to secure. This first curl sets the pattern for the rest.
Space your curls approximately one to two inches apart on the wire. Closer spacing creates a fuller wreath. Wider spacing works for a lighter, airier look.
Building Layers and Fullness
Continue adding curls around the entire wire ring. Work in one direction for consistency. The curls should all face the same way for a uniform appearance.
Many wreath forms have multiple wire rings. Fill the innermost ring first, then move to outer rings. This layered approach creates maximum fullness and dimension.
- Keep consistent spacing between each curl for even coverage
- Alternate colors in a pattern or randomly for visual interest
- Push curls together gently as you work to check fullness
- Add extra curls to sparse areas before finishing
Step back periodically to view your progress. This helps identify any gaps or uneven sections. It’s easier to add curls during construction than after completion.

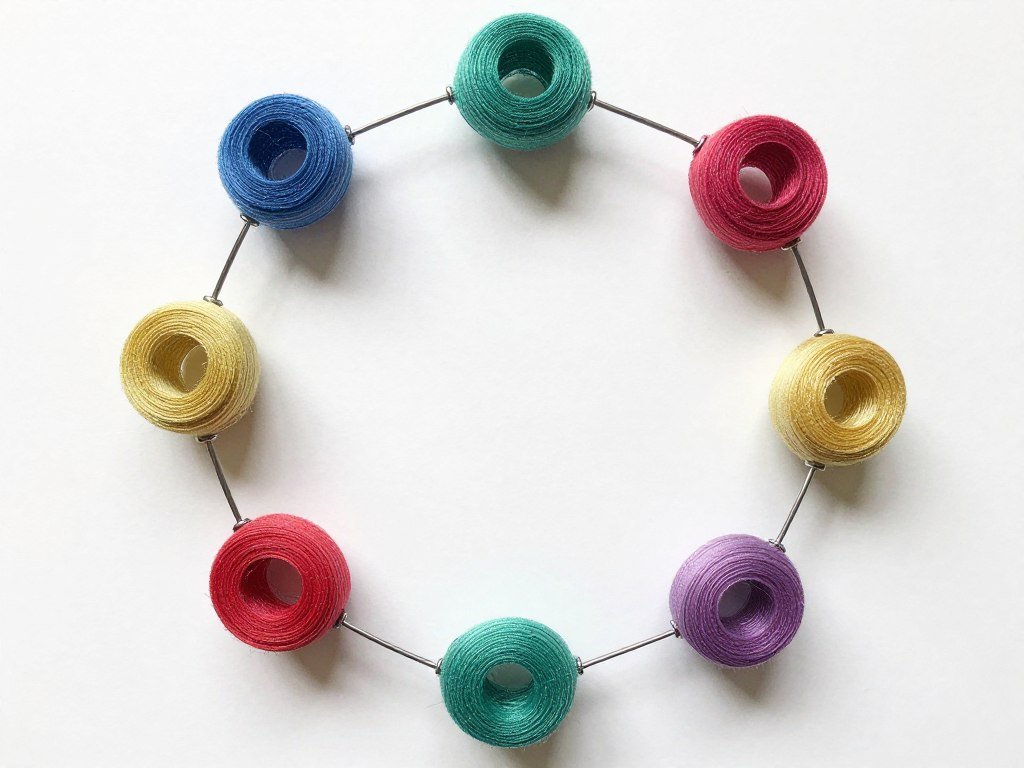
Creative Color Combinations and Patterns
Color selection transforms a basic wreath into a stunning statement piece. The right combination reflects your style and complements your decor perfectly.
Classic Seasonal Palettes
Traditional color schemes work beautifully for holiday wreaths. These combinations create instant recognition and festive appeal.
- Red, white, and green for Christmas celebrations
- Orange, brown, and gold for autumn displays
- Pastels in pink, blue, and yellow for spring
- Patriotic red, white, and blue for summer holidays
Modern Designer Looks
Contemporary color combinations create sophisticated wreaths that work year-round in your home.
- Monochromatic shades of one color for elegant simplicity
- Metallics mixed with neutrals for glamorous appeal
- Bold contrasts like black and white or navy and coral
- Ombre effects using gradual color transitions

Don’t limit yourself to two colors. Three or four coordinating shades add depth and visual interest. Mix textures by combining metallic mesh with solid colors or printed patterns.
The mesh itself comes in various finishes. Metallic deco mesh catches light beautifully. Solid colors provide bold impact. Printed mesh with patterns adds playful detail to your design.
Adding Decorative Finishing Touches
Embellishments elevate your wreath from pretty to spectacular. These finishing touches add personality and theme-specific details.

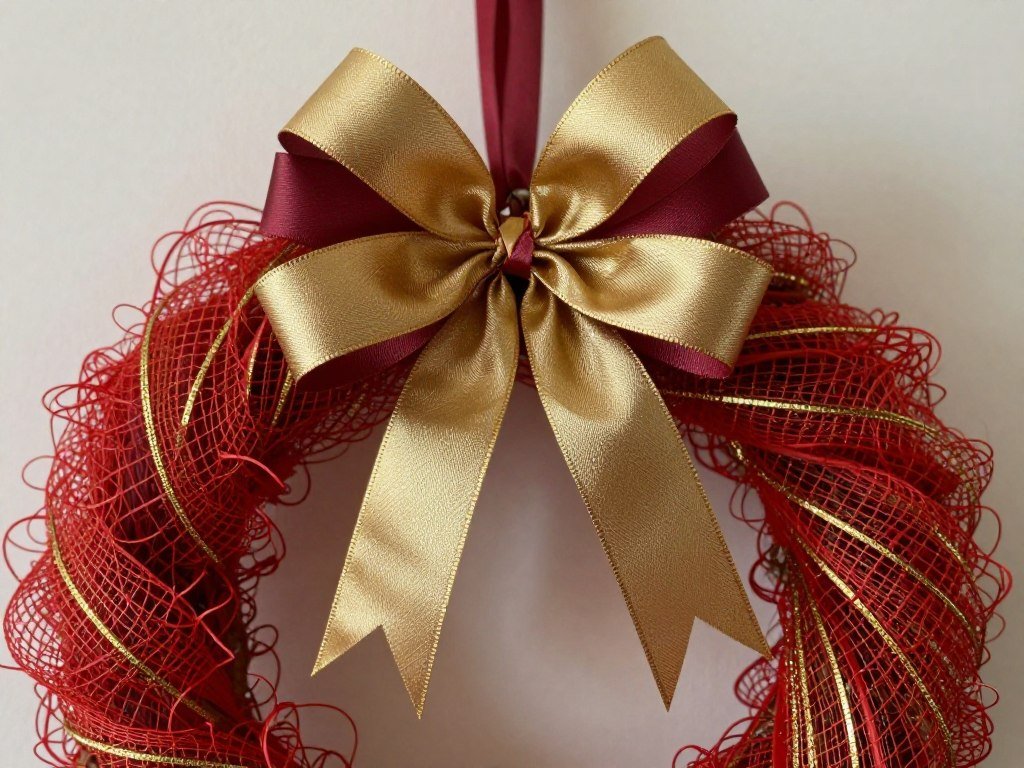
Ribbon Accents and Bows
Ribbon adds elegant contrast to mesh texture. Wired ribbon holds its shape better than standard ribbon. Create a large bow for a focal point or weave ribbon throughout the curls.
Position your main bow at the bottom, top, or side of the wreath. The placement changes the entire look. Bottom bows create traditional appeal while side placement looks contemporary.
Seasonal Ornaments and Picks
Small ornaments tuck perfectly between mesh curls. Use a hot glue gun to secure them firmly. Floral picks with wire stems twist directly onto the wreath form.
- Miniature ornaments for Christmas wreaths add sparkle
- Artificial flowers for spring and summer themes bring color
- Pinecones and berries enhance autumn designs naturally
- Decorative signs or monogram letters personalize any wreath
Beautiful Embellishment Collection
Transform your wreath with premium ribbons, ornaments, and decorative picks. Quality embellishments make your creation truly one-of-a-kind.

Balance is key with embellishments. Too many decorations overwhelm the beautiful mesh curls. Start with one or two accent pieces and add more if needed.
Expert Tips for Perfect Results
These professional techniques help you avoid common mistakes and achieve beautiful results every time you make a wreath.
Mesh Selection Matters: Higher quality deco mesh maintains its curl and resists weather better. The investment pays off in a wreath that lasts for years.
Achieving Maximum Fullness
Fuller wreaths look more expensive and professional. Use more curls spaced closer together on the form. The mesh should overlap slightly between curls.

Work with the wire on your form, not against it. Multi-ring forms naturally create fuller wreaths. Single-ring forms require more curls packed closely together.
Preventing Common Problems
Problem: Curls Fall Flat
Solution: Fluff each curl thoroughly after attaching. Use your fingers to separate mesh layers and create volume.
Problem: Uneven Appearance
Solution: Maintain consistent spacing and curl size throughout. Step back frequently to check your work.
Problem: Pipe Cleaners Show
Solution: Add more curls to fill gaps. Position curls to hide the attachment points of neighboring curls.
Problem: Wreath Looks Sparse
Solution: Simply add more curls. You can always enhance a wreath by filling in empty spaces.
Pro Technique: Alternate your curl direction slightly as you attach them. Some facing left, some right creates natural-looking fullness and movement.
Caring for Your Curly Deco Mesh Wreath
Proper care keeps your wreath looking fresh season after season. Deco mesh is surprisingly durable when handled correctly.

Storage Between Seasons
Store wreaths in a large plastic container or wreath storage bag. Keep them in a climate-controlled space away from extreme temperatures. The mesh can become brittle in very cold conditions.
Gently reshape any flattened curls before storing. Stuff the center with tissue paper to help maintain the round shape. This prevents crushing during storage.
Cleaning and Refreshing
Dust accumulates on mesh over time. Use a handheld vacuum on low setting to remove dust gently. A soft brush works well for delicate cleaning between curls.
- Avoid water and moisture which can damage the mesh and form
- Refresh flattened curls by gently pulling and fluffing them
- Keep wreaths out of direct sunlight to prevent color fading
- Display under covered porches or indoors for longest life
Indoor wreaths last indefinitely with minimal care. Outdoor wreaths withstand several seasons when displayed in protected areas. Direct rain and harsh sun shorten their lifespan.
Creative Variations to Try
Once you master the basic technique, experiment with these creative variations. Each approach creates a unique look while using the same fundamental method.

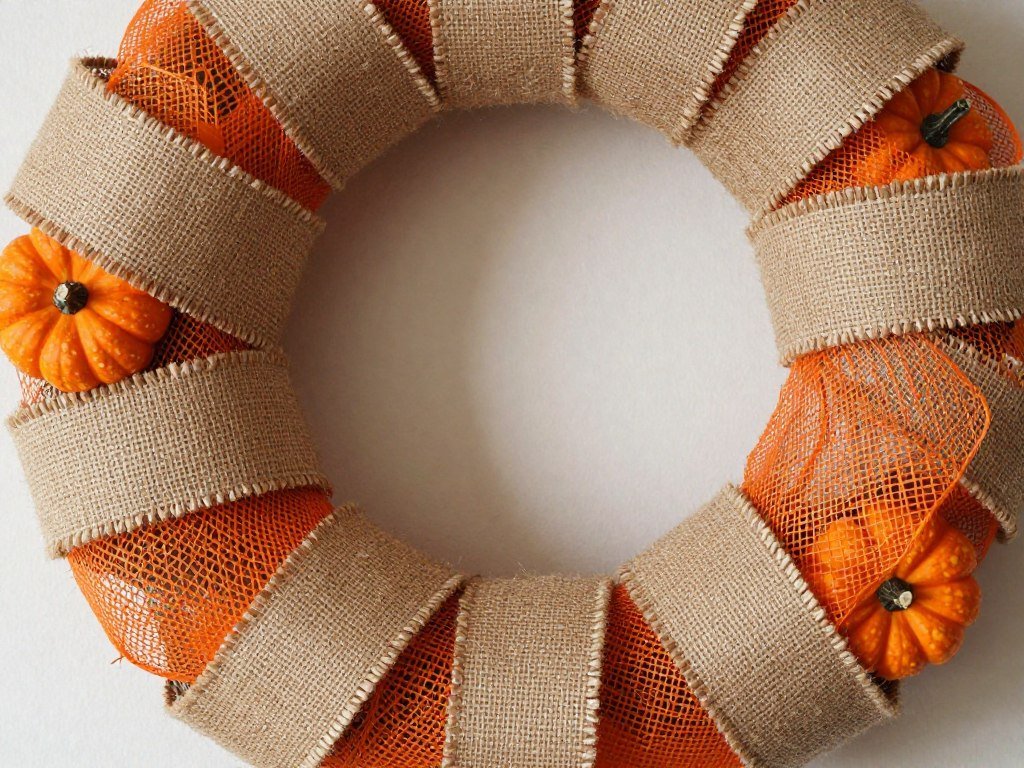
Burlap and Mesh Combination
Mix burlap ribbon with deco mesh for rustic charm. The rough texture of burlap contrasts beautifully with smooth mesh. Alternate burlap curls with mesh curls around the form.
This combination works perfectly for farmhouse style decor. Natural burlap pairs well with fall colors or neutral mesh tones. The mixed texture adds visual interest and depth.
Layered Color Technique
Create ombre effects by gradually changing colors around the wreath. Start with light shades and transition to darker tones. This sophisticated look impresses guests.
Use at least four shades of the same color family. Place them in gradual order around the form. The transition creates a stunning gradient effect.
Different Form Shapes
Wire forms come in shapes beyond the traditional round. Heart shapes work beautifully for Valentine’s Day or weddings. Square and oval forms create modern, unexpected wreaths.
The curly deco technique adapts to any form shape. Follow the same process of creating curls and attaching them. The unique shape adds interest to the finished project.
Quick Troubleshooting Guide
Why do my curls keep falling off the form?
Twist your pipe cleaners tighter around the wire form. Each curl needs at least three full twists to stay secure. Consider using floral wire for extra strength on outdoor wreaths.
How do I make my wreath look fuller?
Add more curls by reducing spacing between them. Use a form with multiple rings if possible. Fluff each curl thoroughly to maximize volume from existing curls.
Can I use regular ribbon instead of deco mesh?
Yes, wired ribbon works with the same technique. The curls won’t be as springy as mesh but create a different, elegant look. Mix ribbon and mesh together for variety.
What size wreath form should beginners use?
Start with a 12-inch or 14-inch form. These sizes are manageable but large enough to create impressive wreaths. Smaller forms work better once you develop the technique.
How much deco mesh do I need?
Plan for approximately 2-3 rolls of 10-inch mesh per wreath. The amount varies based on desired fullness and wreath size. Buy an extra roll to ensure you don’t run short.
Start Creating Your Beautiful Wreath Today
Making a curly deco mesh wreath is an accessible, rewarding craft project. The process combines simple techniques with creative expression. Your first wreath might take a few hours, but you’ll speed up with practice.

The skills you develop transfer to many other wreath styles and craft projects. Once you master the basic curl technique, you can experiment endlessly with colors, textures, and embellishments.
Start with a simple two-color design for your first project. As your confidence grows, try more complex color combinations and elaborate decorations. Each wreath you create will look more professional than the last.