
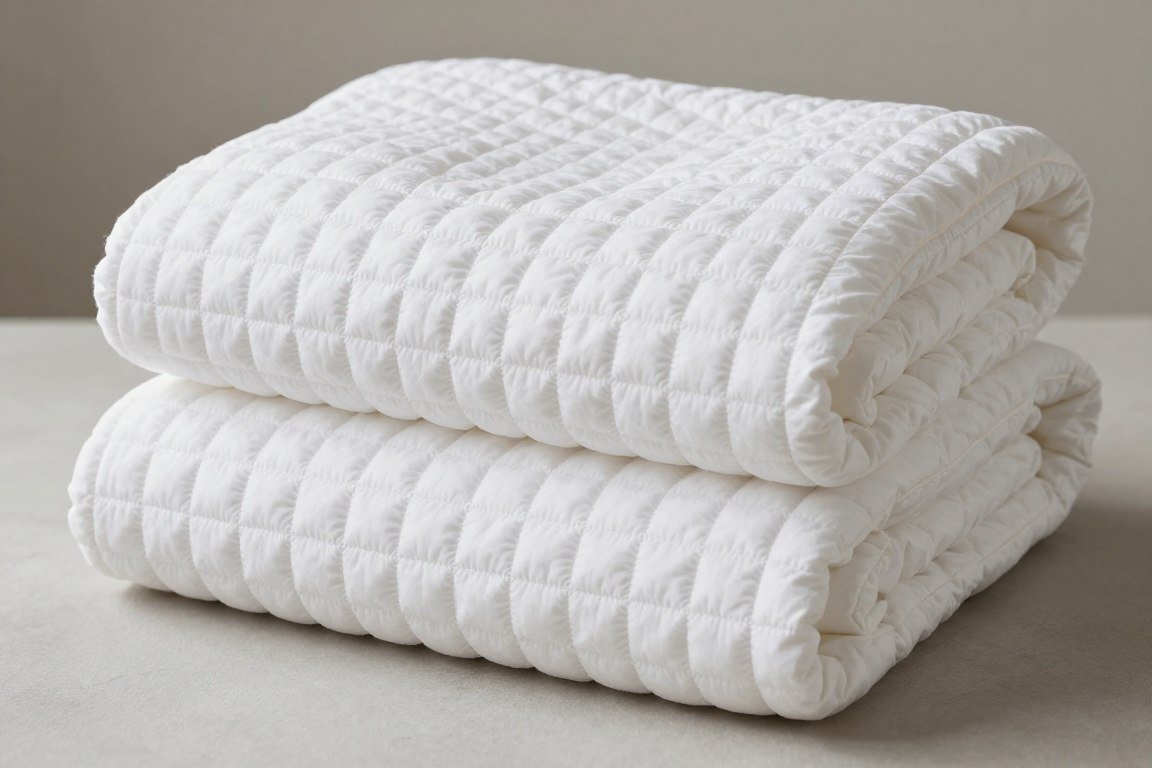
Creating a special handmade blanket for a baby blessing ceremony holds deep meaning. Kate’s Blessing Blanket offers the perfect combination of elegance and comfort. This free crochet pattern features a stunning windowpane puff stitch design that creates beautiful texture.
The pattern works up quickly despite its intricate appearance. You will master the technique after just a few rows. The finished blanket measures approximately 36 inches square, making it ideal for ceremonies and everyday use.
Whether you are an experienced crocheter or building your skills, this pattern provides clear guidance. The repetitive stitch pattern helps you develop rhythm and confidence. Let’s explore everything you need to create this treasured keepsake.
Table of Contents
Essential Materials and Tools for Kate’s Blessing Blanket
Gathering the right supplies before starting ensures smooth progress. This pattern requires specific materials to achieve the soft drape and beautiful stitch definition. Quality yarn makes a significant difference in your finished blanket.
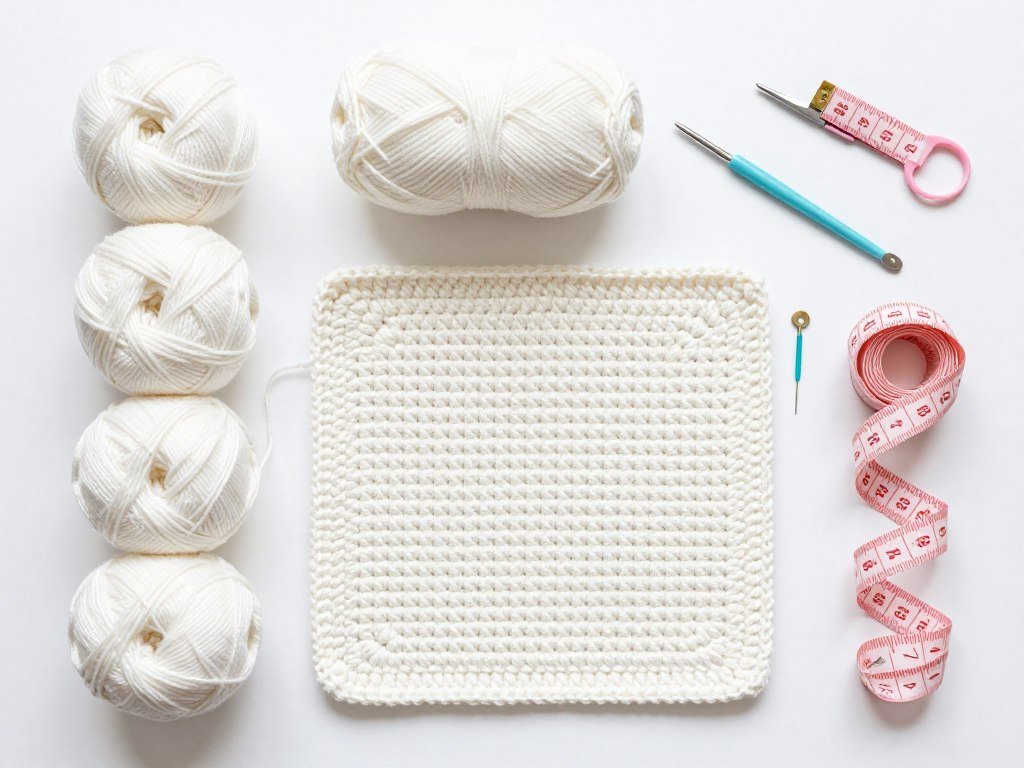
Yarn Requirements
The original pattern calls for Bernat Softee Cotton yarn in white. This blend provides softness against delicate skin while maintaining structure. You will need approximately 1200 yards total for the full-size blanket.
The cotton blend breathes well and washes easily. These qualities make it perfect for baby items. Alternative yarn choices include any worsted weight cotton or cotton blend that matches gauge.
Yarn Specifications
- Weight: Worsted (4)
- Fiber: Cotton or cotton blend
- Yardage: 1200 yards total
- Color: White or cream recommended
- Texture: Smooth for stitch definition
Essential Tools
- Hook size: H/8 (5.0mm)
- Yarn needle for weaving ends
- Scissors for trimming
- Measuring tape for checking gauge
- Stitch markers (optional but helpful)
Gauge and Sizing Information
Checking your gauge ensures the blanket turns out the correct size. The pattern gauge is 14 stitches and 8 rows in double crochet per 4 inches. Take time to create a test swatch before beginning.
If your gauge is too tight, try a larger hook. A looser gauge requires a smaller hook size. Matching gauge prevents frustration later in the project.
Pro Tip: Wash and block your gauge swatch before measuring. Cotton yarn often relaxes after washing, which affects final measurements.
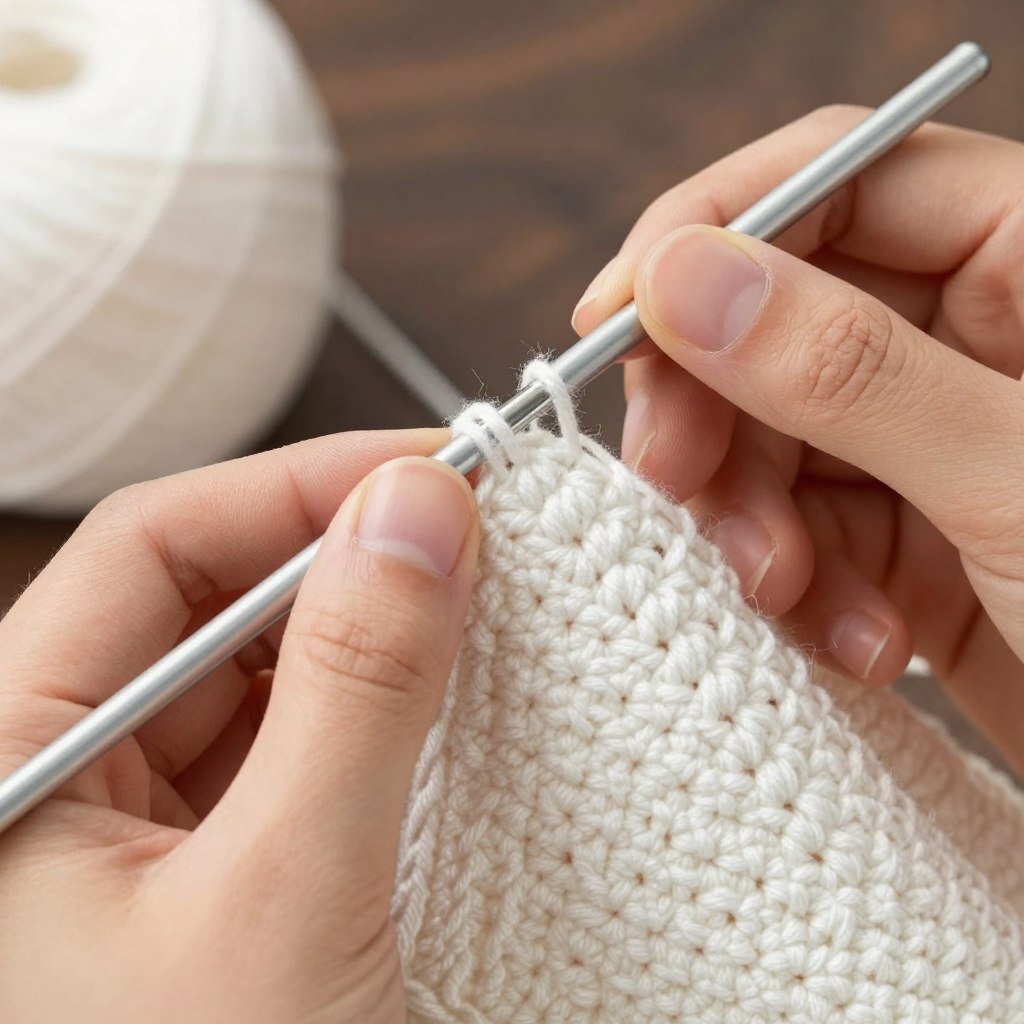
Stitch Guide and Pattern Abbreviations
Understanding the stitches and abbreviations makes following the pattern easier. This section breaks down each technique used in Kate’s Blessing Blanket. Review these before starting your first row.

Basic Stitches Used
Foundation Stitches
- Chain (ch): Yarn over, pull through loop
- Slip stitch (sl st): Insert hook, pull through both loops
- Single crochet (sc): Insert hook, pull loop, yarn over, pull two loops
- Double crochet (dc): Yarn over, insert hook, pull loop, yarn over, pull two loops twice
Special Techniques
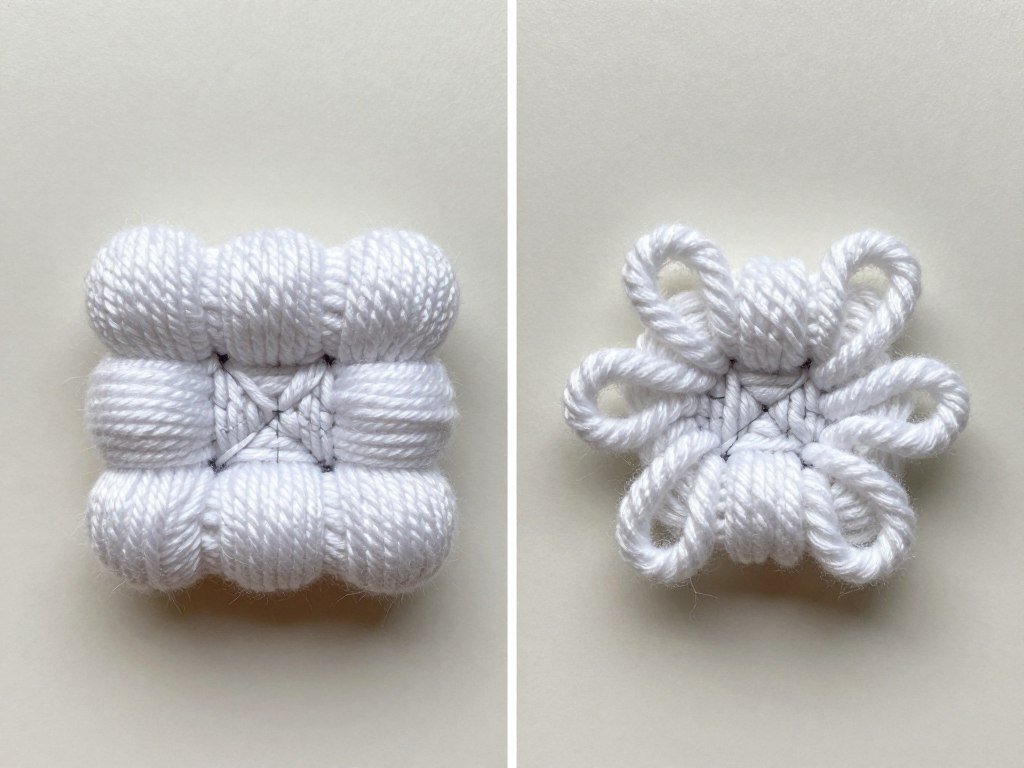
- Puff stitch: Multiple half-double crochets in same stitch
- Chain space (ch-sp): Space created by chain stitches
- Skip stitch: Pass over designated stitch
- Turn: Rotate work to begin new row
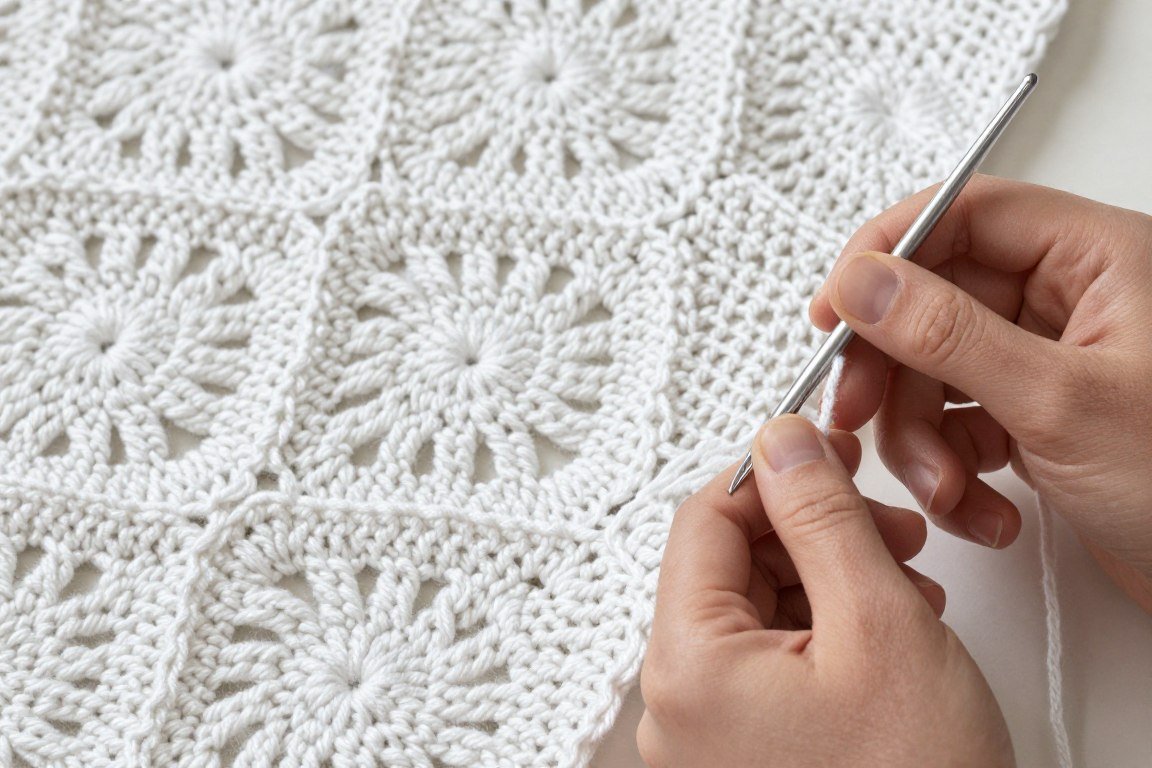
The Windowpane Puff Stitch Pattern
This signature stitch creates the blanket’s distinctive texture. The puff stitch involves pulling multiple loops through one stitch. You then pull through all loops at once to create dimension.
The windowpane effect comes from spacing puff stitches with chain stitches. This creates an open, lacy appearance between solid areas. The pattern repeats every few rows for easy memorization.
Skill Level Note: This pattern suits confident beginners and intermediate crocheters. The repetitive nature helps you master the puff stitch quickly.
Understanding Pattern Repeats
The main body works in repeated rows. Once you complete the first pattern repeat, you simply continue the sequence. This repetition makes the blanket grow quickly without constant pattern checking.
Pay attention to the turning chain at each row start. The turning chain counts as the first stitch in some rows. Missing this detail throws off your stitch count.
Step-by-Step Pattern Instructions for Kate’s Blessing Blanket
Now we dive into the complete pattern instructions. Work through each section carefully, checking your stitch count at the end of rows. The pattern builds from foundation chain through final border.
Foundation and First Rows
Begin with a foundation chain of 147 stitches. This creates the blanket width. Chain two more for the turning chain, which counts as the first double crochet.
Row 1: Work one double crochet in the fourth chain from hook. Continue placing one double crochet in each chain across the row. You should have 145 double crochet stitches when complete. Chain two and turn your work.
Row 2: Skip the first stitch. Work one double crochet in each stitch across the row. Your last double crochet goes into the top turning chain from the previous row. This maintains your stitch count. Chain two and turn.
Common Mistake Alert: Always work into the top turning chain at row ends. Forgetting this causes your blanket to narrow progressively.
Establishing the Windowpane Pattern
Row 3 begins the distinctive windowpane puff stitch pattern. This row instructions set up the framework that repeats throughout the blanket body.
Row 3: Chain two and turn. Skip the first stitch. Work three double crochet stitches. Then create the first puff stitch by working five half-double crochets in the next stitch. Pull loop through all loops on hook. Chain one after completing the puff stitch.
Skip one stitch, then work one double crochet in each of the next seven stitches. This creates the “windowpane” spacing. Repeat this sequence across the row. Work your final stitches in double crochet, ending with one double crochet in the top turning chain. Chain turn at row end.
Pattern Repeat Rows
Rows 4-6 work in double crochet across, maintaining the stitch pattern below. These rows create the solid “frame” around your puff stitches.
Row 4: Chain two, turn. Work double crochet in each stitch across row. Remember to insert hook into chain spaces where you created puff stitches in the previous row. End with double crochet in top turning chain. Chain turn.
Row 5-6: Repeat row 4 instructions exactly. These solid rows let your puff stitches stand out visually.
Row 7: This row mirrors row 3, creating the next line of windowpane puff stitches. Repeat the puff stitch sequence, maintaining spacing consistency.
Per End Rows Pattern
The pattern creates symmetry by working specific stitch sequences at row beginnings and endings. These per end rows ensure your edges stay straight and even.
- Always start rows with turning chain
- Skip first stitch after chain turn
- End rows in top turning chain
- Count stitches regularly to verify accuracy
Main Body Progression
Continue repeating rows 3-7 until your blanket reaches desired length. Most crafters work approximately 25-30 pattern repeats for a square blessing blanket.
- Measure length every few repeats
- Keep tension consistent throughout
- Work next pattern repeat when ready
- Mark your place if taking breaks
Working the Corners
The blanket body remains rectangular as you work. Corners become important during the border phase. Understanding corner construction ensures your finished blanket lays flat.
When you reach your desired blanket length, complete one final row of double crochet. This creates a clean edge for border attachment. Do not fasten off yet.
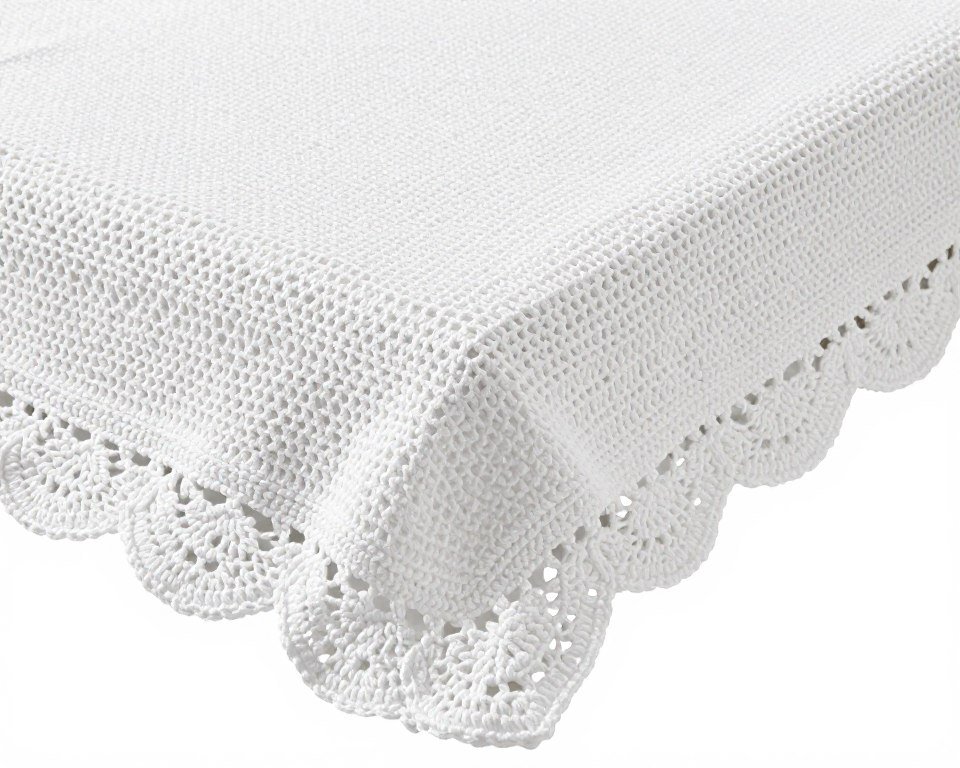
Creating the Beautiful Border
The border frames your blanket and adds stability to edges. This final touch elevates the overall appearance. Work around the entire blanket perimeter without fastening off.
First Round Border
Begin the first round at any corner of your completed blanket. Chain one, then work three single crochet stitches in the corner space. This creates the first corner foundation.
Work single crochet stitches evenly along the edge. Place one single crochet in each stitch along the top and bottom edges. Along side edges, work around the end rows, spacing stitches evenly.
At each corner, work three single crochet in the corner stitch. This allows the work to turn smoothly. When you reach the starting point, join starting sc with slip stitch. Chain one to begin the next round.
Subsequent Border Rounds
Round 2: Work single crochet in each stitch around. At corners, place three single crochet in the middle stitch of the three-stitch corner group. This maintains corner shaping.
Continue working two to three more rounds of single crochet. Each round adds definition and stability. Some crafters prefer more rounds for a wider border.
Final Round and Finishing
The final round can match previous rounds or add decorative elements. Some crafters add a picot edge for extra detail. Keep the final round consistent with your overall design vision.
After completing the last round, join with slip stitch to first stitch. Fasten off, leaving a six-inch tail. Use your yarn needle to weave in all ends securely.
Weave ends through several stitches in different directions. This prevents them from working loose during washing. Trim excess yarn close to the blanket surface.
Expert Tips and Pattern Variations
Mastering small details transforms good projects into exceptional ones. These tips come from experienced crocheters who have completed Kate’s Blessing Blanket multiple times.

Tension and Consistency Tips
Maintaining even tension throughout creates professional results. Your stitches should feel uniform without being too tight. Tight stitches make the fabric stiff and difficult to work.
Take breaks every few rows to relax your hands. Fatigue leads to tension changes. Check your work periodically by laying it flat. This reveals any tightening or loosening in your stitches.
- Hold your hook comfortably without gripping tightly
- Allow yarn to flow smoothly through your fingers
- Practice your puff stitch technique before starting the blanket
- Count stitches at the end of each row initially
- Use stitch markers to track pattern repeats
- Block your finished blanket for best drape
Color and Yarn Variations
While white remains traditional for blessing blankets, other colors work beautifully. Soft pastels like pink, blue, or yellow create gentle alternatives. Cream or ivory offer subtle variation from pure white.
You can also create striped versions by changing colors every few rows. This adds visual interest while maintaining the pattern structure. Plan color changes at row instructions beginnings for cleanest results.
Yarn Substitution Guidelines
When substituting yarn, match both weight and fiber content closely. Cotton blends provide the best combination of softness and structure for this pattern.
- Choose worsted weight yarn consistently
- Test gauge with your chosen yarn
- Consider washability for baby items
- Check yardage requirements carefully
Size Modifications
Adjust blanket size by changing your foundation chain. Add or subtract stitches in multiples of the pattern repeat for proportion.
- Smaller blanket: Reduce foundation chain
- Larger blanket: Add to foundation chain
- Work fewer or more row repeats
- Maintain pattern multiples for symmetry
Blocking and Care Instructions
Blocking transforms your finished blanket by evening out stitches and improving drape. Pin your blanket to blocking mats in the desired shape. Mist lightly with water or use a steam iron held above the surface.
Allow the blanket to dry completely before removing pins. This sets the stitches in their optimal position. The blanket will maintain better shape after blocking.
Wash your completed blanket in cool water with gentle detergent. Lay flat to dry to prevent stretching. Avoid hanging wet cotton blankets as they become heavy and distort.
Care Tip: Softee cotton yarn becomes softer with each wash. The blanket will develop a lovely drape while maintaining its structure through repeated laundering.
Common Issues and Solutions
Even experienced crocheters encounter challenges with new patterns. Recognizing common problems early prevents frustration. This section addresses frequent issues and their solutions.
Stitch Count Problems
Losing or gaining stitches ranks as the most common issue. This usually happens at row beginnings or endings. Always work into the top turning chain at each row end.
If you notice stitch count changes, check these areas first. Count your stitches at the end of every row until you develop consistency. Mark the top turning chain with a stitch marker as a visual reminder.
Puff Stitch Difficulties
Creating even puff stitches takes practice. Pull all loops to the same height before pulling through. This creates uniform puffs throughout your blanket.
If puff stitches look loose, pull the final loop tighter after completing the stitch. Too-tight puffs prevent your hook from fitting through. Find the balance that works for your tension.
Why does my blanket curve or ripple?
Curving indicates inconsistent tension or stitch count errors. Check that you maintain the same stitch count on each row. Insert hook into both loops of each stitch unless the pattern specifies otherwise. Blocking can help minor curving, but severe issues require frogging back to find the error.
How do I fix mistakes several rows back?
Small mistakes often disappear in the overall texture. For significant errors, carefully pull out stitches back to the mistake. Insert your hook back into the loop at that point. Work the section correctly before continuing. Use a crochet hook one size smaller when picking up stitches to avoid splitting yarn.
Can I use different hook sizes for different sections?
Maintain the same hook size throughout the main blanket for consistency. You might use a smaller hook for the border if you want it tighter. Test any hook changes on a small section first to ensure the look matches your vision.
Border Challenges
Uneven border spacing creates wavy edges. Work around the blanket perimeter, spacing stitches evenly. Count stitches along each side to ensure symmetry.
Corners that bunch up need fewer stitches. Corners that spread out need more stitches. The three-stitch corner typically works best, but adjust based on your specific tension.
Creative Uses Beyond Baby Blessings
Kate’s Blessing Blanket pattern adapts to various purposes. The elegant design suits multiple occasions. Consider these alternative applications for this versatile pattern.

Gift Ideas and Special Occasions
This blanket makes treasured gifts for multiple celebrations. Baby showers welcome handmade items with personal meaning. The white color suits both boys and girls, making it perfect when gender remains unknown.
Christening ceremonies, dedications, and baptisms all provide occasions for blessing blankets. Work the recipient’s initials or birth date into the border for personalization. These details transform the blanket into a family heirloom.
Wedding Gifts
Create an ivory or white version as a wedding gift. The blanket becomes a first anniversary or baby waiting item. Include care instructions with your gift.
Prayer Shawls
Enlarge the pattern for prayer shawl dimensions. The repetitive stitching provides meditative benefits. Choose calming colors for this purpose.
Home Decor
Use the pattern for decorative throw blankets. Change colors to match room decor. The texture adds interest to furniture.
Teaching and Group Projects
Kate’s Blessing Blanket works well for crochet classes. The pattern teaches multiple techniques in one project. Beginners gain confidence through the repetitive rows.
Church groups often create blessing blankets for community members. This pattern provides consistent results across multiple makers. Coordinate yarn purchases to ensure uniformity if making several blankets.
Video Tutorial and Additional Resources
Visual learners benefit from watching the pattern worked step-by-step. Video tutorials demonstrate hand positioning and technique. They help clarify written instructions.

Search online platforms for Kate’s Blessing Blanket video tutorials. Many experienced crocheters share their techniques freely. Watch several videos to find teaching styles that match your learning preferences.
Bookmark helpful resources for quick reference during your project. Join online crochet communities where you can ask questions. Fellow crafters often provide encouragement and troubleshooting help.
Resource Tip: Take progress photos as you work through the pattern. These document your journey and help you spot errors early. Share your finished blanket to inspire other crocheters.
Connecting with the Crochet Community
Social media platforms host active crochet communities. Share your Kate’s Blessing Blanket progress for feedback and encouragement. Many groups organize challenges or crochet-alongs for popular patterns.
Online forums provide spaces for detailed discussions. Search previous threads for answers to specific questions. Contributing your own experiences helps future crafters who attempt this pattern.
- Join Facebook crochet groups focused on baby blankets
- Follow Instagram hashtags for pattern inspiration
- Participate in Ravelry project pages and forums
- Watch YouTube tutorials for visual learning
- Subscribe to crochet blogs for new pattern ideas
- Share your finished projects to inspire others
Creating Lasting Memories with Kate’s Blessing Blanket
Completing Kate’s Blessing Blanket provides deep satisfaction. Each stitch carries your love and care for the recipient. The windowpane puff stitch pattern creates texture that invites touch and comfort.
This free crochet pattern offers accessibility to crafters at various skill levels. The repetitive row instructions build muscle memory. Your hands learn the rhythm of the pattern quickly.
Start your blanket today and watch it grow row by row. The process provides relaxation while creating something meaningful. Your finished Kate’s Blessing Blanket will bring joy for years to come.
Remember to take your time and enjoy each step. Crochet should bring pleasure, not stress. Celebrate your progress and the beautiful blessing blanket taking shape under your hands.