
Creating your own crochet coasters brings warmth and personality to your home. This free crochet coaster pattern offers a perfect starting point for beginners. You will master basic crochet stitches while making functional home decor.
These charming coasters protect your furniture in style. The pattern uses simple stitches that work up quickly. You can complete one coaster in about 30 minutes once you learn the technique.
This tutorial walks you through every stitch. We include helpful tips to ensure your project succeeds. Let’s start creating beautiful crochet coasters today.
Table of Contents
About This Crochet Coaster Pattern
This crochet coaster pattern features a classic round design. The finished coaster measures approximately 4 inches in diameter. That size fits perfectly under most cups and mugs.
The pattern difficulty level suits absolute beginners. You only need to know basic stitches. We teach each stitch as we progress through the pattern.
This project introduces you to working in rounds. You will practice increasing stitches evenly. These skills form the foundation for many crochet projects.
Each coaster uses minimal yarn. One skein makes multiple coasters. This makes the project budget-friendly for beginners.
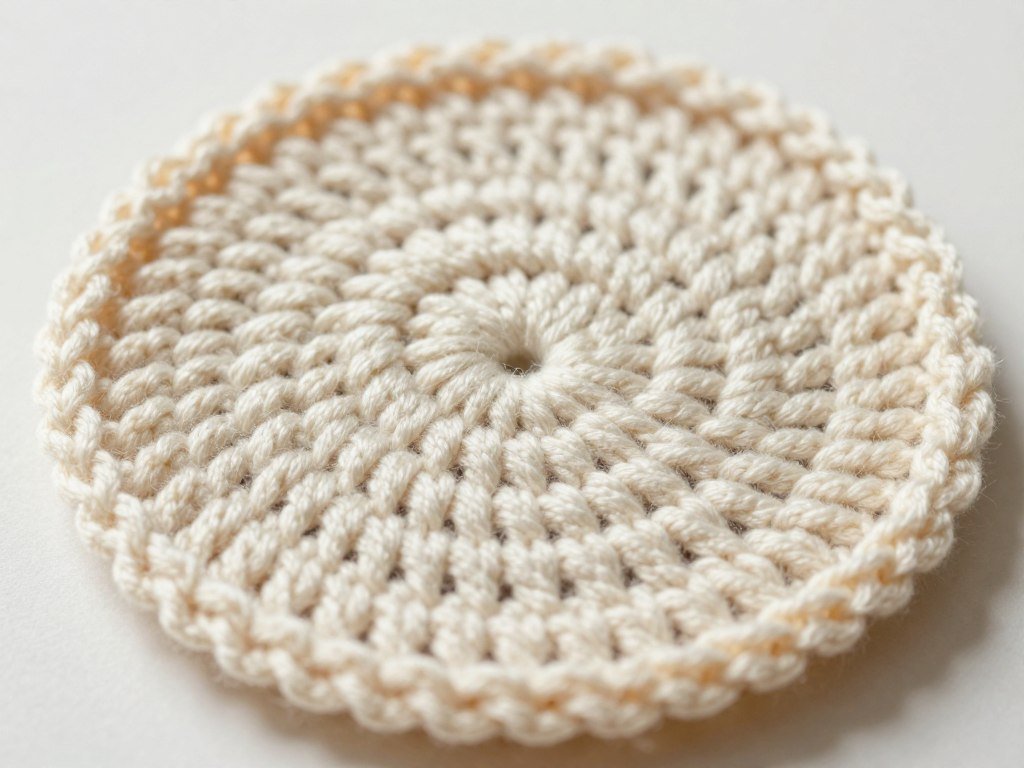
Skill Level: Beginner-friendly. Perfect for your first crochet project or second pattern attempt.
Materials and Tools You Need
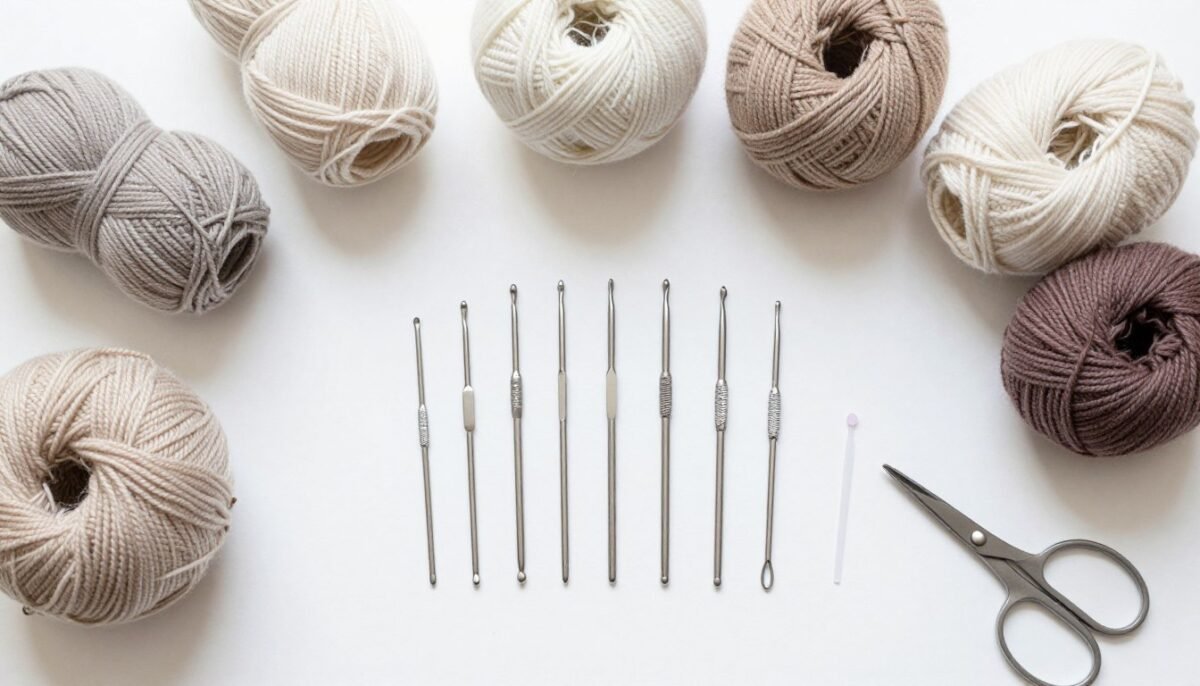
Gathering the right materials ensures your crochet coaster turns out beautifully. Most craft stores carry everything on this list. You can also order supplies online.
Yarn Requirements
Choose 100% cotton yarn for best results. Cotton absorbs moisture well. It also holds up to repeated washing.
- Worsted weight cotton yarn (approximately 50 yards per coaster)
- Recommended brands: Lily Sugar’n Cream or Bernat Handicrafter Cotton
- Color choice depends on your home decor style
- One skein makes 4-6 coasters in solid colors
Hook Size and Tools
The hook size affects your finished coaster dimensions. We recommend size G (4.0mm) for worsted cotton.
- Size G (4.0mm) crochet hook for standard gauge
- Yarn needle for weaving ends securely
- Small scissors for trimming yarn
- Stitch markers to track round beginnings
- Measuring tape to check coaster size
Optional Supplies
These extras make the project easier. They help beginners track their progress.
- Stitch counter for keeping track of rounds
- Pattern keeper or clipboard
- Good lighting for your workspace
Complete Step-by-Step Crochet Instructions
Follow each step carefully for perfect results. Take your time with each round. The pattern builds skills progressively through simple increases.
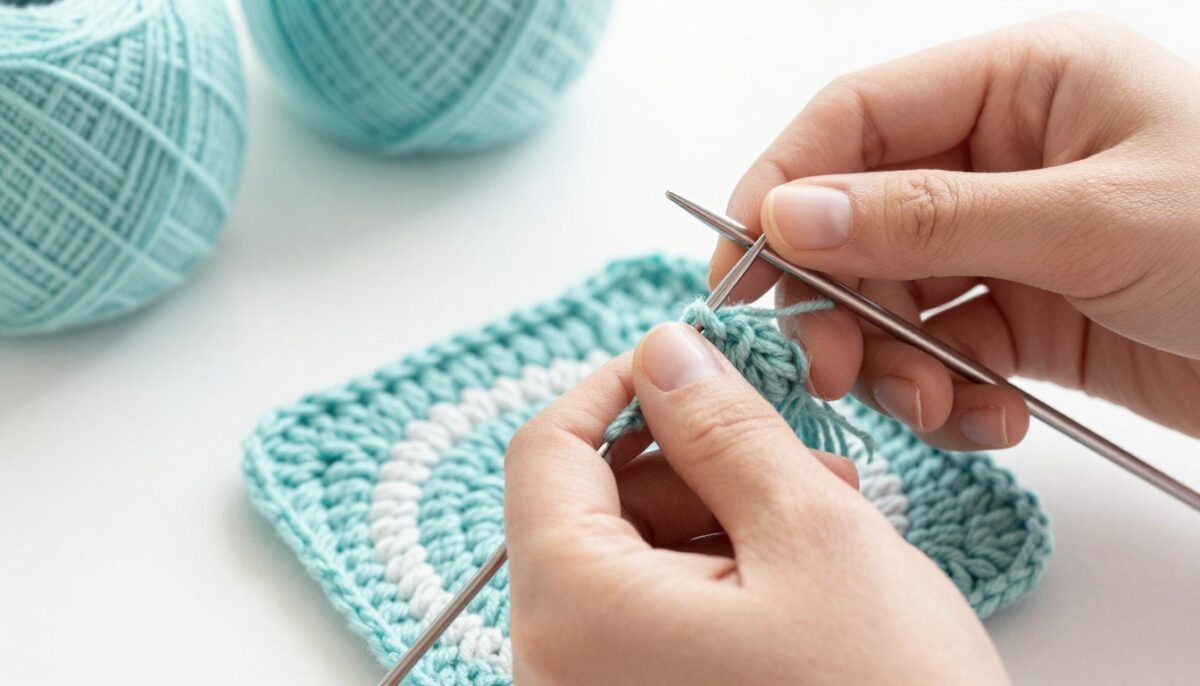
Starting Your Crochet Coaster
Every crochet project begins with creating the foundation. We use a magic ring for this coaster pattern. This method creates a tight center.
Round 1: Create a magic ring. Chain 2 (counts as first stitch). Work 11 more stitches into the ring. Pull the ring tight. Slip stitch to join. Total: 12 stitches.
The magic ring technique takes practice. Don’t worry if your first attempt looks loose. You can weave ends tightly later.
Building the Foundation Rounds
Rounds 2 through 4 establish your coaster size. Each round increases the stitch count evenly. This keeps your coaster flat.
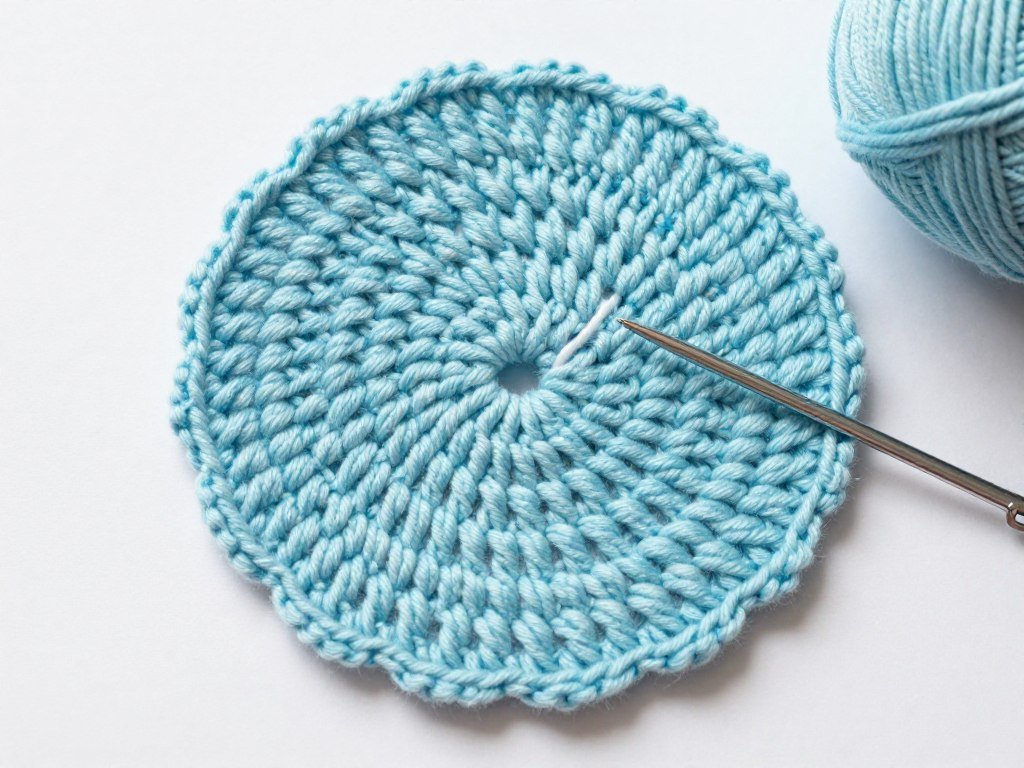
Round 2: Chain 2. Work 2 stitches in each stitch around. Slip stitch to join the round. Total: 24 stitches.
This round doubles your stitch count. Space increases evenly. Your coaster should lay flat without cupping.
Round 3: Chain 2. Work 1 stitch in next stitch, then 2 stitches in the next stitch. Repeat this pattern around. Slip stitch to join. Total: 36 stitches.
The pattern alternates between single and double stitches. This creates gradual increases. Mark your beginning stitch with a stitch marker.
Creating the Final Rounds
The last rounds determine final coaster dimensions. Continue the increase pattern for desired size.
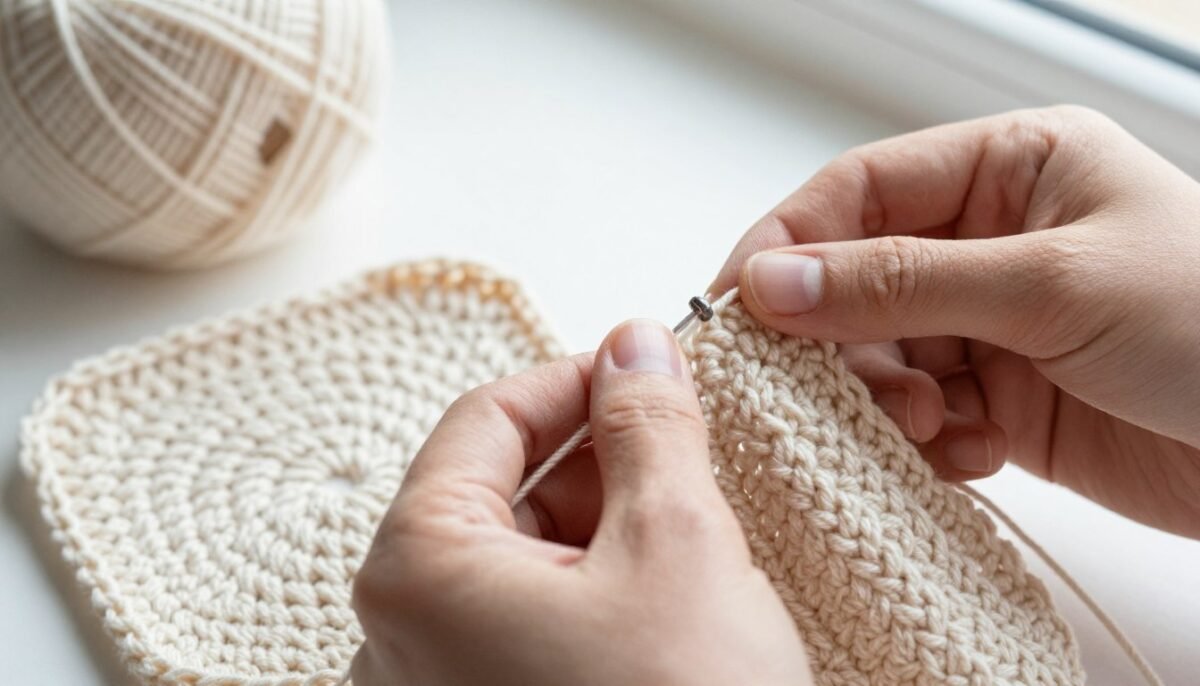
Round 4: Chain 2. Work 1 stitch in next 2 sts, then 2 stitches in next stitch. Repeat pattern around. Slip stitch to join. Total: 48 stitches.
Your coaster now measures approximately 3.5 inches. One more round reaches standard coaster size.
Round 5: Chain 2. Work 1 stitch in each stitch around. This creates the border. Slip stitch to join. Fasten off.
The final round has no increases. This stabilizes the edge. Your coaster measures about 4 inches across.
Finishing Your Coaster
Proper finishing makes your project look professional. These steps ensure durability.
- Cut yarn leaving a 6-inch tail
- Pull tail through final loop completely
- Thread tail onto yarn needle carefully
- Weave ends through back of stitches for 2 inches
- Weave back in opposite direction for security
- Trim excess yarn close to work
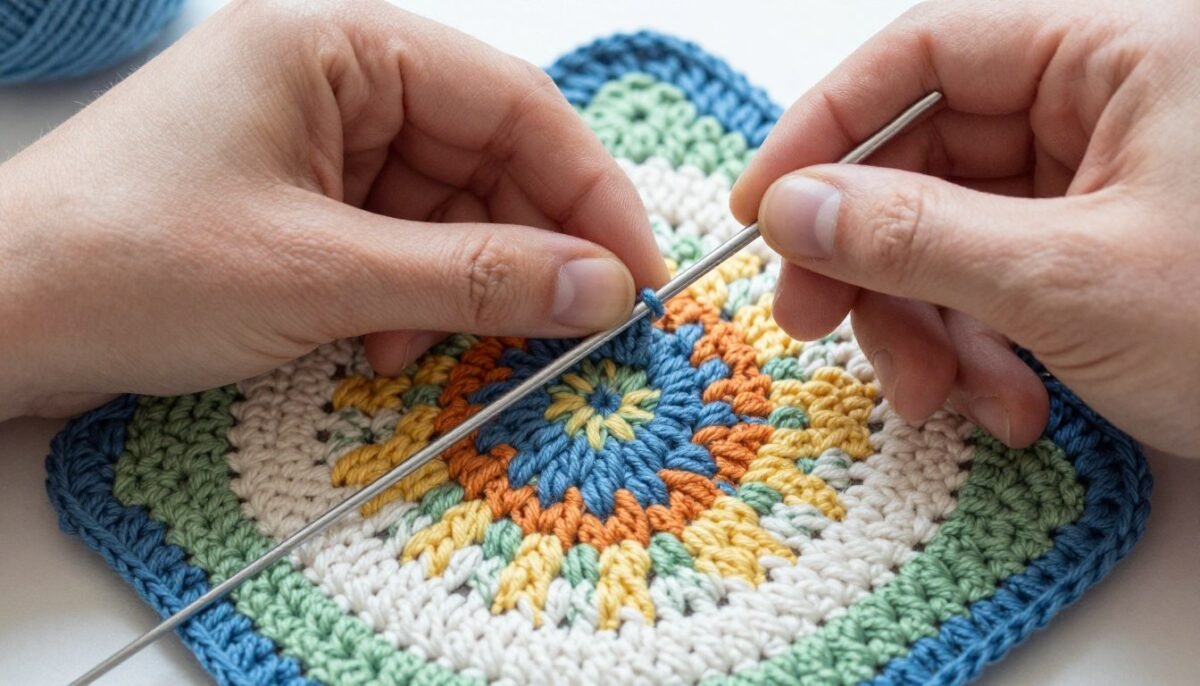
Never skip weaving ends properly. Loose ends unravel with use. Take time on this step.
Essential Tips and Tricks for Beginners
These proven tips help beginners avoid common mistakes. Many new crocheters struggle with the same issues. Learn from experienced crafters.
Maintaining Consistent Tension
Tension affects your finished coaster size. Too tight creates small, stiff coasters. Too loose makes floppy coasters.
- Hold hook comfortably without gripping tightly
- Let yarn flow smoothly through fingers
- Practice consistent pulling motion on each stitch
- Take breaks if hands feel tense
Your tension improves naturally with practice. Don’t restart your project repeatedly. Slight variations add handmade charm.
Counting Stitches Accurately
Accurate counting prevents size problems. Lost or added stitches distort coaster shape.
- Use stitch markers at round beginnings
- Count stitches after completing each round
- Recount if total seems incorrect
- Mark every 10th stitch in large rounds
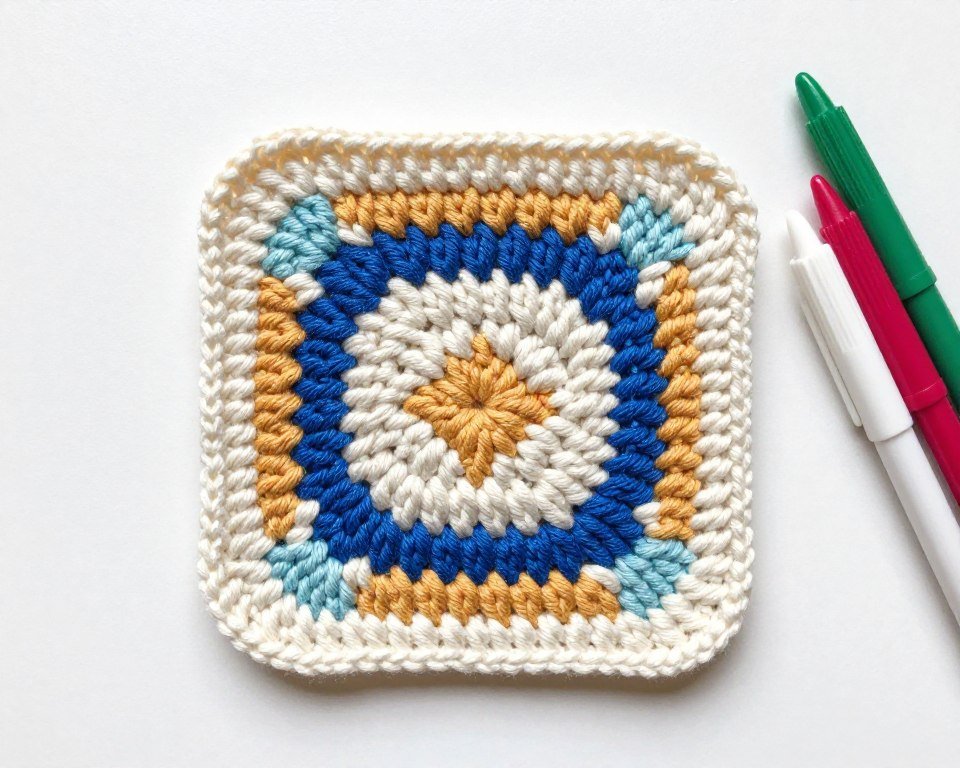
Fixing Common Mistakes
Everyone makes mistakes while learning to crochet. Most errors are easily fixed.
- Ruffled edges mean too many increases – decrease next round
- Cupped center means too few increases – add increases next round
- Uneven edges indicate tension issues – practice more
- Holes appear from skipped stitches – count carefully
Important: If coaster cups badly, unravel back to the problem round. Fixing early saves time and frustration. Don’t continue with incorrect stitch counts.
Choosing Colors Wisely
Color selection impacts your project success. Some colors work better for beginners.
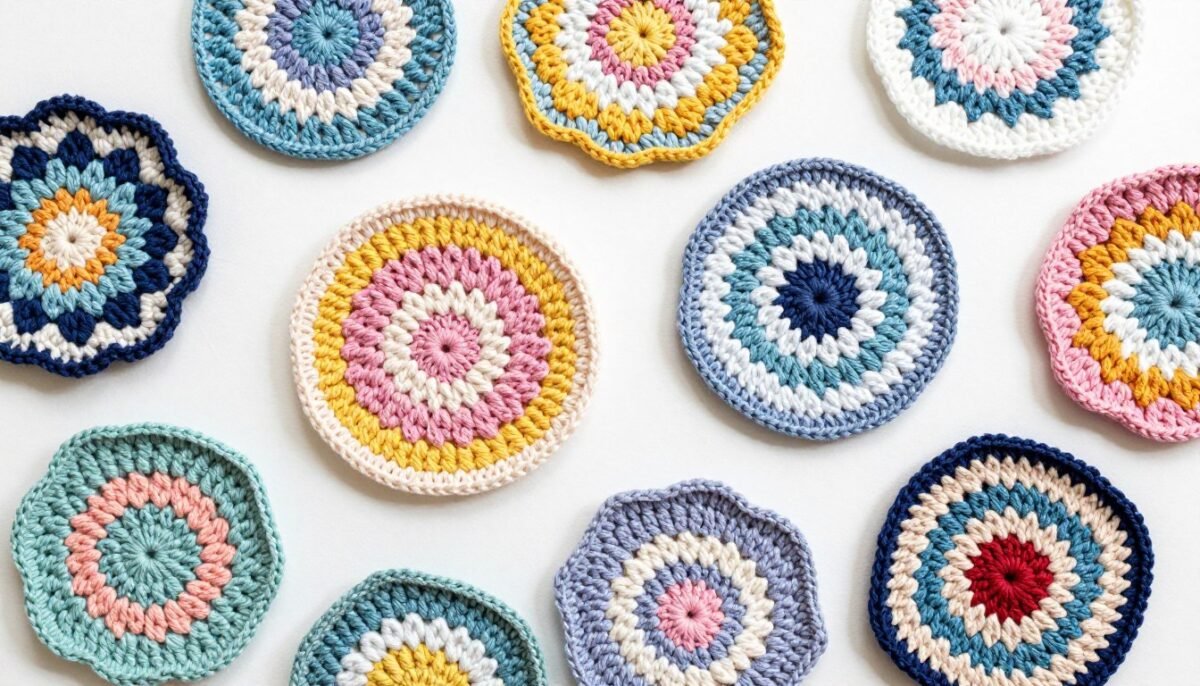
- Light colors show stitches clearly for learning
- Solid colors work better than variegated for first project
- Match existing home decor for motivation to use coasters
- Make sets in coordinating colors for gift-giving
Dark yarn makes counting stitches difficult. Save black and navy for later projects. Choose cream, white, or pastel shades initially.
Care Instructions for Your Crochet Coasters
Proper care extends coaster lifespan significantly. Cotton coasters withstand regular washing. Follow these guidelines for best results.
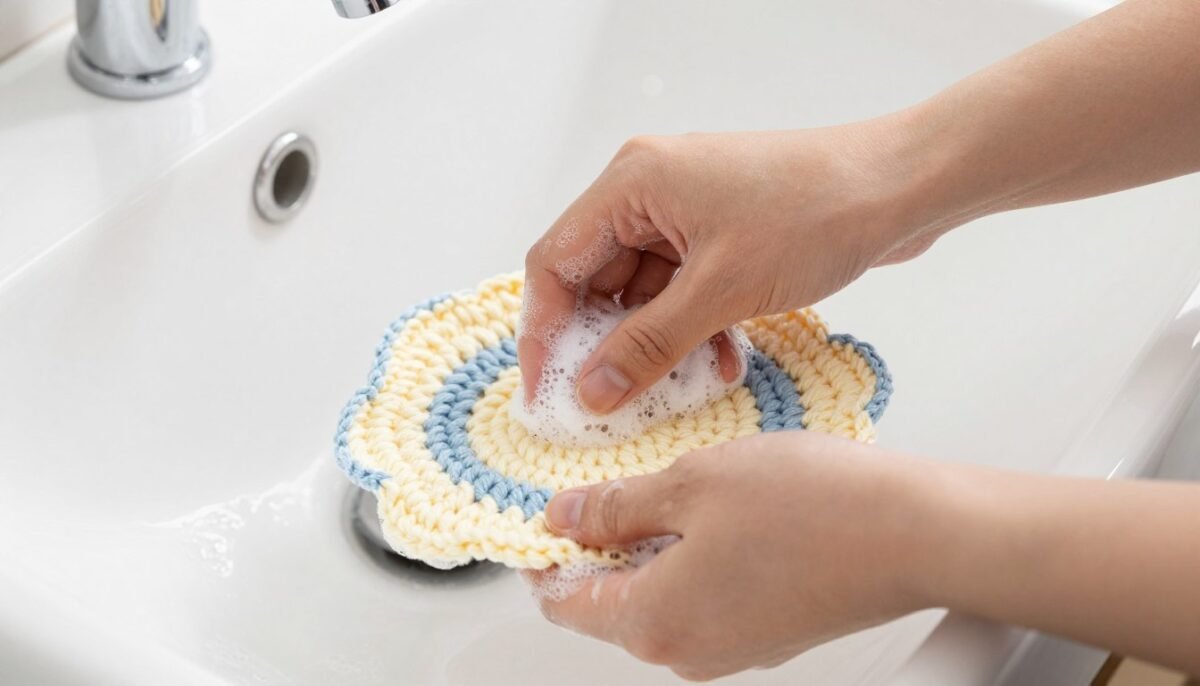
Washing Your Coasters
Regular washing keeps coasters fresh and stain-free. Cotton handles water beautifully.
- Hand wash in cool or warm water with mild detergent
- Gently squeeze soapy water through stitches
- Rinse thoroughly until water runs clear
- Press excess water out gently – never wring
- Machine wash on delicate cycle in mesh bag if preferred
Wash coasters weekly with regular use. Treat stains promptly for easiest removal. Cotton releases most stains easily.
Drying Methods
Proper drying maintains coaster shape. Avoid high heat that shrinks cotton.
- Roll coaster in clean towel to absorb moisture
- Lay flat on dry towel to air dry
- Shape coaster into round while damp
- Allow to dry completely before using
- Optional: tumble dry on low heat setting
Air drying prevents shrinkage. Your coasters maintain original size better. The process takes just a few hours.
Blocking for Perfect Shape
Blocking creates professional-looking coasters. This step makes coasters perfectly round.
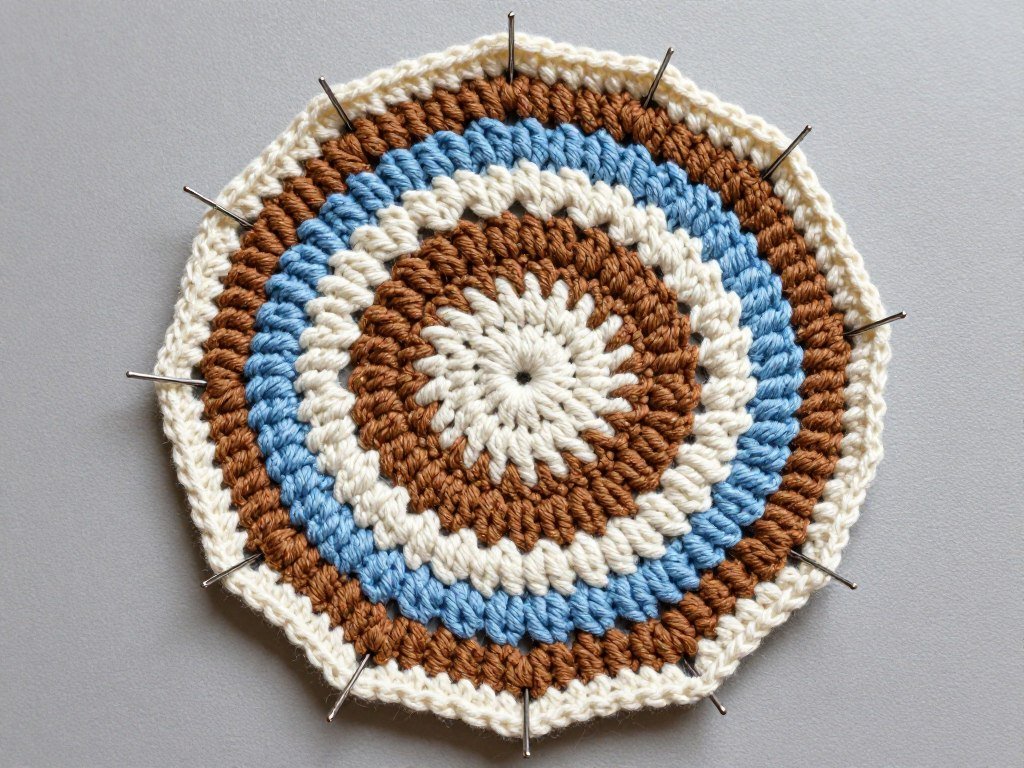
- Pin damp coaster to blocking board in circle
- Use rust-proof pins every inch around edge
- Let dry completely while pinned
- Steam block for extra-flat finish
Blocking works magic on handmade items. Even beginners achieve professional results. The technique evens out any tension inconsistencies.
Storage Tips
Store coasters properly between uses. Proper storage prevents damage and extends life.
- Stack coasters with paper between layers to prevent color transfer
- Keep in drawer or basket away from direct sunlight
- Avoid crushing under heavy items
- Store completely dry to prevent mildew
Creative Pattern Variations to Try
Once you master the basic crochet coaster pattern, try these variations. Small changes create entirely different looks.
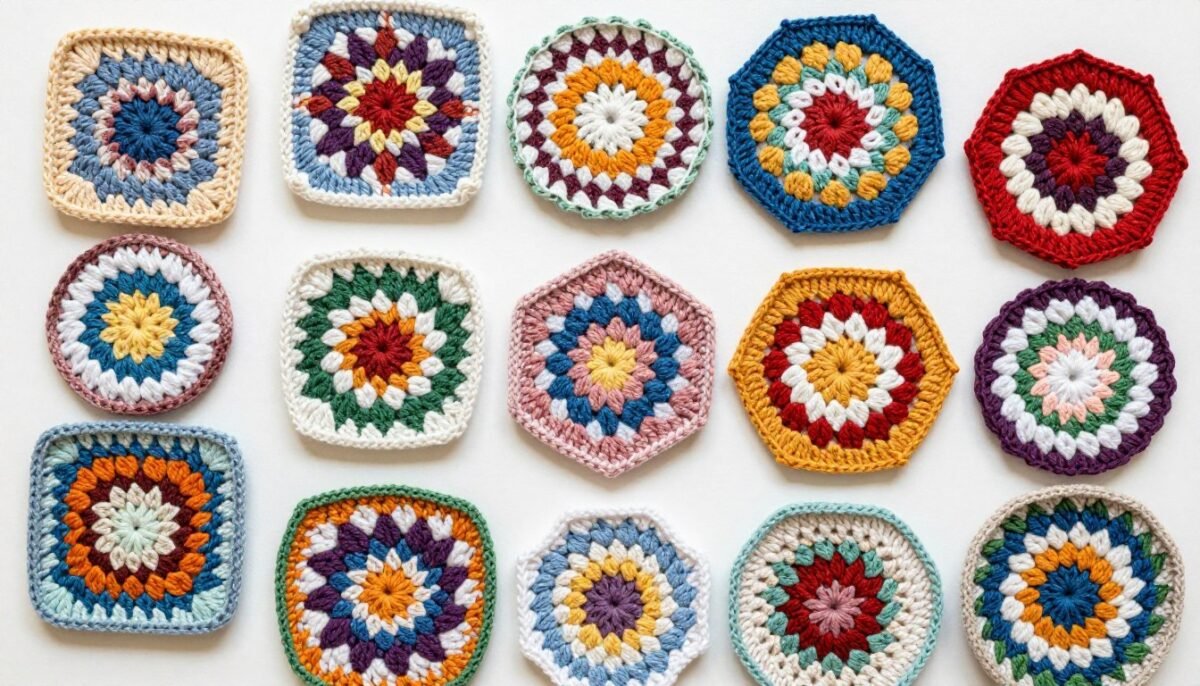
Adding Texture and Interest
Different stitches create unique textures. Experiment after mastering basic pattern.
- Use front post stitches for raised texture
- Alternate stitch types for pattern interest
- Add a contrasting color border
- Create stripes by changing colors each round
- Try cluster stitches for dimensional look
- Work shells for decorative edge
- Make hexagon shape instead of round
- Add picot edging for delicate finish
Size Adjustments
Modify coaster size for different purposes. The same pattern works for multiple projects.
- Stop at Round 3 for small espresso cup coasters
- Add rounds for larger mug coasters or trivets
- Continue to 8 inches for hot pot holders
- Make mini versions for candle bases
Start Your Crochet Coaster Project Today
This free crochet coaster pattern opens doors to countless projects. You learned fundamental crochet skills through practical application. These coasters beautify your home while protecting surfaces.
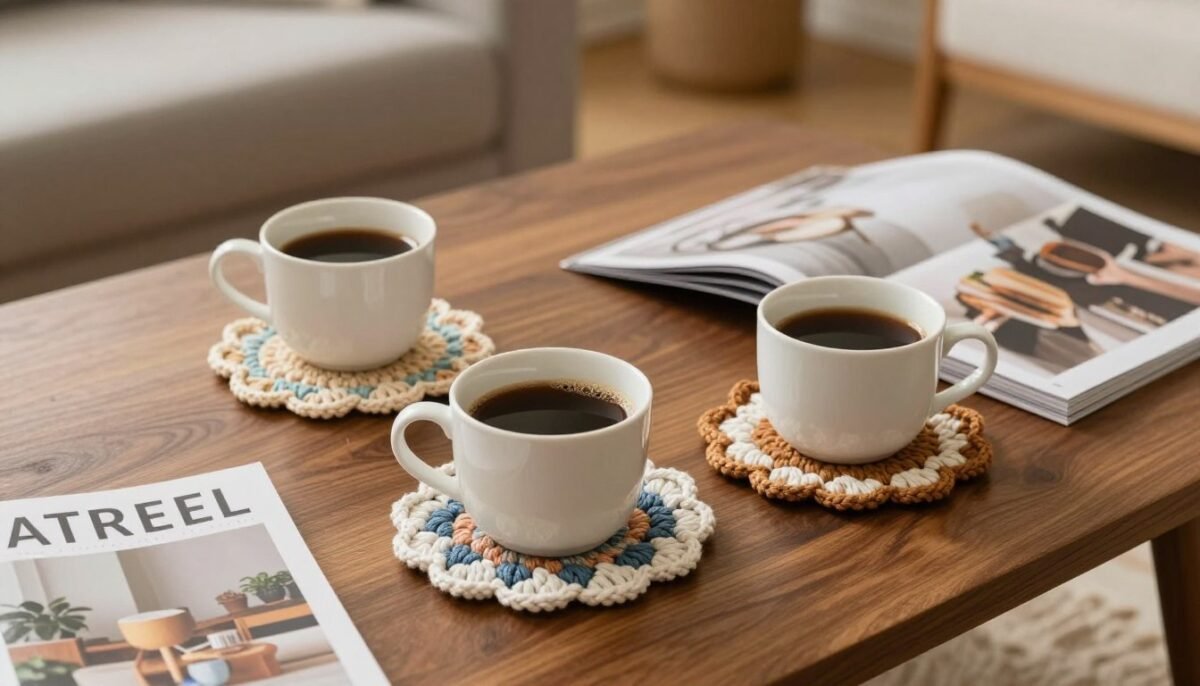
The skills you practiced here transfer to many patterns. Working in rounds, increasing evenly, and weaving ends properly apply across crochet projects. You built a strong foundation today.
Make a set of coasters in your favorite colors. Create gifts for friends and family. One pattern provides endless creative possibilities through color and texture variations.
Remember that practice improves your technique naturally. Your tenth coaster looks much better than your first. Keep crocheting and building skills with each project.