
Creating an adorable crochet squirrel brings joy to crafters of all skill levels. Whether you’re just learning basic stitches or mastering advanced amigurumi techniques, squirrel patterns offer endless creative possibilities. This comprehensive guide walks you through everything needed to craft your perfect woodland friend.
From selecting the right yarn to finishing touches on that signature bushy tail, you’ll discover free patterns tailored to your experience level. Let’s explore the wonderful world of squirrel crochet together.
Table of Contents
Why Crochet Squirrel Patterns Are Perfect for Every Skill Level
Squirrel patterns have become incredibly popular in the crochet community. These charming creatures work beautifully as amigurumi projects because their compact body shape makes them achievable for beginners. At the same time, their bushy tail and detailed features challenge experienced crocheters to refine their skills.
The basic squirrel body consists of simple rounds worked in continuous spirals. This foundational technique helps newcomers master consistent tension and stitch counting. The forgiving nature of amigurumi means small imperfections add character rather than detract from the finished piece.
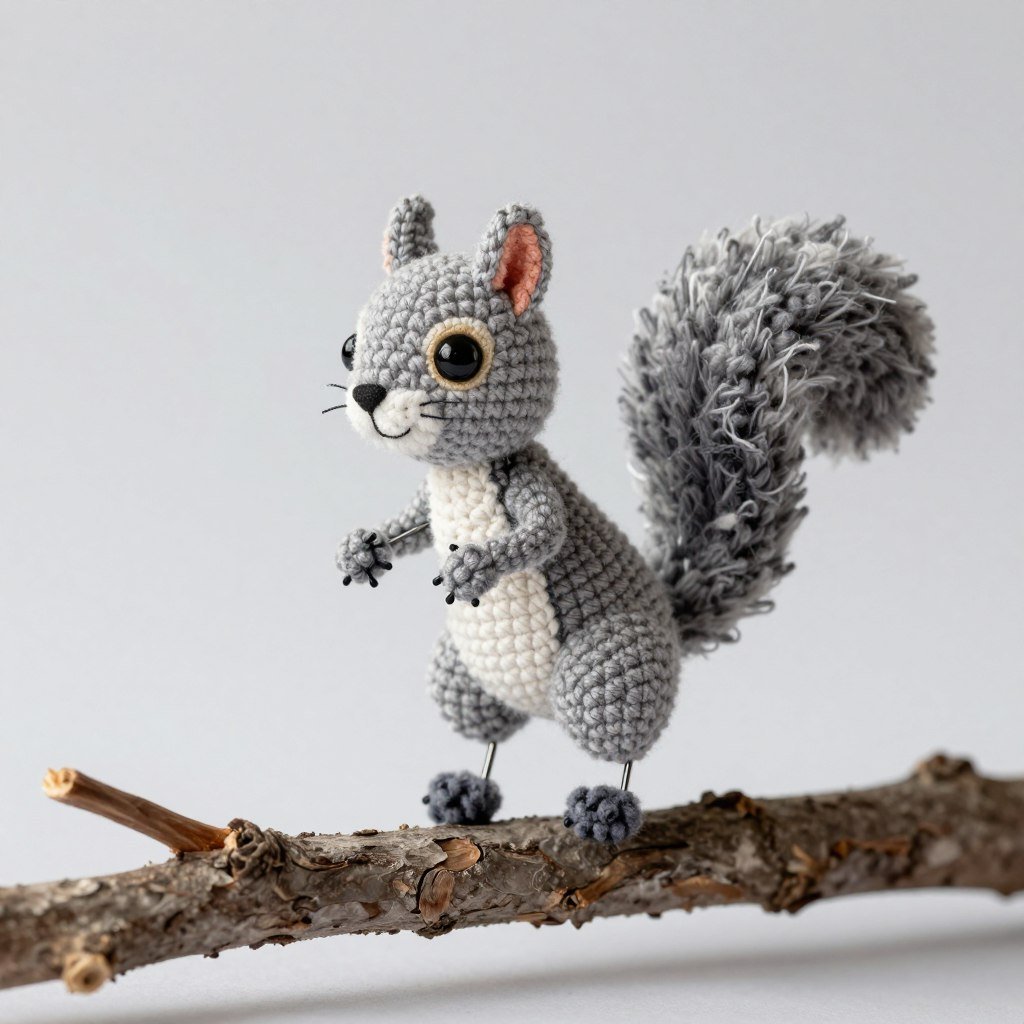
More advanced patterns incorporate color changes for realistic fur patterns. Some designs feature poseable wire armatures in the legs and tail. These techniques elevate a simple squirrel into a true work of fiber art.
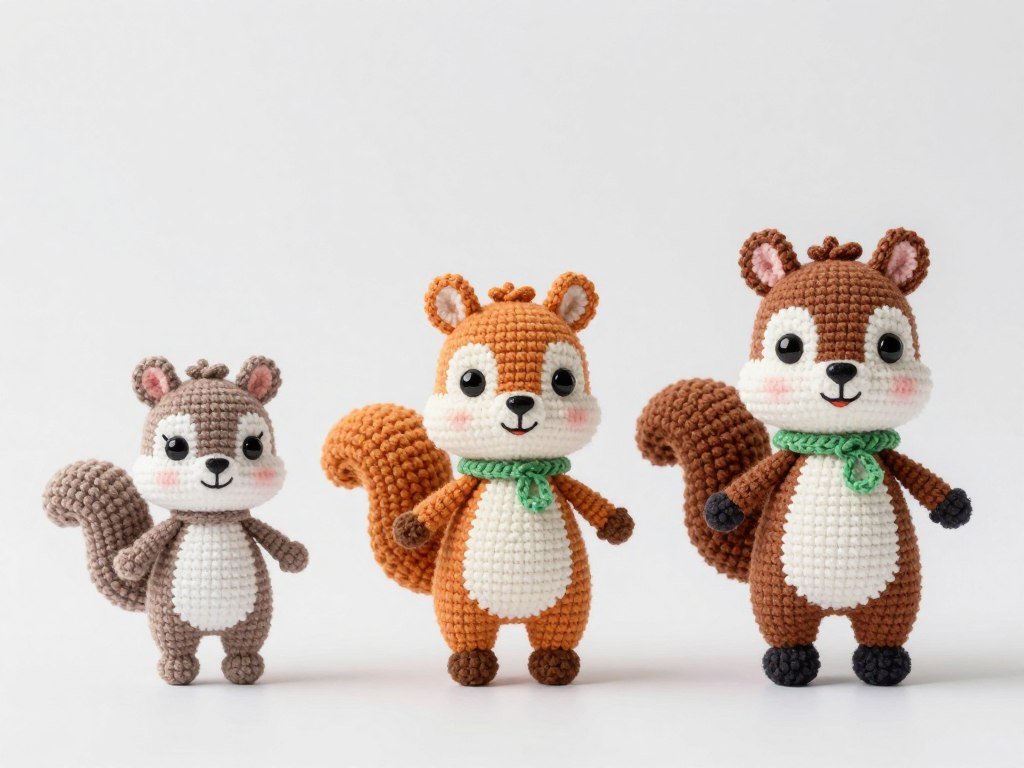
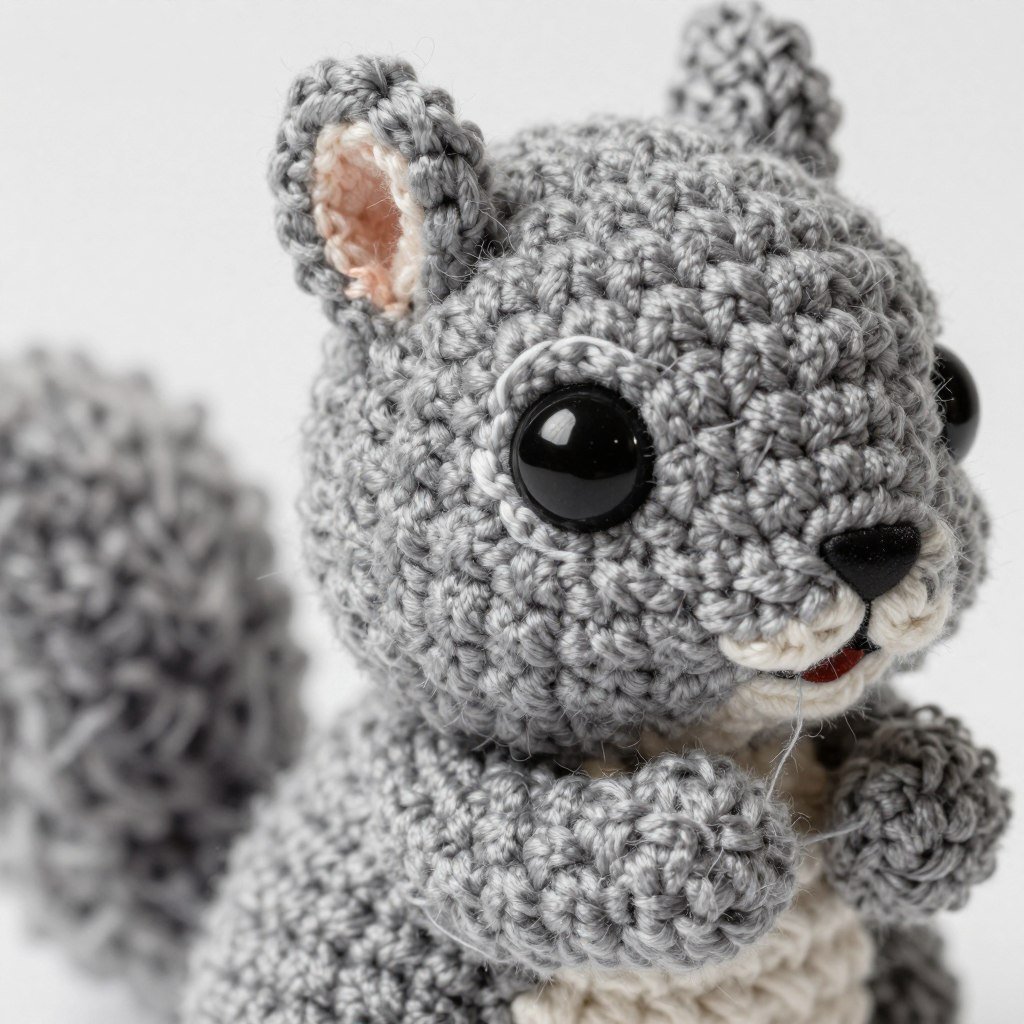
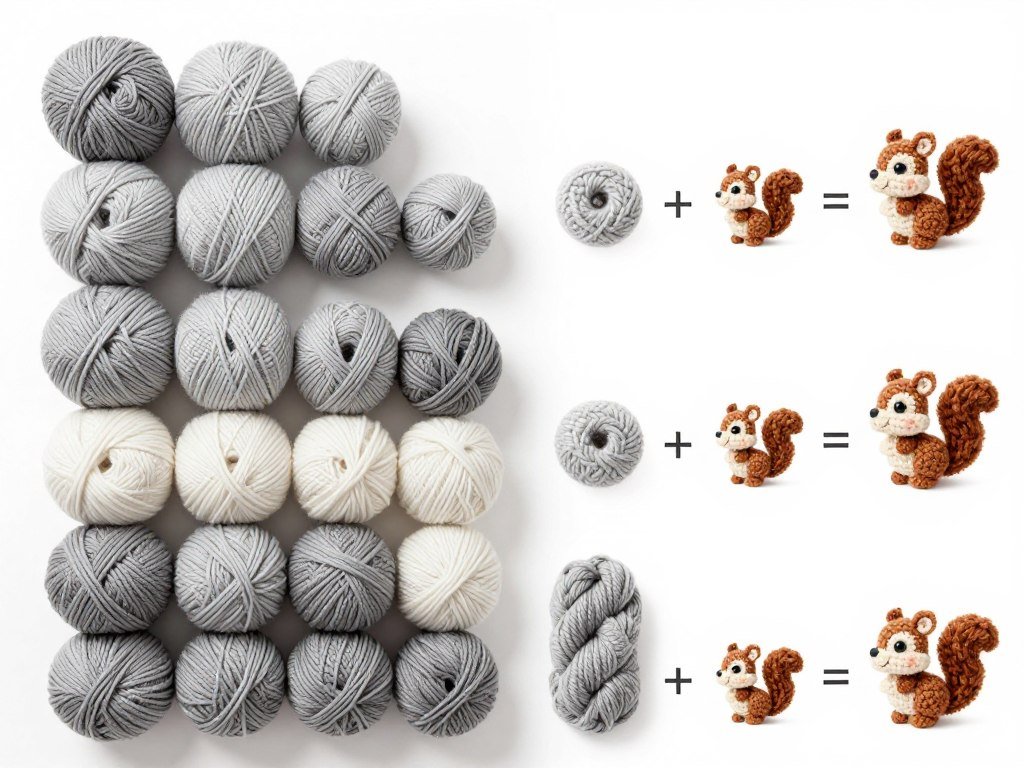
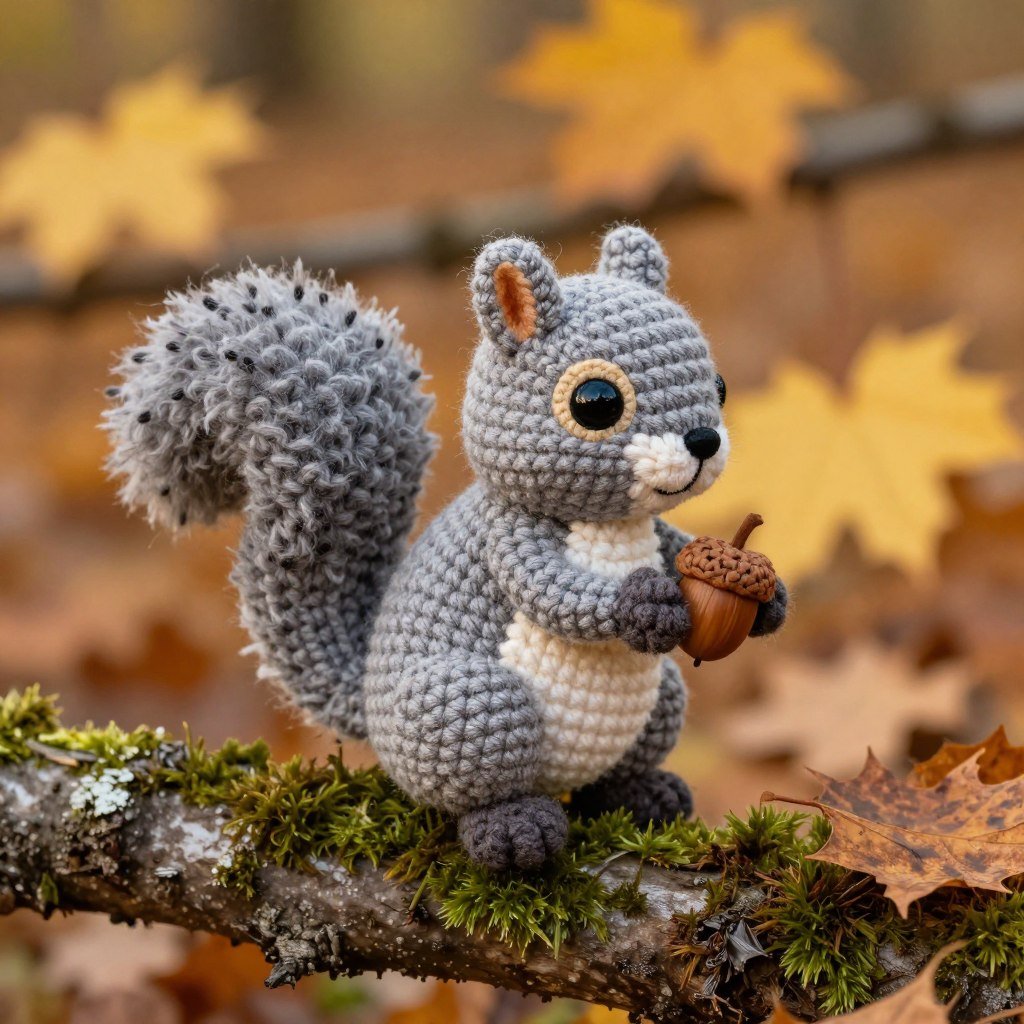
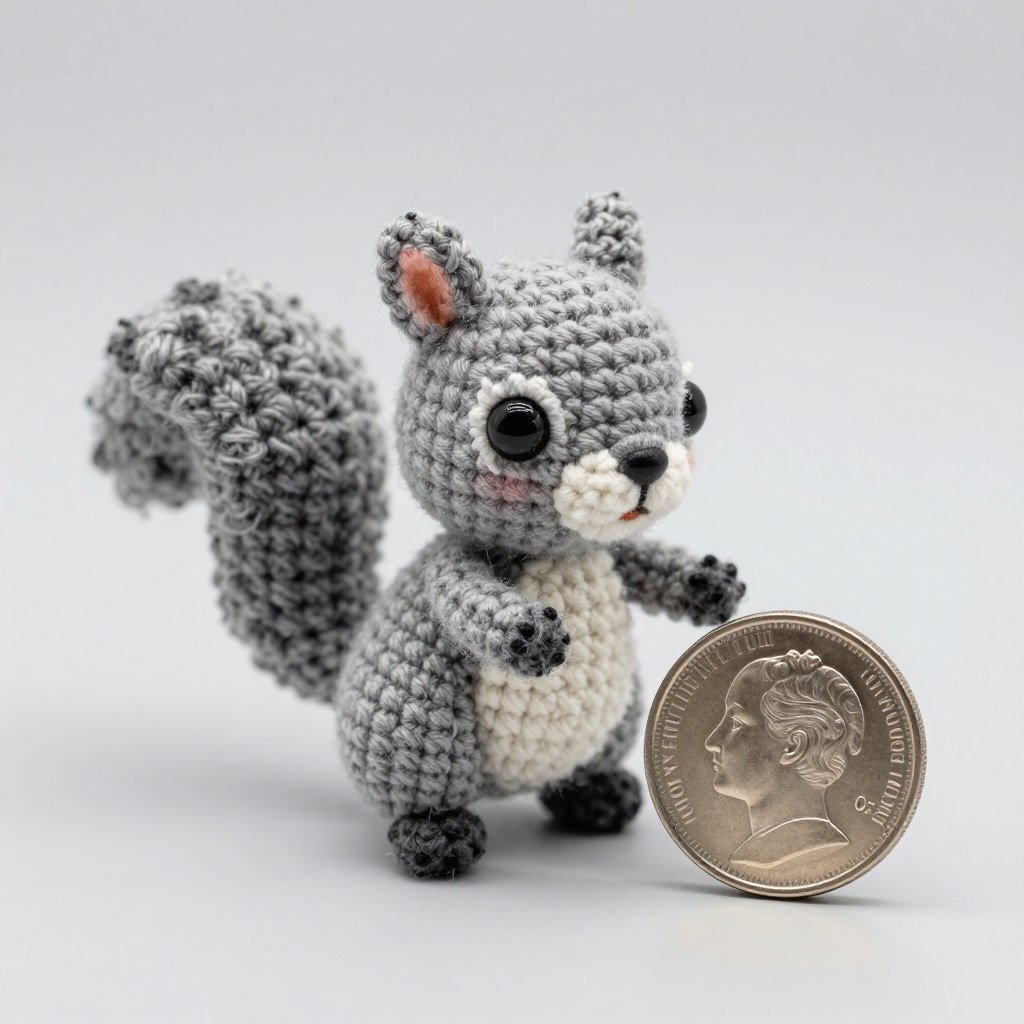
Quick Tip: Start with a grey squirrel pattern before attempting red squirrel color work. The single-color approach lets you focus on shape and construction without the added complexity of yarn changes.
Easy Crochet Squirrel Patterns for Beginners
Beginner-friendly squirrel patterns focus on basic stitches and straightforward construction. These designs typically use single crochet throughout, making them ideal for practicing consistent stitch work. Most beginner patterns create squirrels measuring 4-6 inches tall when complete.
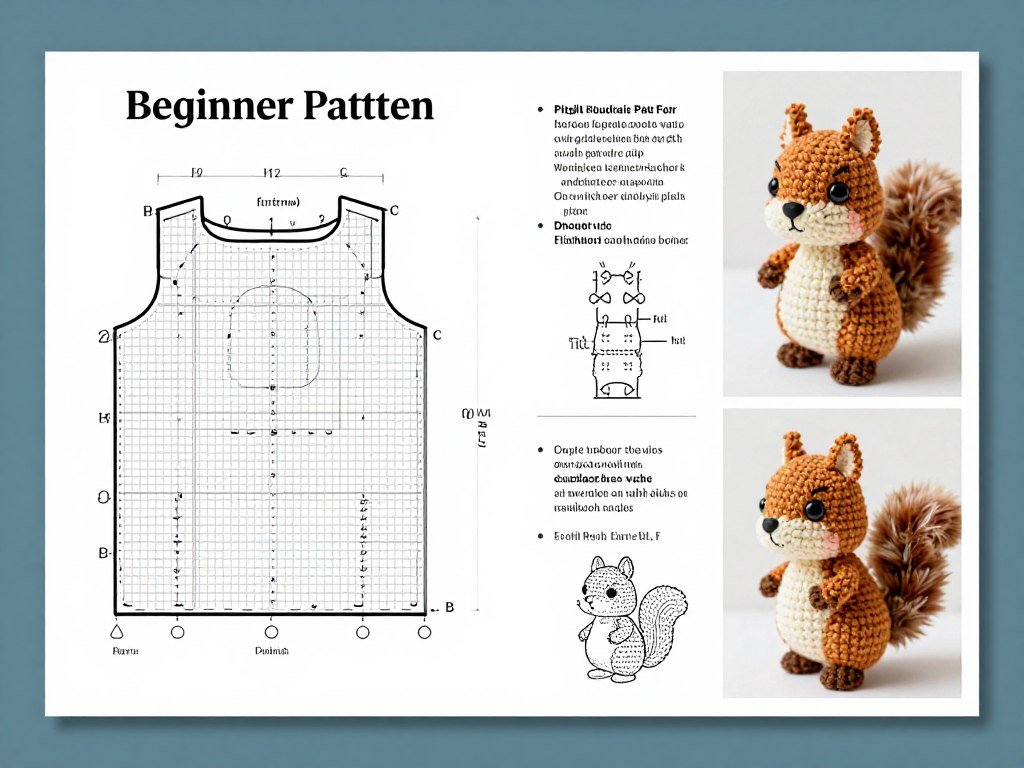
Essential Beginner Pattern: Simple Cube Squirrel
This adorable cube-style squirrel breaks down complex shapes into manageable geometric forms. The body starts as a simple sphere worked in continuous rounds. Each leg forms a small cylinder attached to the body after stuffing.
The tail represents the only slightly challenging element. Work it as a elongated cone, then brush the yarn to create that signature fluffy appearance. This technique transforms basic stitches into realistic texture.
Step-by-Step Instructions for Beginner Squirrel Body
- Start with a magic ring and work 6 single crochet stitches into the center. Pull the tail tight to close the ring completely.
- Increase evenly across the next round to 12 stitches total. Mark the beginning of each round with a stitch marker to track your position.
- Continue increasing rounds following the pattern until you reach the desired body width. Most beginner patterns expand to 24-30 stitches.
- Work even rounds without increases for the middle body section. This creates the cylindrical shape of the squirrel’s torso.
- Begin decrease rounds to close the bottom. Stuff firmly with polyester fiberfill before completing final decreases.
- Fasten off leaving a long tail for sewing. This tail will attach the body to the head later in construction.

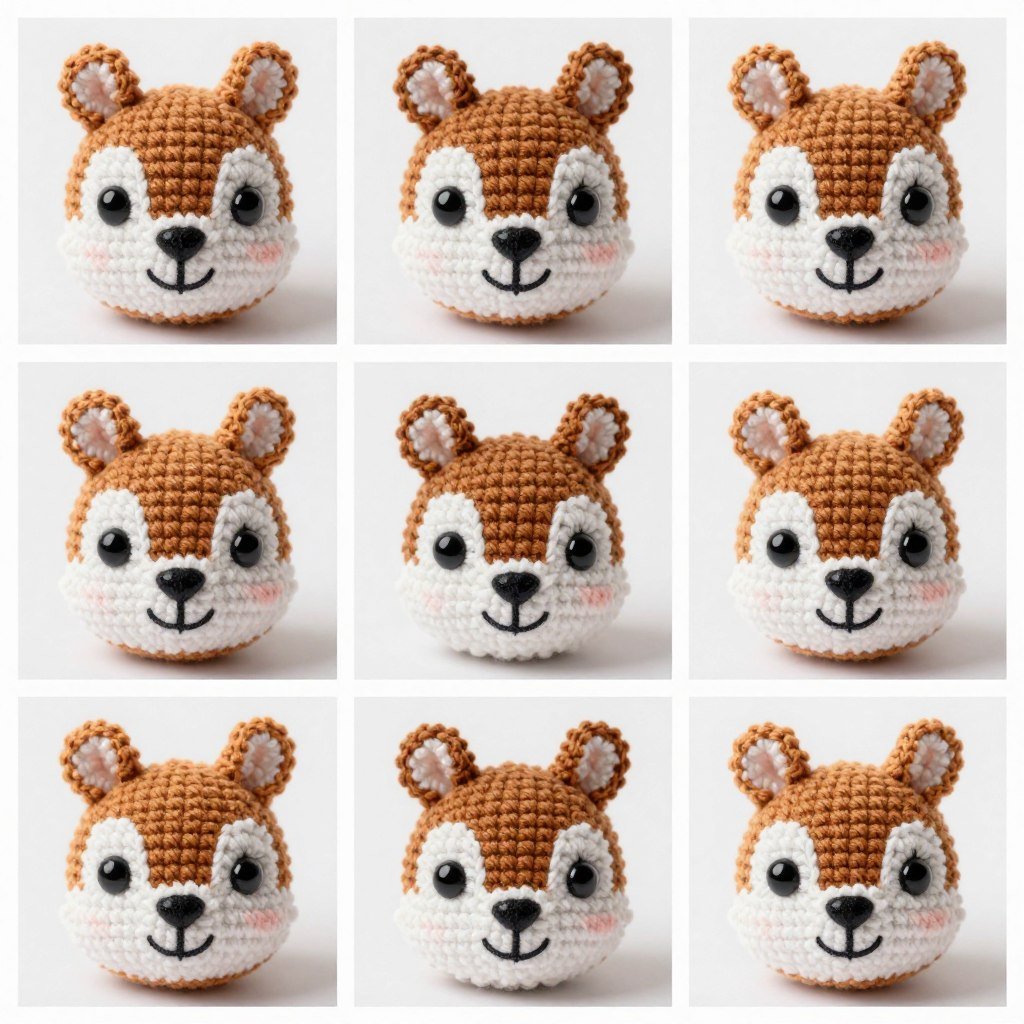
Creating the Beginner Squirrel Head
The head follows the same basic sphere construction as the body but on a smaller scale. Start with your magic ring and increase to approximately 18-24 stitches depending on desired head size. The key to a cute squirrel face lies in proper eye placement.
Position safety eyes between rounds 8 and 9, spacing them about 6 stitches apart. Insert them before stuffing the head, as the backing posts need access to the interior. Once eyes are secured, continue working decrease rounds to shape the snout.
Beginner Ear Construction
Squirrel ears add personality with minimal effort. Work a small oval shape using just 12-15 stitches total. Flatten the ear piece and sew it to the head using whipstitch. Position ears slightly toward the back of the head for that alert squirrel look.
Leave long tails when fastening off each ear. These tails weave through the head to anchor the ears securely. No glue needed when you use proper sewing techniques.
Simple Leg Assembly
Front legs work as tiny tubes of 8-10 rounds each. Stuff them lightly to maintain flexibility. Back legs need slightly more bulk, so increase the round count to 12-14 for proper proportion.
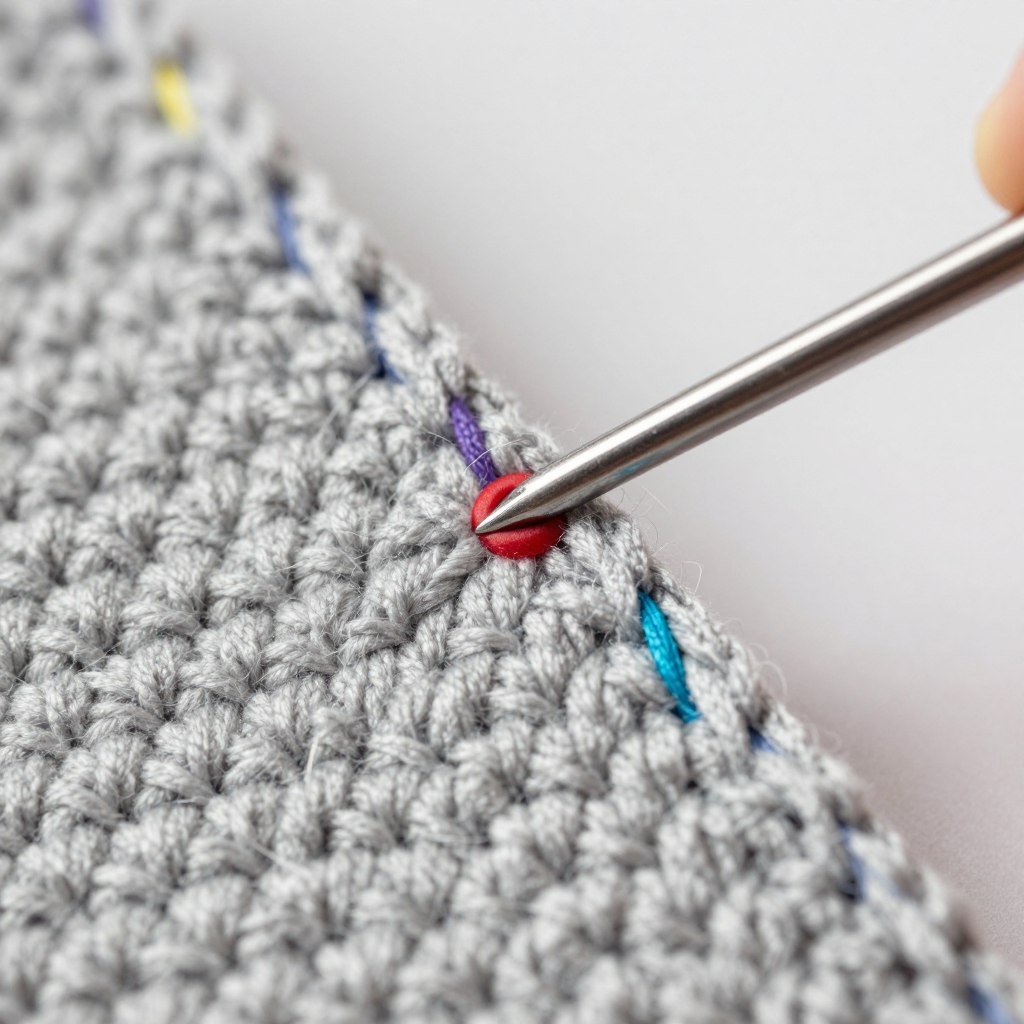
Attach all four legs to the body using ladder stitch. This invisible seaming technique creates clean joins that look professional. Position the back legs to allow your squirrel to sit upright.
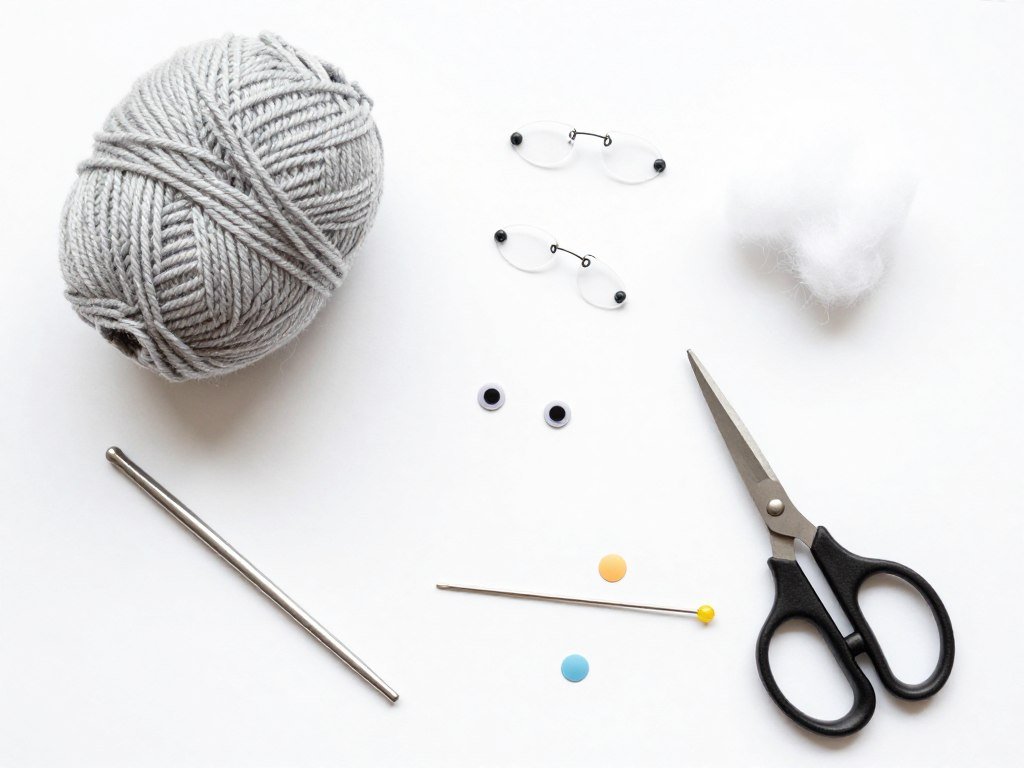
Basic Materials Needed
- 50g worsted weight yarn in grey or brown
- 3.5mm (E) crochet hook
- Pair of 8mm safety eyes
- Polyester fiberfill stuffing
- Yarn needle for assembly
- Stitch markers
Crafting the Signature Bushy Tail
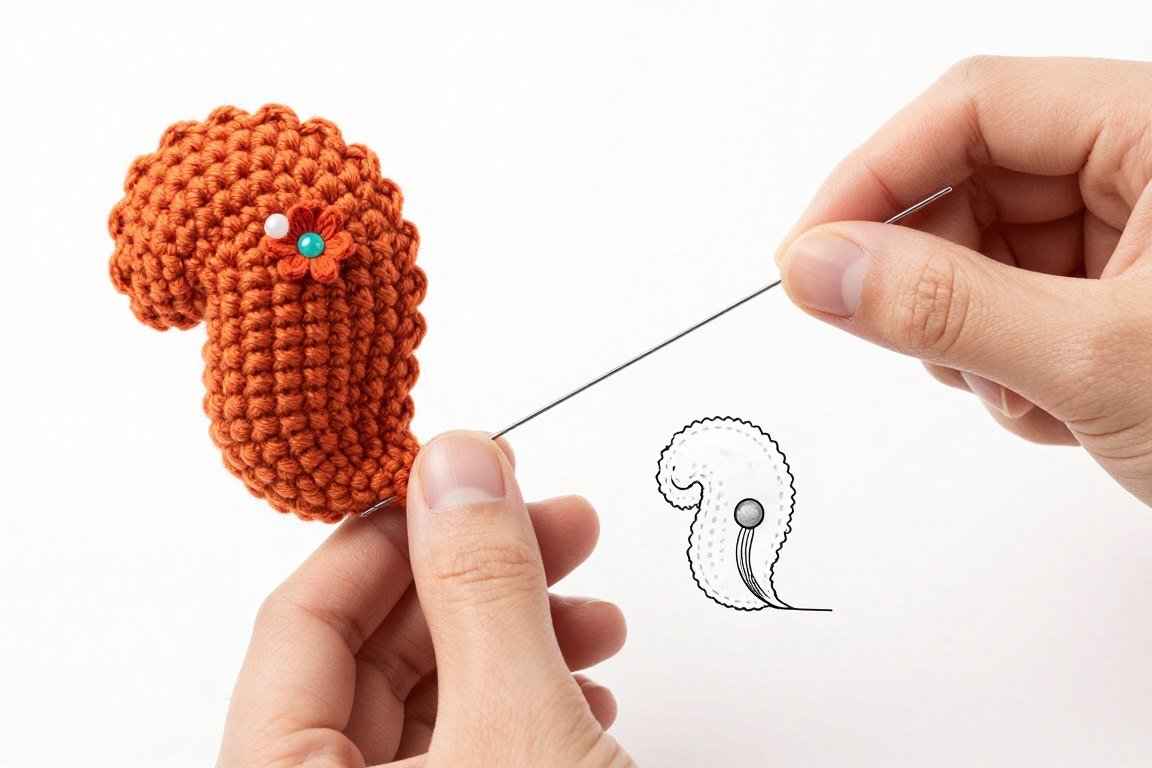
The tail makes your crochet squirrel instantly recognizable. For beginners, a simple tapered cone shape works beautifully. Start with 8 stitches in your magic ring and increase more slowly than the body, creating that elongated teardrop shape.
Work the tail to approximately the same length as the body. This proportion looks natural and balances the finished squirrel. Stuff the tail firmly at the base where it attaches to the body, but leave the tip softer for a natural drape.

For extra fluffiness, gently brush the finished tail with a pet slicker brush. This separates the yarn fibers and creates that authentic bushy appearance. Work in the direction from base to tip, brushing carefully to avoid pulling stitches loose.
Brushing Success: Choose yarn with at least 20% natural fiber content for best brushing results. Acrylic-only yarn won’t separate as effectively. Red Heart Super Saver or Caron Simply Soft work well for beginners attempting this technique.
Advanced Crochet Squirrel Patterns for Expert Crafters
Expert-level squirrel patterns incorporate realistic details and advanced construction techniques. These designs often feature multiple yarn colors to create authentic red squirrel markings or grey squirrel shading. Pattern makers expect proficiency with invisible decreases, color changes, and sculptural shaping.

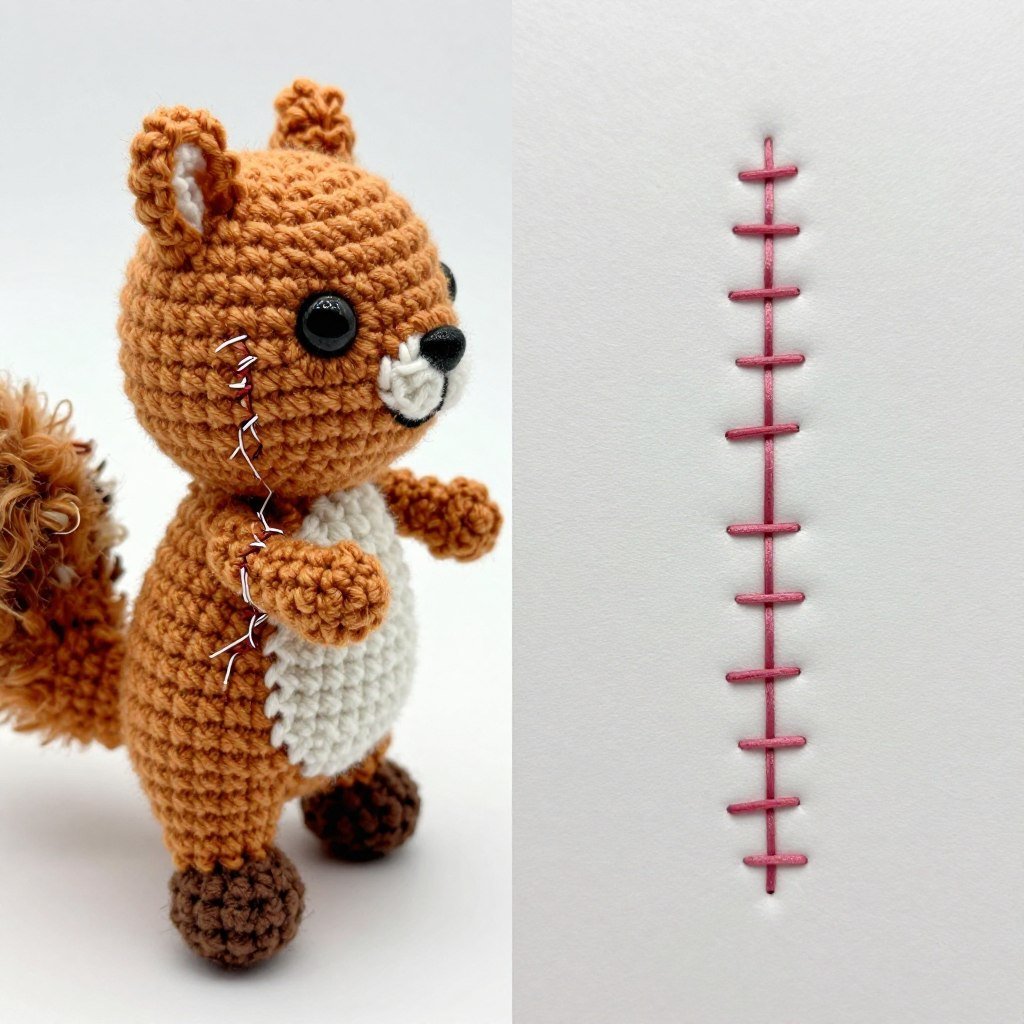
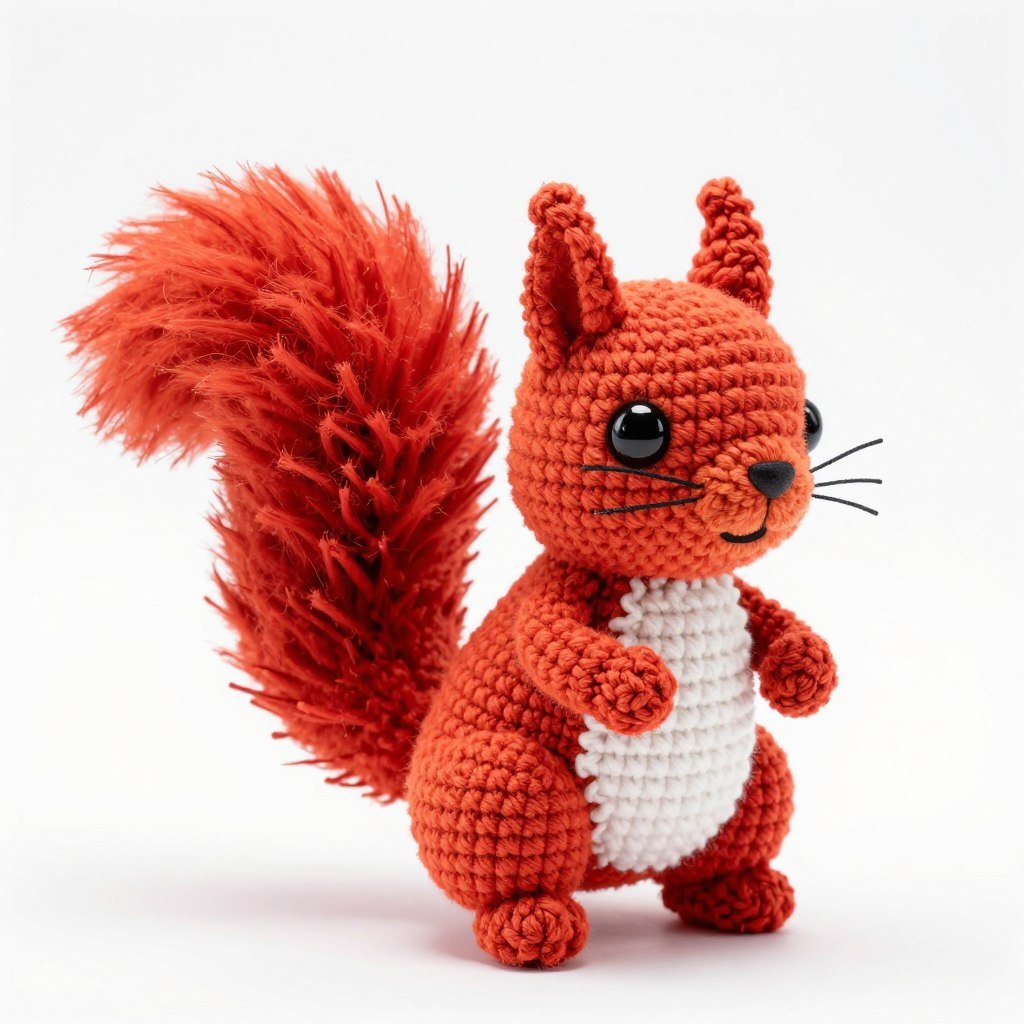
Realistic Red Squirrel Pattern with Color Work
Creating a lifelike red squirrel challenges your color-changing abilities. This pattern uses four different yarn shades to build dimension. The back features rich rust tones while the belly transitions to cream. Cheeks incorporate subtle pink undertones that bring the face to life.
Color changes happen mid-round to avoid visible seam lines. Master the jogless stripe technique before attempting this pattern. Each color transition should blend seamlessly into the next, mimicking natural squirrel fur patterns.
Advanced Tail Construction Techniques
Expert squirrel tails incorporate wire armatures for poseable drama. Insert 18-gauge floral wire into the tail before final stuffing. The wire runs from the base attachment point to about three-quarters up the tail length.
Bend the wire-reinforced tail into dynamic curves. This allows your squirrel to display that characteristic question-mark tail position. Secure the wire at the base by wrapping it around itself several times before inserting.
Some advanced patterns call for separate tail pieces sewn together to create fullness. Work two or three identical tail sections, then join them along one edge. This multi-layer approach produces exceptional volume and movement.
Sculptural Face Shaping
Advanced patterns achieve realistic facial features through precise decrease placement. Work asymmetric decreases to create the squirrel’s pointed snout. Position decreases on either side of the centerline, gradually bringing them closer together toward the nose tip.
Embroider the nose using satin stitch with black yarn. Add white highlights to the safety eyes using a tiny dot of white fabric paint. These small details transform a cute toy into a remarkably lifelike creation.
Expert-Level Features and Details
Textured Fur Techniques
Loop stitch creates raised fur texture on the back and tail. Work standard single crochet on the body side, then flip to loop stitch for the outer surface. This dimensional texture looks stunning on grey squirrels.
Poseable Limb Construction
Insert pipe cleaners or thin wire into legs for infinite posing options. Your squirrel can grip branches, sit upright, or crouch in foraging position. Secure wire ends with hot glue before stuffing.
Miniature Accessories
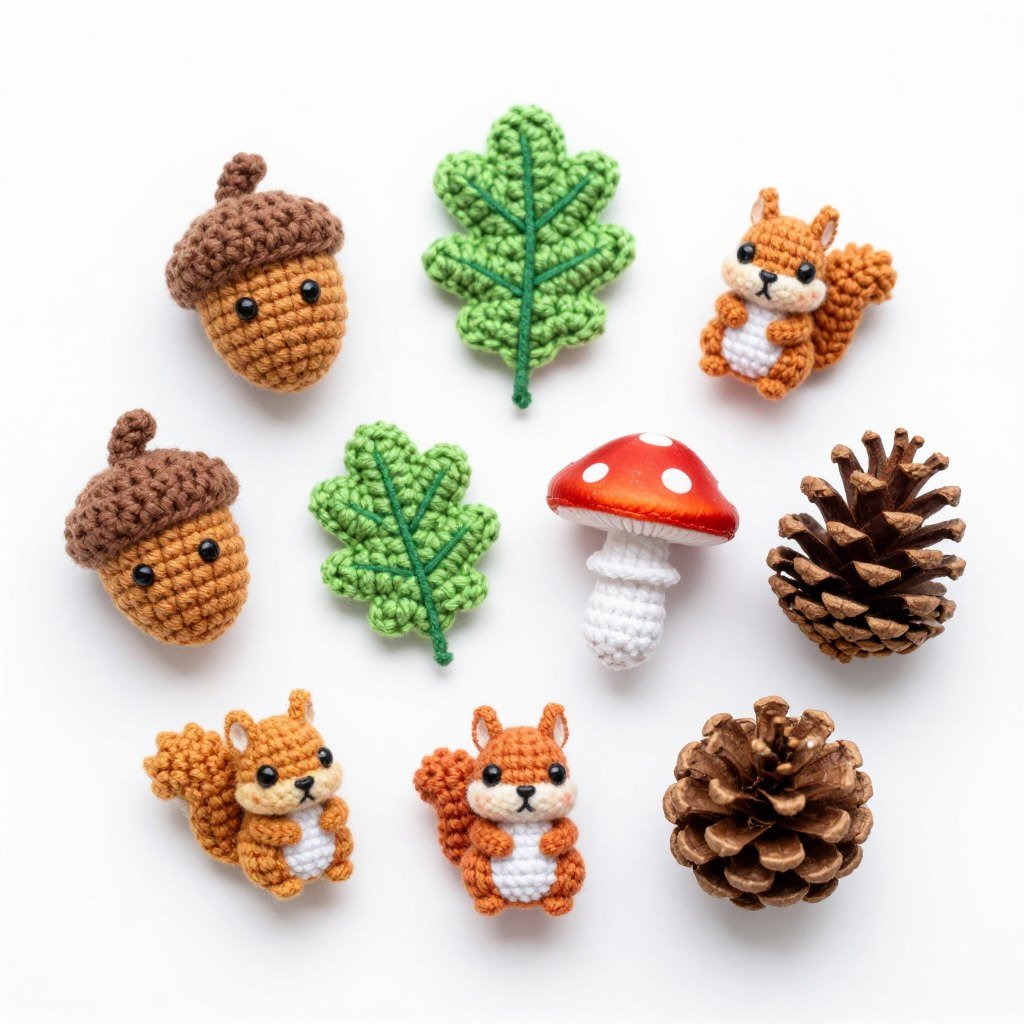
Crochet tiny acorns using size 10 thread and a steel hook. Add oak leaves and pinecones for display vignettes. These micro-crochet accessories showcase your advanced skills beautifully.
Advanced Assembly and Finishing
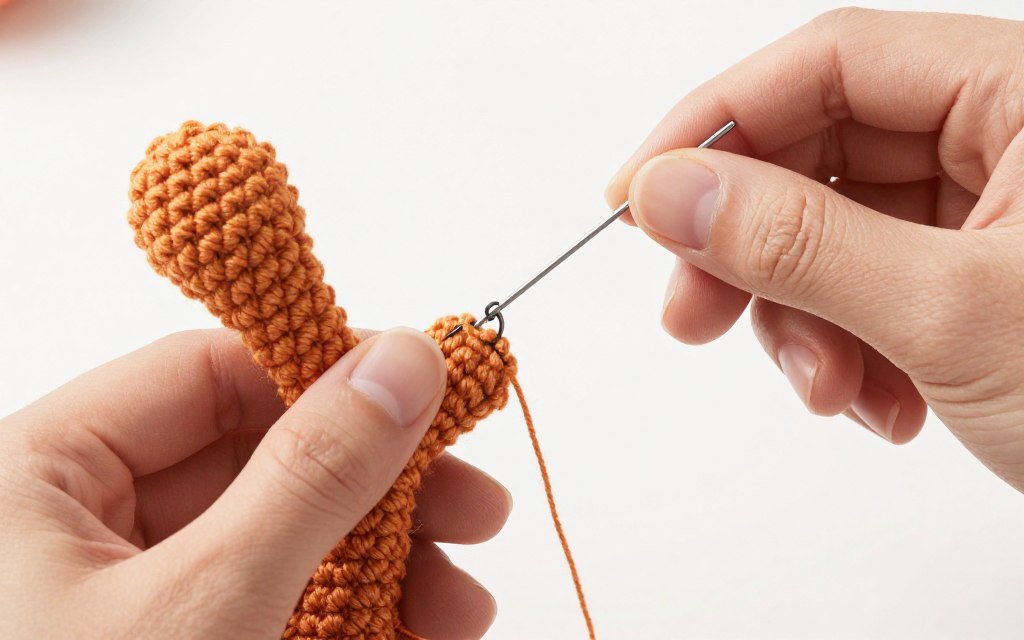
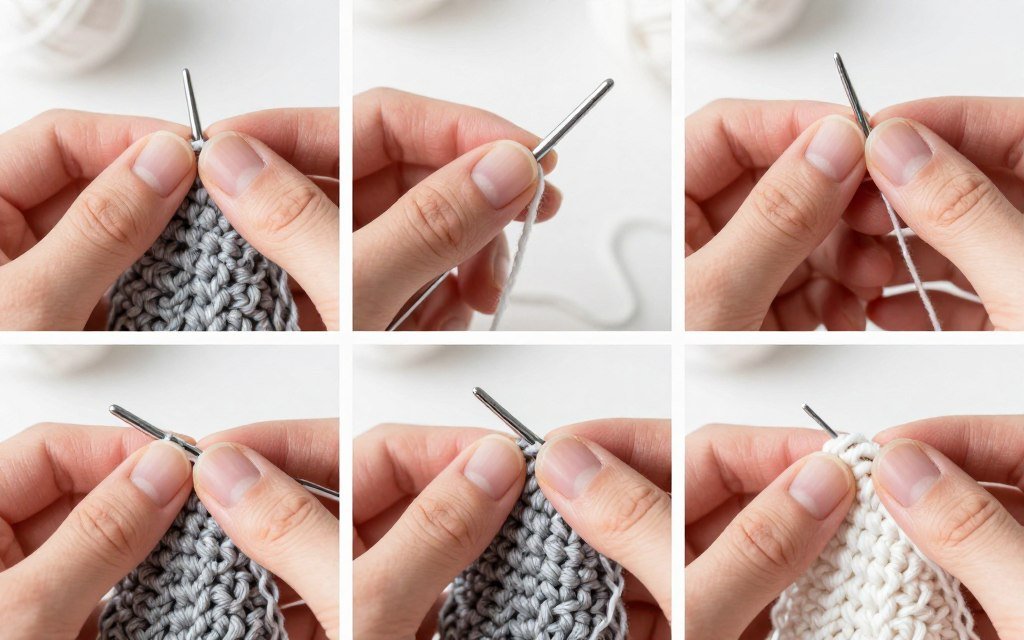
Expert patterns demand invisible seaming throughout. Use ladder stitch for all joins between body parts. This technique hides the seam completely when worked correctly. Thread your yarn needle and work through the outermost loops only on each piece.
Position pieces before sewing to ensure proper alignment. Pin legs and ears in place with quilting pins. Step back and view your squirrel from all angles. Adjust positioning until the proportions look natural, then sew permanently.
Secure all yarn ends by weaving through stitches in a winding path. Never weave straight lines, as this can pull loose. Change direction multiple times, then trim ends close to the surface. The woven ends become permanently locked within the stuffing.
Recommended Yarn Types and Hook Sizes for Squirrel Patterns
Yarn choice dramatically impacts your finished squirrel’s appearance and durability. The right fiber content, weight, and color make the difference between a mediocre project and an heirloom-quality piece. Understanding these material fundamentals helps you select perfect supplies for any squirrel pattern.
Best Yarn Choices for Different Squirrel Styles
| Yarn Type | Best For | Fiber Content | Price Range |
| Acrylic Worsted Weight | Beginner projects, washable toys | 100% acrylic | $3-5 per skein |
| Cotton Worsted Weight | Baby-safe squirrels, structured shape | 100% cotton | $5-8 per skein |
| Wool Blend DK | Realistic texture, felted details | 70% wool, 30% acrylic | $8-12 per skein |
| Alpaca Blend Sport | Luxury finish, soft drape | 50% alpaca, 50% wool | $12-18 per skein |
| Chenille Velvet Yarn | Ultra-soft texture, modern look | 100% polyester | $6-10 per skein |
Yarn Weight Considerations
Most squirrel patterns call for worsted weight yarn. This medium thickness creates squirrels in the 5-7 inch range. Using DK or sport weight yarn with a smaller hook produces miniature squirrels perfect for ornaments.
Bulky weight yarn works up quickly for jumbo display pieces. Keep your hook size proportional to the yarn weight. The fabric should feel firm without visible gaps between stitches.
Mixing yarn weights in one project requires careful planning. Use heavier yarn for the body and tail, switching to lighter weight for delicate ears and hands. This creates visual interest through texture contrast.
Essential Hook Sizes for Amigurumi Squirrels
Amigurumi requires tight gauge to prevent stuffing from showing through stitches. Always use a hook one or two sizes smaller than the yarn label recommends. Worsted weight yarn typically suggests a 5.0mm hook, but amigurumi works better with 3.5mm or 4.0mm hooks.
Smaller Hook Benefits
- Creates dense fabric that contains stuffing
- Produces sturdy, durable finished pieces
- Prevents safety eye backing from pulling through
- Maintains consistent shape over time
- Allows for precise stitch definition
Smaller Hook Challenges
- Requires more hand strength and grip pressure
- Takes longer to complete projects
- Can cause hand fatigue during long sessions
- May be difficult for beginners to insert hook
- Needs break-in period for comfort

Additional Supplies and Tools
- Safety eyes in 6mm, 8mm, or 10mm sizes depending on squirrel scale
- High-quality polyester fiberfill that won’t clump or mat over time
- Sharp scissors for clean yarn cuts
- Yarn needles with large eyes and blunt tips for assembly
- Stitch markers to track round beginnings in amigurumi
- Measuring tape to verify proportions during construction
- Pet slicker brush for creating fluffy tail texture
- Wire cutters if adding poseable armatures
Tips and Tricks for Successful Squirrel Crochet Projects
Mastering squirrel construction requires understanding common challenges and their solutions. These proven tips help you avoid frustration and create professional-looking results. Whether you’re working on your first squirrel or your fiftieth, these techniques improve every project.
Maintaining Consistent Tension
Even tension creates uniform stitches that produce smooth surfaces. Inconsistent tension shows as lumpy areas or visible size variations in your work. Practice holding yarn the same way throughout your project.
Wrap yarn around your pinky finger and over your index finger. This creates natural tension as you work. Adjust tightness by changing how many times you wrap the pinky.
Take regular breaks to prevent hand fatigue from affecting tension. Tired hands tend to loosen their grip, creating noticeably larger stitches. Work in 20-minute sessions with short stretch breaks between.
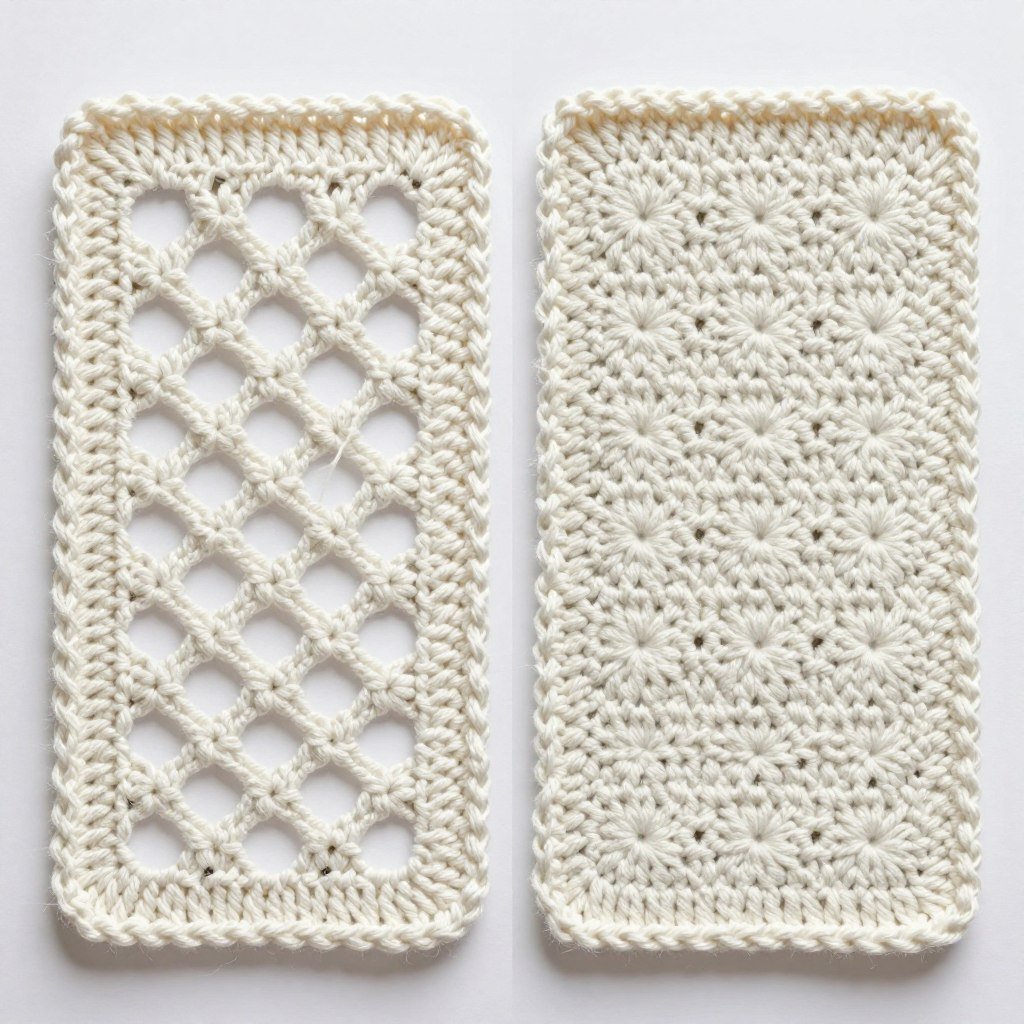
Tension Testing: Crochet a 4-inch square swatch before starting your squirrel. Measure stitch count per inch. If your gauge matches the pattern, your tension works perfectly. Adjust hook size up or down if needed.
Perfect Stuffing Techniques
Proper stuffing transforms floppy pieces into firm, shapely squirrels. Use small amounts of fiberfill, adding gradually as you work decrease rounds. Overstuffing stretches stitches and distorts shape. Understuffing creates saggy, lifeless pieces.

Stuff the head extra firmly to support safety eye placement. Soft heads allow eyes to sink inward, creating an unflattering appearance. Pack fiberfill tightly around eye posts before securing backings.
The tail needs strategic stuffing for best drape. Stuff the base third very firmly where it attaches to the body. Use medium stuffing in the middle section. Leave the final third lightly stuffed or even unstuffed for natural curve and movement.
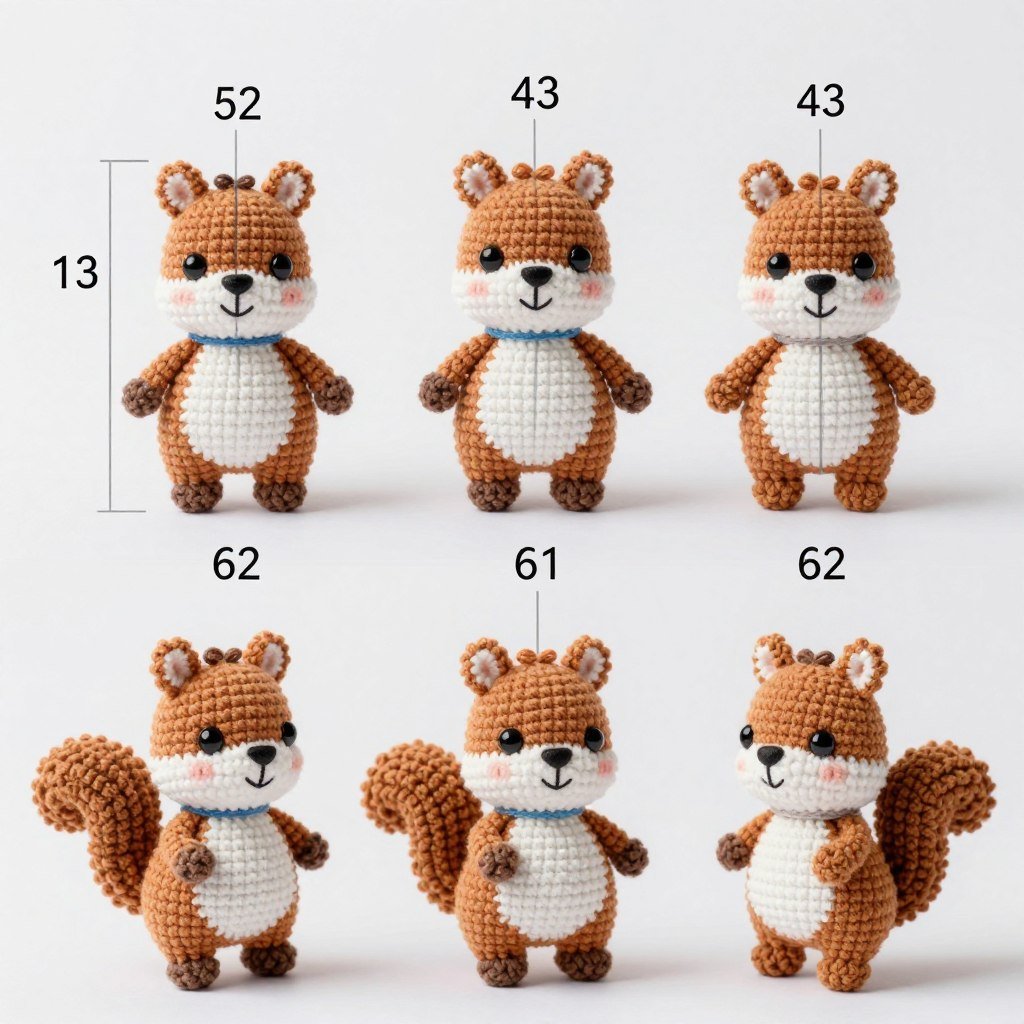
Achieving Symmetrical Features
Eye Placement
Count stitches carefully when positioning eyes. Place them the exact same number of rounds from the top of the head. Space them evenly with the same stitch count between.
Ear Alignment
Mark ear positions with pins before sewing. Stand back and check from all angles. Ears should sit at matching heights and angles for that alert squirrel expression.
Leg Length
Work each leg to identical row counts. Measure frequently during construction. Mismatched legs create wobbly squirrels that won’t sit properly.
Tail Position
Attach the tail centered on the back body. Offset placement makes squirrels look lopsided. Sew through multiple rounds for secure attachment that won’t twist.
Color Change Mastery
Clean color changes require technique, not luck. Complete the final yarn over of the last stitch in the old color using the new color. This positions the new color perfectly to begin the next stitch.
Carry unused colors inside the work when making frequent changes. Crochet over the unused strand, trapping it within stitches. This eliminates dozens of ends to weave in later and creates a cleaner interior.
For jogless stripes in continuous rounds, work the slip stitch differently at color changes. Instead of working into the first stitch of the round, insert your hook one round below. This eliminates the visible jog that typically appears.
Fixing Common Mistakes
What if I lose my stitch count?
Place a marker at the current position. Count all stitches in the current round carefully. Compare to the pattern requirements. Add or skip stitches in the next round to correct the count. The adjustment distributes across multiple stitches and won’t show in the finished piece.
How do I fix a missed increase?
If you discover the missed increase within two rounds, carefully unravel back to the error. Work the increase correctly, then redo the following rounds. If the mistake is older, add an extra increase in the current round to compensate. The slight adjustment in placement typically won’t affect the final shape.
Why does my squirrel lean to one side?
Uneven stuffing or mismatched leg lengths cause listing. Check that all legs are worked to the same length. Ensure even stuffing distribution throughout the body. Adjust leg attachment positions, moving them slightly to balance the weight properly.
How can I make the tail stay upright?
Insert a wire armature or pipe cleaner through the tail center before final stuffing. Bend the wire into the desired curve. Alternatively, sew invisible stitches through the tail into the back body at strategic points, tacking it into position.
Safety First: Always secure wire ends completely within the body when creating poseable elements. Exposed wire can poke through fabric over time. Bend wire ends into tight loops or cover with hot glue before inserting into the piece.
Common Mistakes to Avoid When Crocheting Squirrels
Even experienced crocheters encounter pitfalls when tackling squirrel patterns. Recognizing these common errors before they happen saves time and frustration. Learn from others’ mistakes to create beautiful squirrels on your first attempt.
Wrong Hook Size Selection
Using the recommended yarn-label hook size creates fabric too loose for amigurumi. Stuffing shows through gaps between stitches. The finished squirrel feels floppy and shapeless.
Solution: Always drop down one or two hook sizes for proper amigurumi gauge. The fabric should feel firm with no visible gaps when stretched slightly.
Insufficient Stuffing Firmness
Light stuffing creates squirrels that collapse or develop dents. Features lose definition and the overall shape appears deflated. Safety eyes may sink backward into soft heads.
Solution: Stuff firmly, especially in the head and body core. Add small amounts gradually, packing each addition before adding more. The piece should feel solid without hard lumps.
Skipping Stitch Markers
Working continuous rounds without markers causes confusion about round beginnings. Pattern instruction alignment becomes impossible. Increase and decrease placements end up wrong.
Solution: Place a marker in the first stitch of every round. Move it up as you complete each round. Consider using different colored markers for key reference points.
Rushing the Assembly Process
Hasty assembly creates visible seams and crooked features. Pieces sewn without proper pinning end up misaligned. The finished squirrel looks homemade in unflattering ways.
Solution: Pin all pieces in position before sewing. Check proportions from multiple angles. Use ladder stitch for invisible seaming. Take your time with finishing work.
Incorrect Eye Positioning
Eyes placed too close create a cross-eyed appearance. Spacing them too wide makes squirrels look startled or vacant. Uneven height creates a confused, lopsided expression.
Solution: Count stitches carefully for eye placement. Space them 6-8 stitches apart for typical proportions. Position between rounds 8-10 from the top of the head for alert, natural expression.
Neglecting Gauge Swatching
Skipping the gauge swatch produces squirrels in unexpected sizes. Proportions between body parts become distorted when your tension differs from pattern specifications.
Solution: Always work a small test piece before starting. Measure your stitches per inch. Adjust hook size or tension until your gauge matches the pattern designer’s specifications.
Pro Tip: Keep detailed notes about your gauge, hook size, and any pattern modifications for each squirrel you complete. This reference guide helps you replicate successful results and avoid repeating mistakes in future projects.
Where to Find Free Squirrel Crochet Patterns Online
The internet overflows with free crochet squirrel patterns ranging from simple beginner designs to complex realistic sculptures. Knowing where to look saves hours of searching and connects you with quality patterns that actually work.
Top Pattern Resource Websites
Ravelry Pattern Database
Ravelry hosts thousands of squirrel patterns with detailed photos and reviews. Filter by difficulty level, yarn weight, and style. User ratings help identify well-written patterns.
- Advanced search filters
- Pattern reviews from makers
- Project photos from community
- Free and paid pattern options
Pinterest Pattern Collections
Pinterest curates visual pattern collections from blogs worldwide. Follow boards dedicated to amigurumi squirrels for daily pattern inspiration and new designer discoveries.
- Visual pattern browsing
- Links to original pattern sources
- Seasonal squirrel variations
- Organized by skill level
Craft Blog Pattern Libraries
Independent crochet bloggers share original free patterns with photo tutorials. Many include video supplements and troubleshooting tips within their comprehensive posts.
- Detailed photo tutorials
- Designer support in comments
- Pattern variations and tips
- Community interaction
YouTube Video Pattern Tutorials
Video tutorials benefit visual learners who prefer watching techniques demonstrated. Many talented crocheters share complete squirrel patterns through YouTube channels. These typically include free written patterns in video descriptions.
Search for “crochet squirrel pattern tutorial” to find step-by-step video guides. Filter results by upload date to find recent patterns using current techniques. Check video descriptions for written pattern links before starting.
Subscribe to channels specializing in amigurumi for regular new pattern releases. Popular creators often build series around seasonal themes or skill progression. Notification settings alert you when new squirrel patterns publish.
- ClubCrochet – Beginner-friendly amigurumi tutorials
- Olga Amigurumi Toys – Realistic animal patterns
- Hooked by Robin – Quick easy squirrel designs
- Jayda InStitches – Advanced sculptural techniques
Pattern Designer Websites
Visit designer websites directly for their complete pattern catalogs. Many offer exclusive free patterns to newsletter subscribers. Signing up grants access to pattern libraries unavailable elsewhere.
Free Pattern Features
- Basic construction techniques
- Simple color schemes
- Standard sizing options
- Limited customization details
- Community support only
Premium Pattern Features
- Advanced construction methods
- Multiple color variations
- Sizing charts included
- Extensive customization options
- Direct designer support
- Commercial use rights
- Video tutorial access
Social Media Pattern Groups
Facebook groups dedicated to amigurumi regularly share free patterns. Members post their own designs and recommend favorites. The community atmosphere provides encouragement and troubleshooting help throughout your project.
Instagram hashtags like #crochet squirrel pattern and #squirrelamigurumi connect you with makers worldwide. Many designers preview upcoming patterns or offer limited-time free releases through Instagram stories.
Finished Squirrel Project Inspiration and Ideas
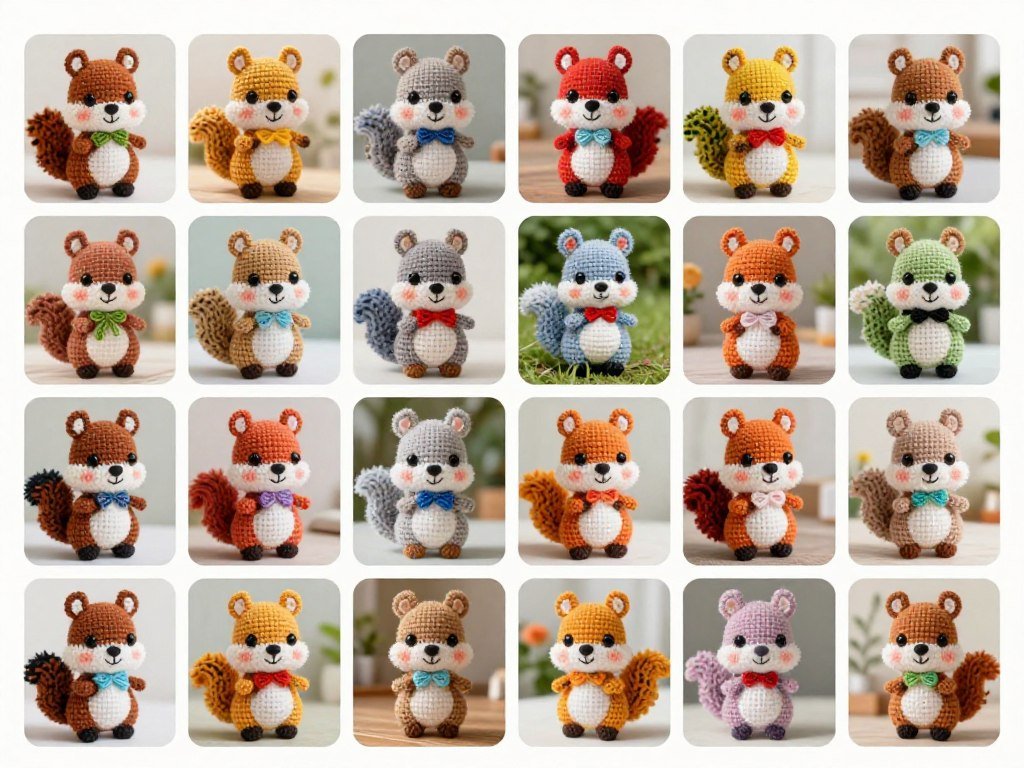
Seeing completed squirrel projects sparks creativity and motivates your own work. These inspiring examples showcase the versatility of squirrel patterns across different styles, sizes, and applications.
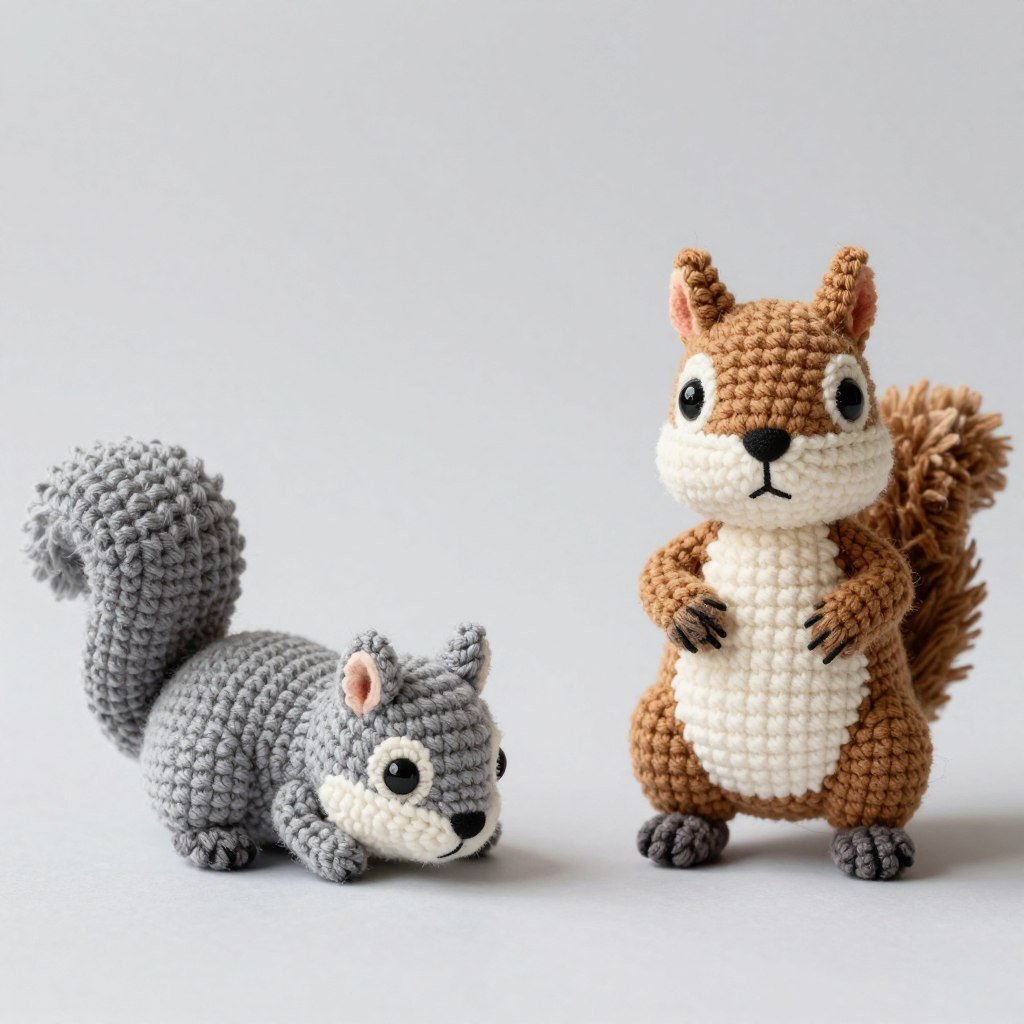
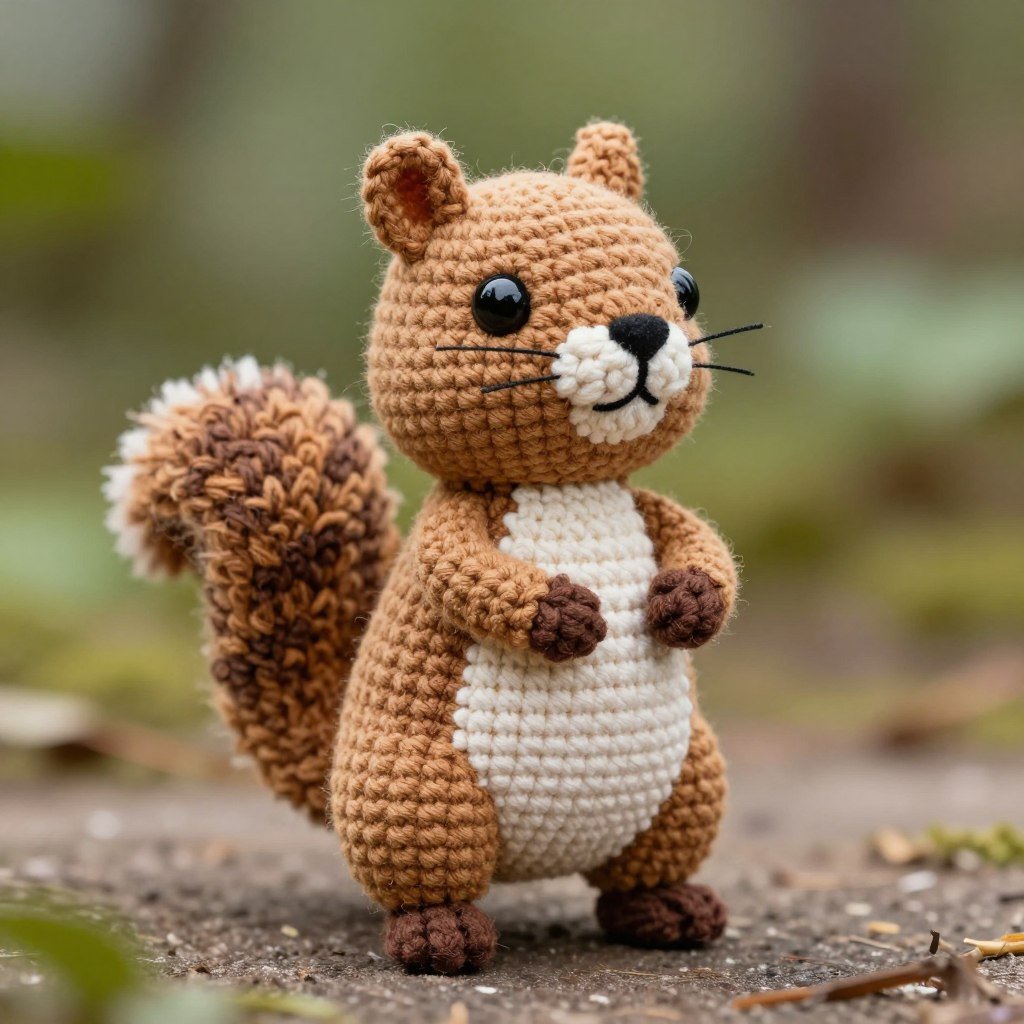
Classic Woodland Squirrel Collection
Seasonal Squirrel Variations
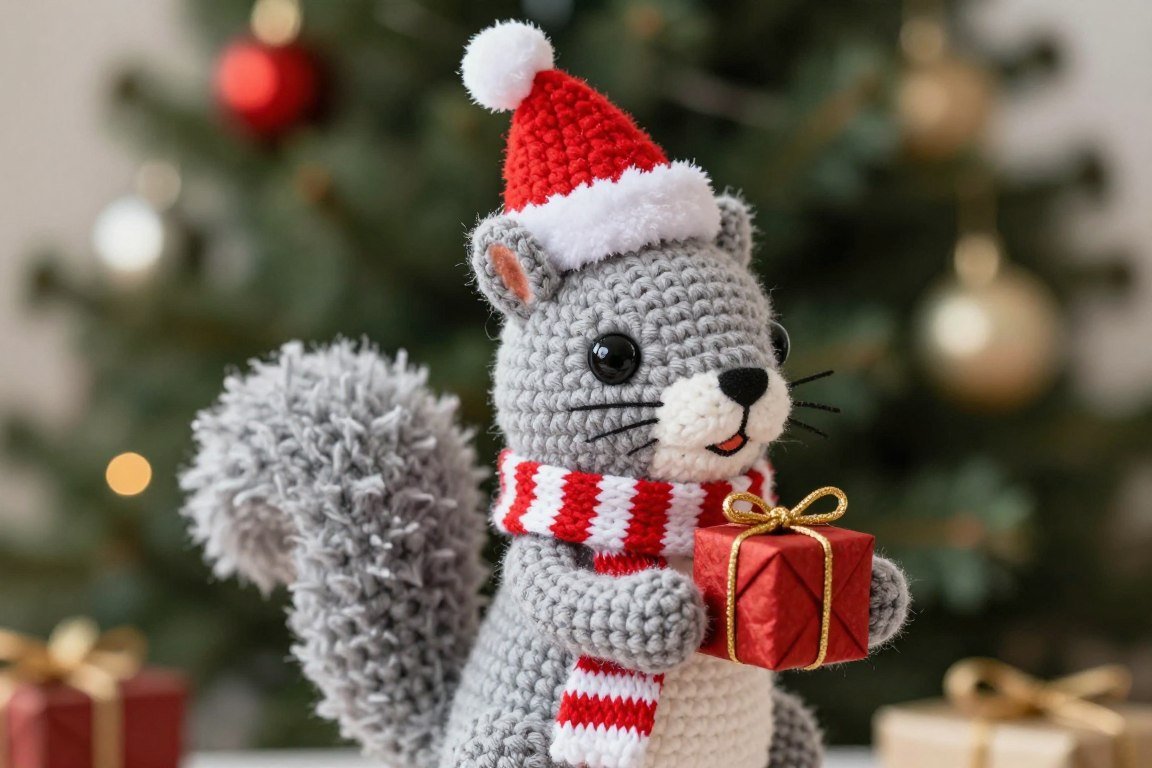
Transform basic squirrel patterns into seasonal decorations with simple modifications. Add tiny santa hats for Christmas ornaments. Create squirrels holding pumpkins for autumn displays. Spring squirrels can feature pastel colors and flower accessories.
Holiday Squirrel Ideas
- Valentine squirrels holding heart-shaped acorns
- Easter squirrels in pastel spring colors
- Halloween squirrels with tiny witch hats
- Thanksgiving squirrels surrounded by harvest bounty
- Winter squirrels with earmuffs and scarves
Functional Squirrel Projects
Squirrel patterns adapt beautifully into functional items beyond display pieces. These practical applications make thoughtful handmade gifts that recipients actually use.
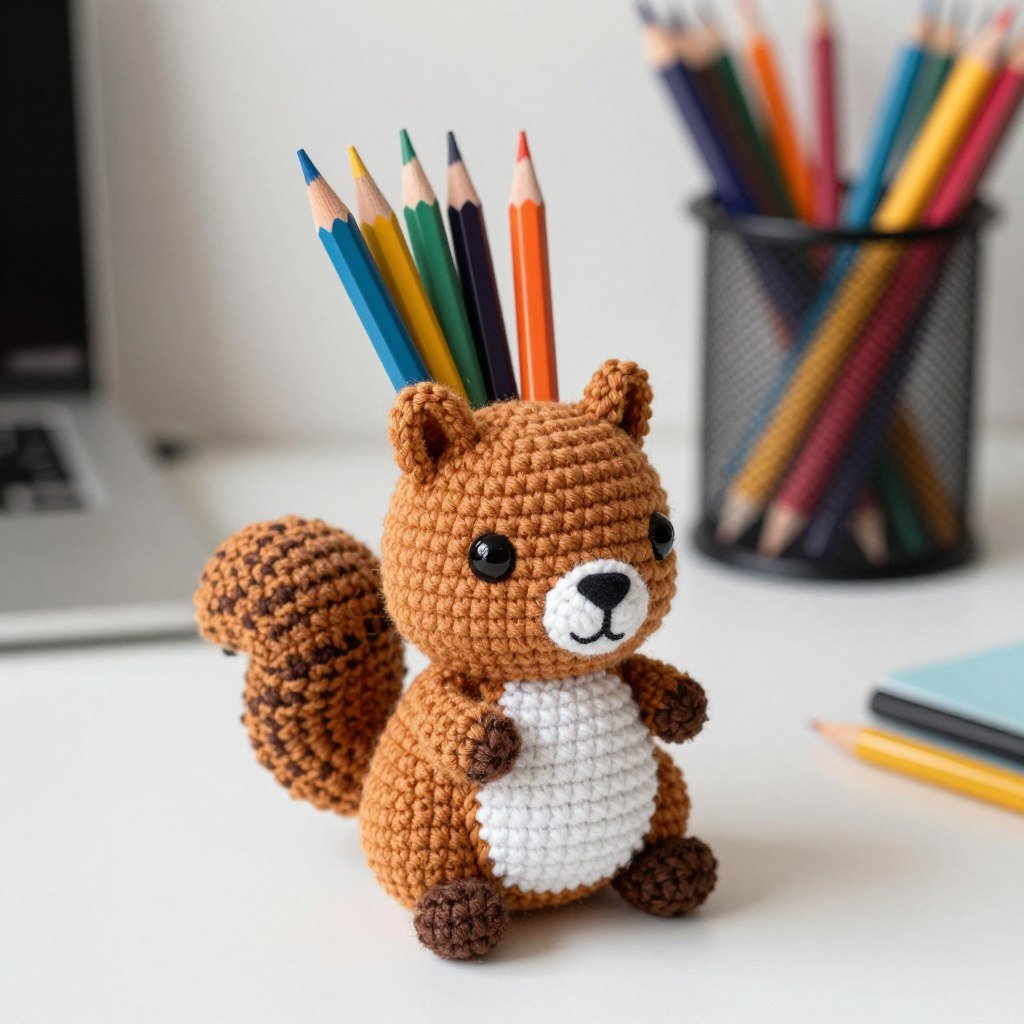
Squirrel Pencil Holder
Modify patterns to create hollow bodies that hold pens and pencils. Perfect for student desks or craft rooms. The tail curves around the back for stability and visual interest.
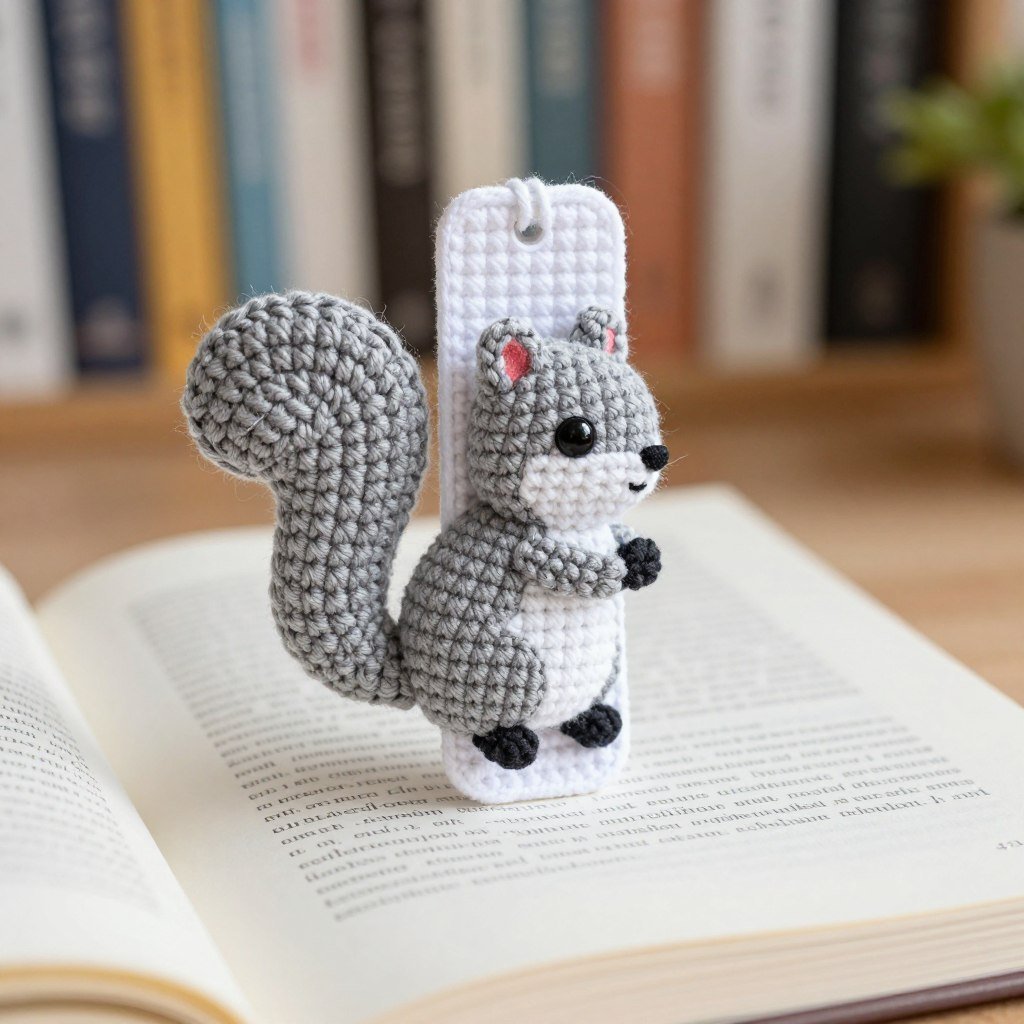
Squirrel Bookmark
Flatten the pattern for bookmark versions where the tail extends down the page. Add weight to the body portion so it stays in place when books close.
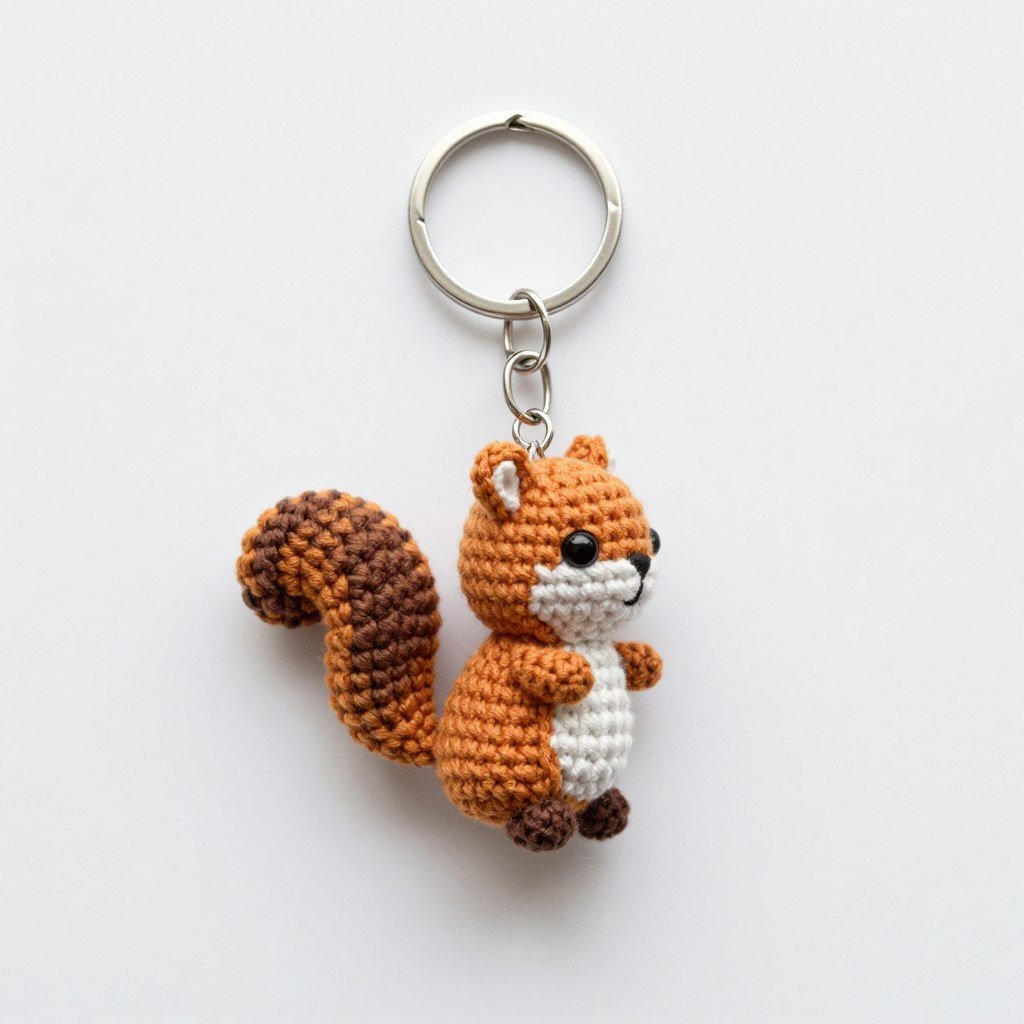
Squirrel Keychain
Create mini squirrels using thread and tiny steel hooks. Attach lobster clasp findings for adorable bag charms and keychains that showcase your skills everywhere.
Advanced Sculptural Squirrels
Expert crocheters push squirrel patterns into fine art territory. These museum-quality pieces incorporate advanced techniques that elevate craft into sculpture.

Wire armatures throughout the entire body allow infinite posing possibilities. Layer different yarn textures to mimic actual fur depth and variation. Add whiskers using invisible thread for ultimate realism.
Some artists create entire squirrel family vignettes showing parent and baby squirrels interacting. These narrative scenes tell stories through positioning and accessories. Display cases protect these heirloom pieces for generations.
“The difference between a craft and art lies in the intention behind each stitch. When you pour your creativity and skill into a crochet squirrel, you’re creating something that transcends simple toy-making. You’re crafting a connection between maker and observer that can last a lifetime.”
Expand Your Crochet Squirrel Pattern Library
Your squirrel crochet journey continues far beyond this guide. Joining our community connects you with fellow enthusiasts, ongoing pattern releases, and exclusive tutorials that sharpen your skills month after month.
What You’ll Receive
- Instant access to 10 exclusive squirrel patterns unavailable anywhere else
- Weekly tutorial emails featuring new techniques and tips
- Monthly pattern releases delivered directly to your inbox
- Members-only discount codes for yarn and supplies
- Private Facebook group access for pattern support
- Seasonal pattern bundles four times yearly
- Video masterclass library covering advanced squirrel techniques
Pattern Preview: What’s Included
- Realistic Red Squirrel with Color Shading
- Miniature Squirrel Family Set (Parent + 3 Babies)
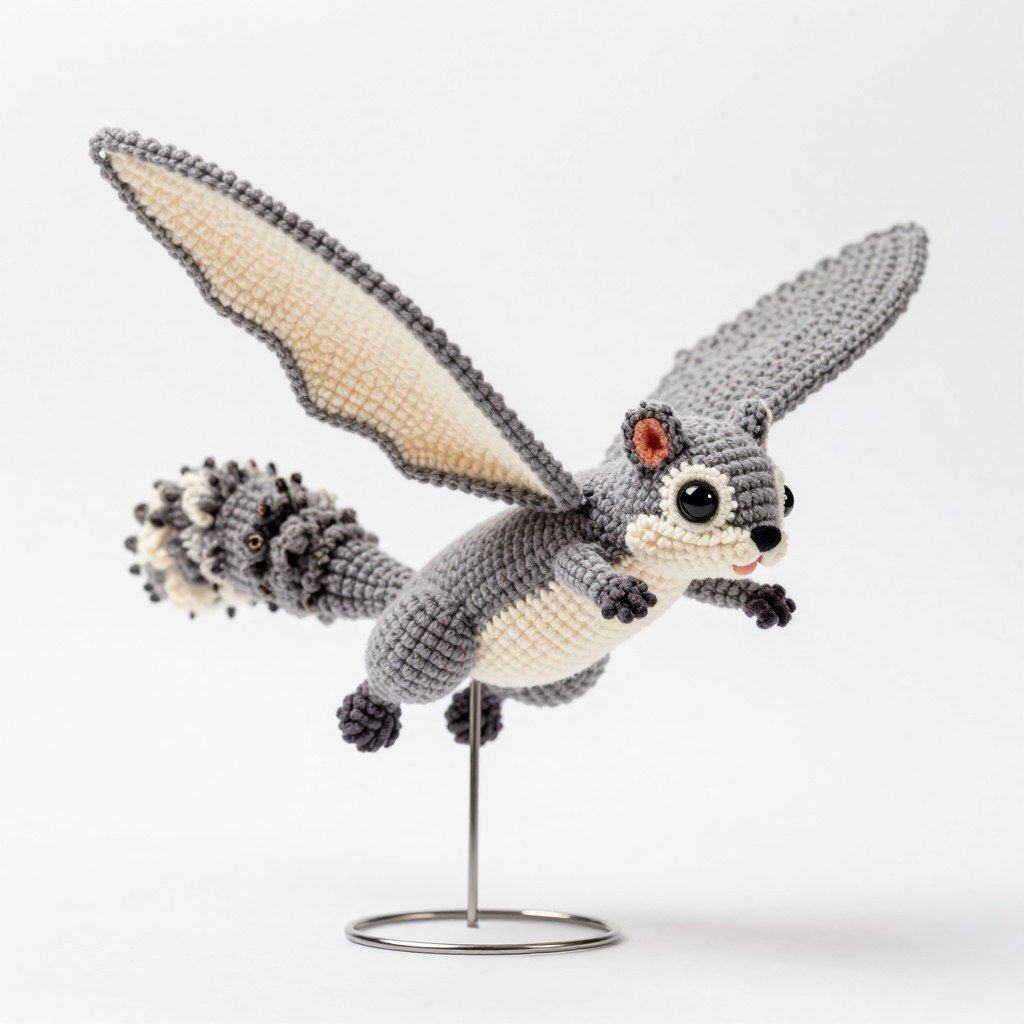
- Flying Squirrel with Extended Glide Membrane
- Chipmunk Cousin Pattern Collection
- Squirrel Accessories Pack (Acorns, Leaves, Mushrooms)
- Winter Squirrel with Removable Scarf & Hat
- Ground Squirrel Standing Pose Pattern
- Squirrel Mobile for Baby Nursery
- Bookmark Squirrel Flat Design
- Giant Squirrel Floor Pillow Pattern

Start Your Squirrel Crochet Adventure Today
Creating crochet squirrels brings immense satisfaction whether you’re crafting your first amigurumi or your hundredth. These charming woodland creatures offer endless opportunities for skill development and creative expression. From simple beginner patterns to complex sculptural designs, there’s a perfect squirrel project waiting for every crocheter.
Remember that every expert started exactly where you are now. Your first squirrel might have imperfections, but each stitch teaches valuable lessons. Keep your hook moving, stay patient with yourself, and enjoy the meditative rhythm of creating something beautiful by hand.
The squirrel patterns and techniques covered in this guide provide everything needed to begin crafting today. Choose a pattern that matches your current skill level, gather your materials, and take that first exciting stitch. Your adorable squirrel friend awaits creation through your talented hands.
Happy crocheting, and may your yarn stash overflow with possibilities for many woodland creatures to come!