
Creating a stunning deco mesh wreath transforms any front door into a welcoming statement piece. This timeless craft project combines creativity with simple techniques that anyone can master.
Whether you want seasonal decorations or year-round beauty, mesh wreaths offer endless possibilities. The best part is that you need minimal crafting experience to achieve professional-looking results.
This guide walks you through every step of the wreath-making process. You will learn exactly what materials to buy, which techniques work best, and how to avoid common beginner mistakes.
Table of Contents
Essential Materials and Tools You Need
Gathering the right supplies before you start makes the entire process smoother. Quality materials create wreaths that last for years rather than just one season.
The core supplies remain consistent across most mesh wreath projects. However, decoration choices let you customize the final look to match your personal style.
Wire Wreath Form Options
The foundation of every mesh wreath starts with a sturdy wire frame. Most crafters prefer working with frames that have multiple wire rings.
Standard sizes range from ten to eighteen inches in diameter. Beginners should start with a fourteen-inch wire wreath form for easier handling.
Single Wire Frames
- Best for lightweight decorations
- Budget-friendly option
- Limited mesh attachment points
- Works well for simple designs
Multi-Ring Wire Forms
- Provides more attachment stability
- Creates fuller finished wreaths
- Easier for beginners to work with
- Holds heavier decorations securely
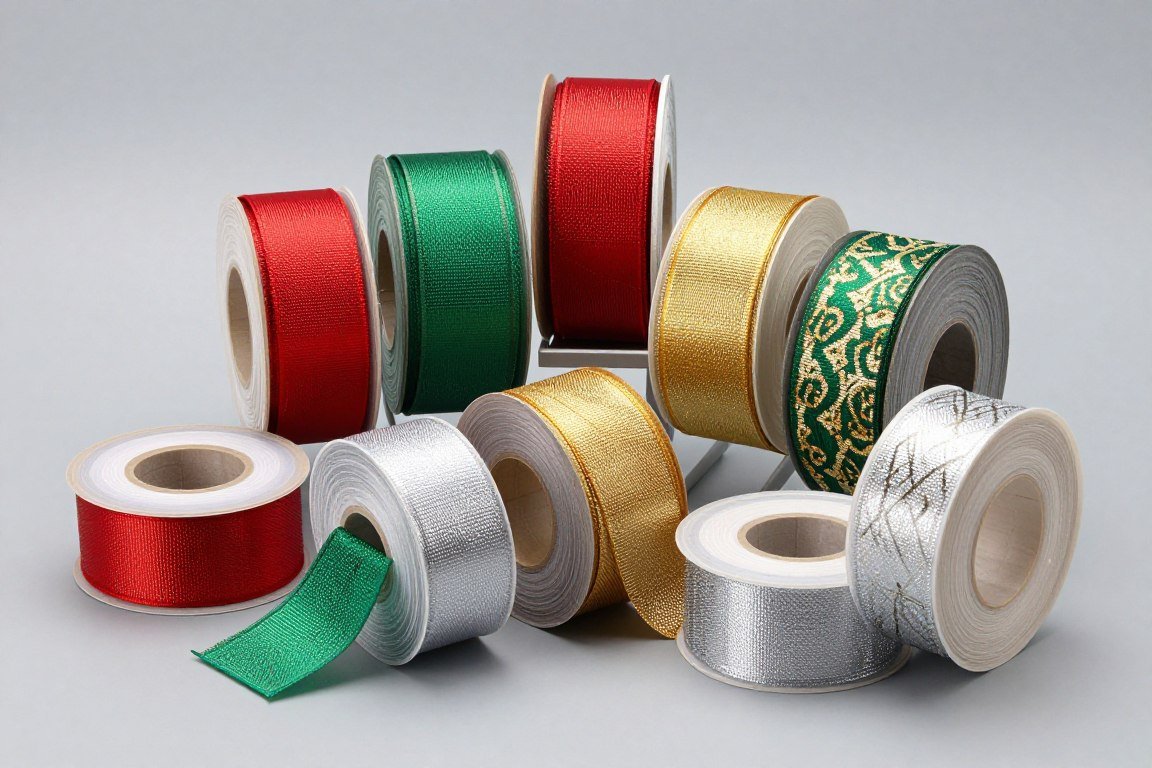
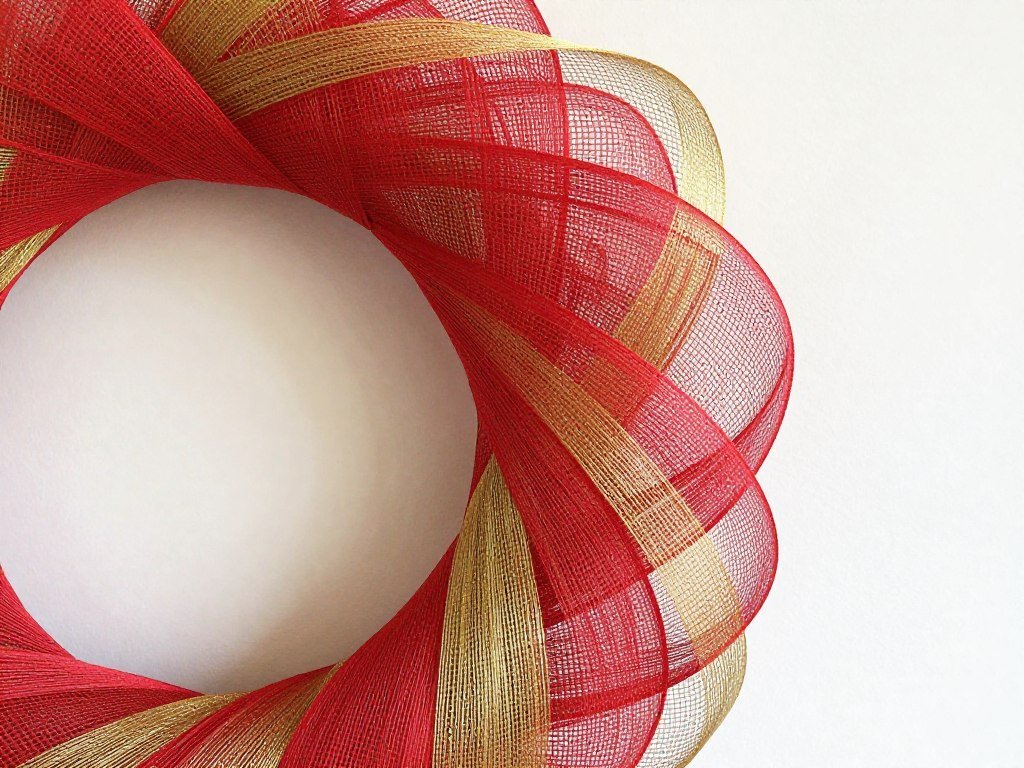
Deco Mesh Ribbon Selection
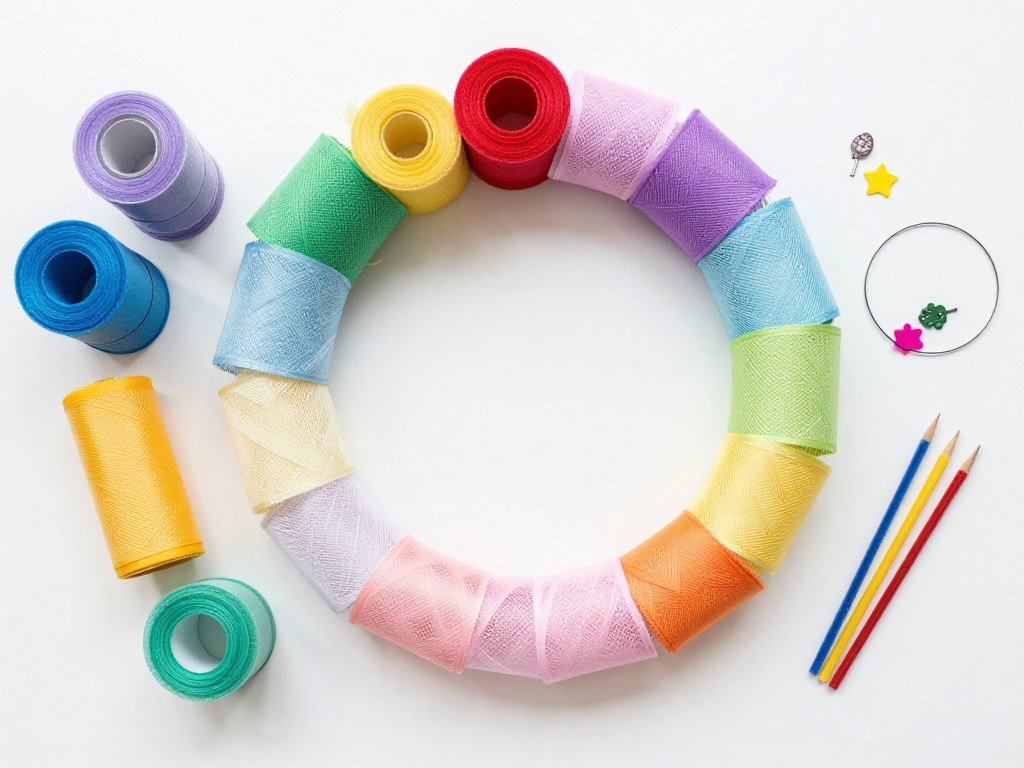
Deco mesh comes in an incredible variety of colors, patterns, and widths. The material features a flexible, net-like texture that holds its shape beautifully.
Standard mesh ribbon measures ten inches wide and comes on rolls of ten yards. Metallic mesh adds sparkle, while matte finishes create elegant, understated looks.
Poly Deco Mesh
This standard mesh works perfectly for most wreath projects. The material holds curls and loops without sagging over time.
- Available in hundreds of colors
- Weather-resistant for outdoor use
- Easy to work with for beginners
Metallic Deco Mesh
Metallic varieties add eye-catching shimmer to your wreaths. These work especially well for holiday and celebration themes.
- Reflects light beautifully
- Perfect for festive occasions
- Slightly higher price point
Printed Pattern Mesh
Printed mesh features patterns like stripes, polka dots, or seasonal designs. These add visual interest without extra embellishments.
- Reduces need for added ribbons
- Creates unique finished looks
- Combines well with solid colors
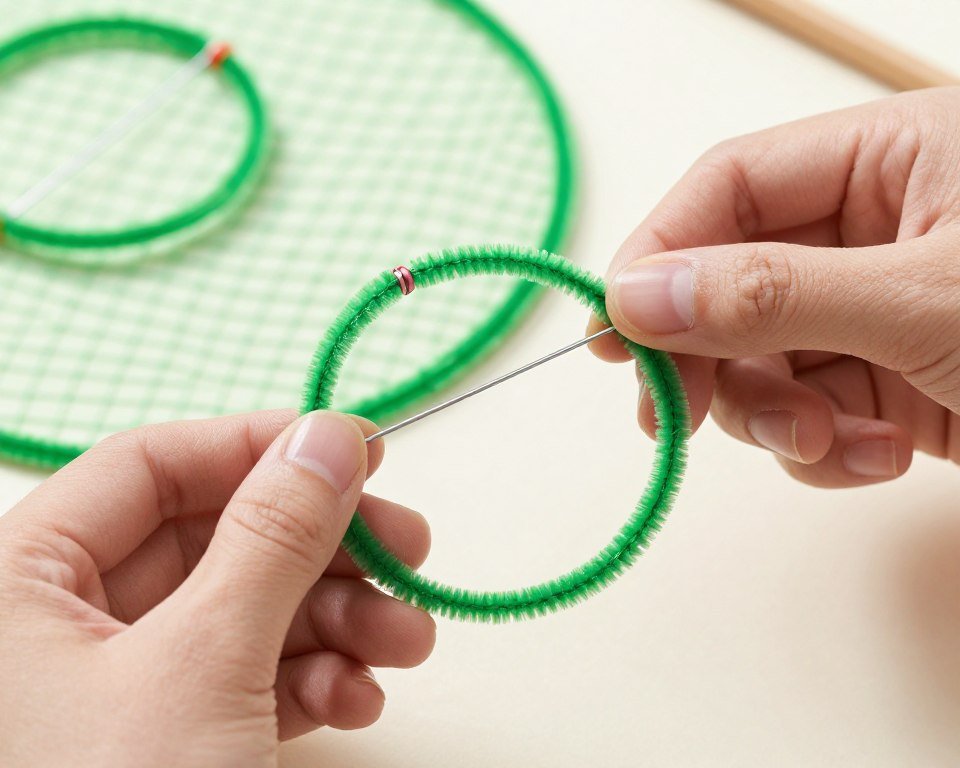
Pipe Cleaners and Attachment Tools
Pipe cleaners serve as the primary method for securing mesh to your wreath frame. These flexible wire stems wrapped in chenille work perfectly for this craft project.
Most projects require approximately thirty to forty pipe cleaners. Choose colors that match your mesh or go with neutral options that blend in.
Complementary Ribbon and Embellishments
Adding wired ribbon creates beautiful bows and accents. The wire edges help ribbons hold their shape alongside the deco mesh.
Floral picks, signs, and seasonal decorations personalize your wreath. These elements attach easily with hot glue or additional pipe cleaners.
| Supply Category | Quantity Needed | Estimated Cost | Where to Buy |
| Wire Wreath Form | 1 frame (14-16 inch) | $3-$8 | Hobby Lobby, Michaels |
| Deco Mesh Rolls | 3-4 rolls (10 yards each) | $15-$30 | Craft stores, Amazon |
| Pipe Cleaners | 30-40 pieces | $3-$5 | Dollar stores, craft stores |
| Wired Ribbon | 2-3 spools | $8-$15 | Hobby Lobby, Joann |
| Decorative Picks | 3-5 pieces | $10-$20 | Seasonal craft sections |
| Hot Glue Gun | 1 tool + glue sticks | $5-$12 | Hardware stores, Amazon |
Optional but Helpful Tools
Wire cutters make trimming pipe cleaners cleaner and easier. Sharp scissors designed for fabric work best when cutting deco mesh.
A hot glue gun helps attach embellishments that pipe cleaners cannot secure. Keep extra glue sticks on hand for larger projects.
Step-by-Step Wreath Assembly Instructions
The actual construction process follows a simple, repeatable pattern. Once you learn the basic method, you can create wreaths in any style or color combination.
Most beginners complete their first mesh wreath in two to three hours. With practice, assembly time drops to under an hour.

Preparing Your Workspace
Clear a large flat surface like a dining table or craft desk. Good lighting prevents eye strain during detailed work.
Lay out all your supplies within easy reach. Unroll your mesh ribbons slightly to check colors together before starting.
- Cover your work surface with a tablecloth or craft paper
- Organize pipe cleaners in a container for quick access
- Cut several pipe cleaners in half if using the smaller loop method
- Pre-cut initial mesh pieces to test your preferred length
- Have trash bags ready for trimming scraps
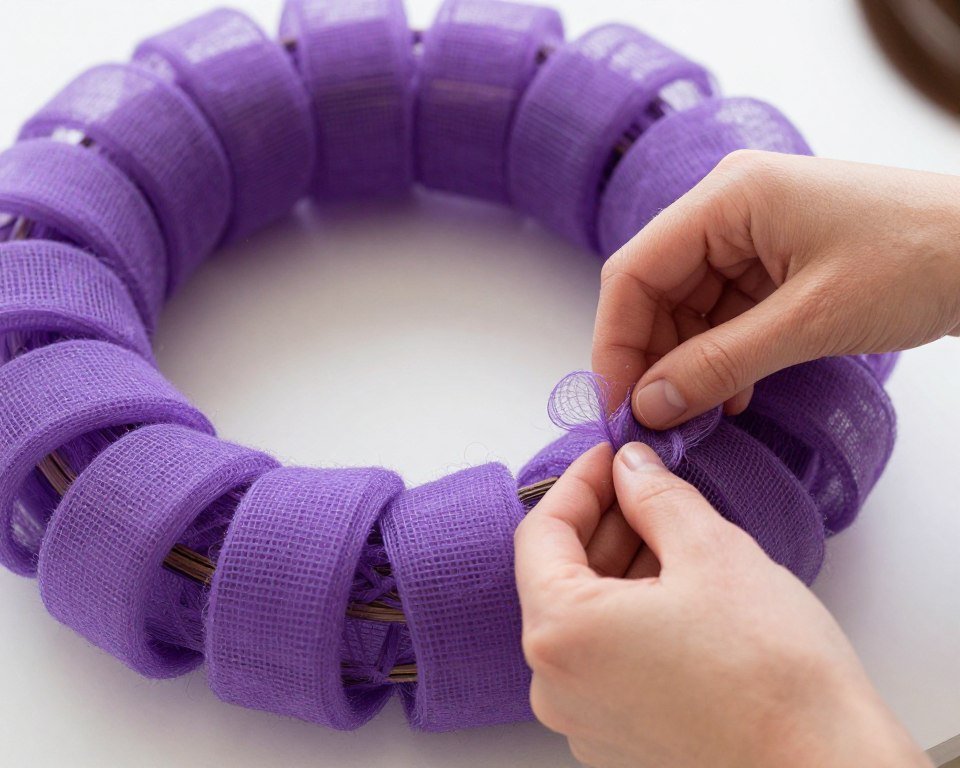
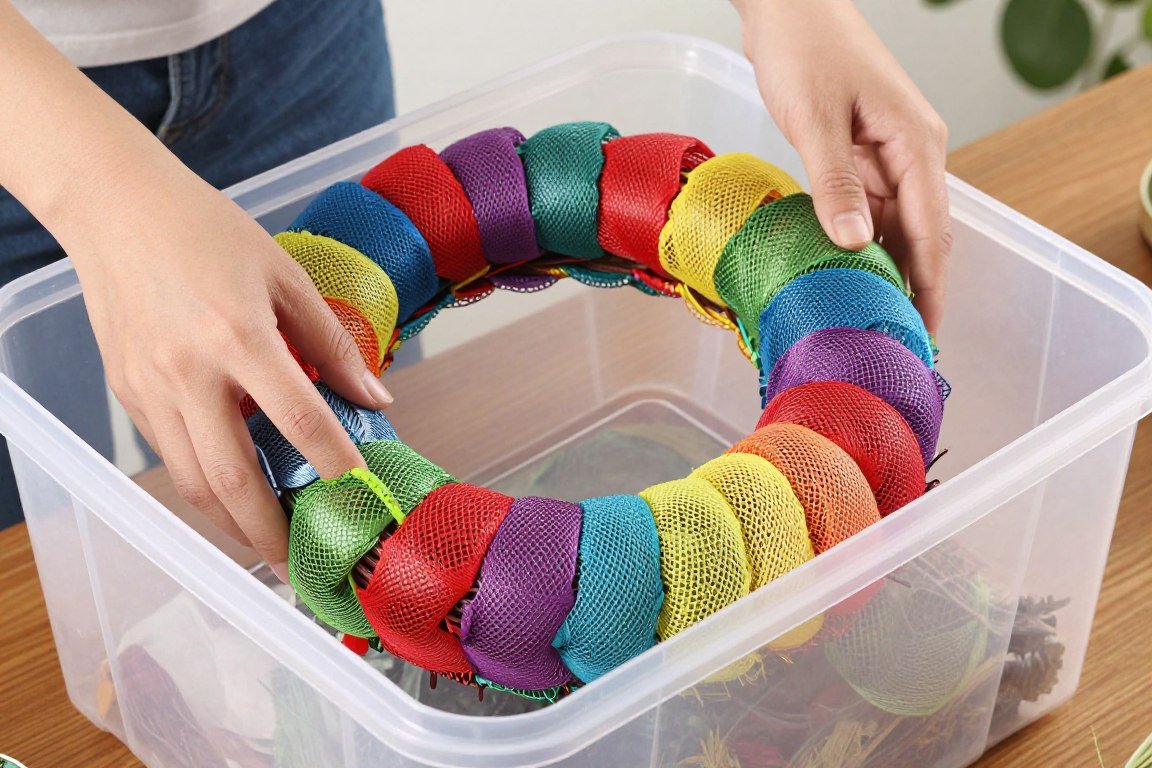
Creating Your First Mesh Loop
The fundamental building block of mesh wreaths is the gathered loop. This technique creates the full, fluffy appearance that makes these wreaths so attractive.
Start by unrolling about eight to ten inches of deco mesh from your first roll. The exact length determines how full each loop appears.

- Pull out your desired length of mesh without cutting it from the roll
- Pinch the middle of the mesh section between your thumb and forefinger
- Gather the mesh at this pinch point to create two equal tails
- Hold the gathered middle against your wreath frame wire
- Take a pipe cleaner and wrap it around both the mesh and frame
- Twist the pipe cleaner ends together tightly on the back of the frame
- Trim excess pipe cleaner length with wire cutters if needed
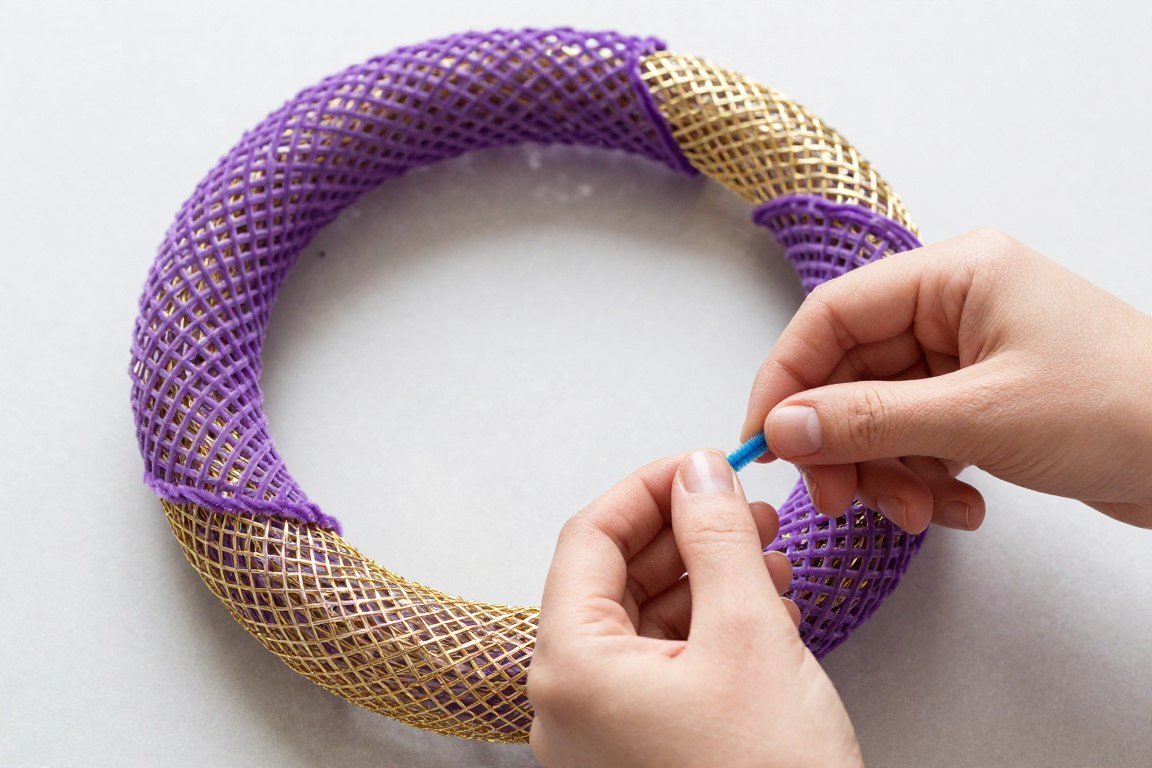
Building Out the Full Wreath
Continue adding loops around the entire wire wreath form. Work in one consistent direction to maintain even coverage.
Space your loops close together for a fuller look. Leaving gaps creates a lighter, more airy wreath style.
Spacing Guidelines
The distance between each mesh loop affects your final look dramatically. Fuller wreaths need loops placed closely together.
- Traditional full style: loops touching or slightly overlapping
- Medium coverage: one inch between loop centers
- Airy style: two inches between attachment points
- Mixed spacing creates visual texture and depth
Working with Multiple Colors
Most striking mesh wreaths incorporate two or three complementary colors. Alternating colors creates beautiful patterns and visual interest.
Attach one loop of your first color, then one loop of your second color. This alternating pattern continues around the entire wreath frame.
- Choose colors that complement rather than clash
- Maintain consistent loop sizes across all colors
- Alternate colors in a predictable pattern
- Use metallics as accent colors rather than primaries
- Add a third color sparingly for subtle variation

Filling Remaining Gaps
After completing your primary loop pattern, inspect the wreath for thin spots. These gaps often appear where loops spread apart during assembly.
Create smaller loops to fill these spaces. Tuck these fill pieces between existing loops for seamless coverage.
Pro Tip: Take photos of your wreath during assembly from different angles. This helps you spot gaps and uneven areas that are hard to see while working up close.
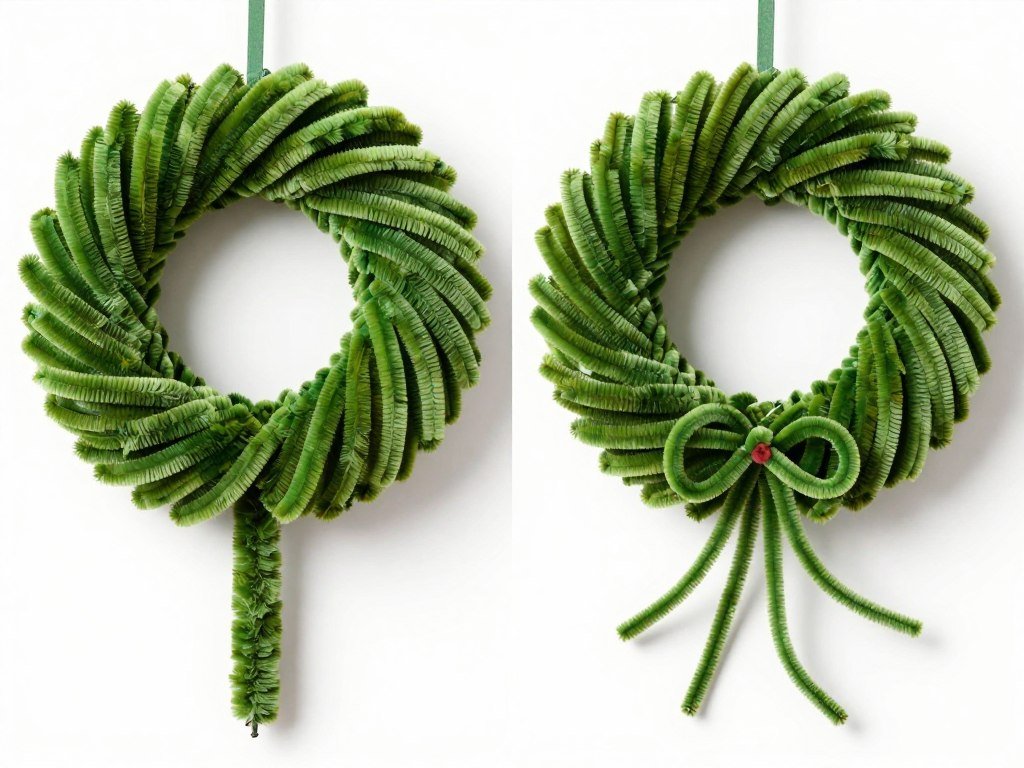
Adding Ribbons and Decorative Elements
The base mesh wreath provides your canvas for creative embellishments. This stage lets your personality and style shine through.
Wired ribbon creates structure and serves as a focal point. Floral elements and picks add dimension and seasonal character.

Creating the Perfect Bow
A classic bow serves as the traditional centerpiece for deco mesh wreaths. The wired edges in craft ribbon make bow-making much easier than regular fabric.
Cut approximately two yards of ribbon for a standard six-inch bow. Longer ribbon creates larger, more dramatic bows.
- Create a center loop by bringing the ribbon ends together
- Make two or three loops on each side of varying sizes
- Pinch all loops together in the middle
- Secure the middle with a pipe cleaner or thin wire
- Trim the ribbon tails at an angle to prevent fraying
- Fluff and adjust each loop until the bow looks balanced
- Attach the bow to your wreath using hot glue or wire
Placement of Decorative Picks
Floral picks, signs, and themed decorations personalize your wreath design. These elements should enhance rather than overwhelm the mesh base.
Most wreaths look best with three to five strategically placed decorations. Odd numbers create more visually pleasing arrangements.
Seasonal Florals
Artificial flowers and foliage match your wreath to holidays or seasons. These picks push directly into the mesh layers.

Wooden Signs
Small wooden or metal signs add messages to your wreaths. Attach these with hot glue for permanent placement.
Ornamental Accents
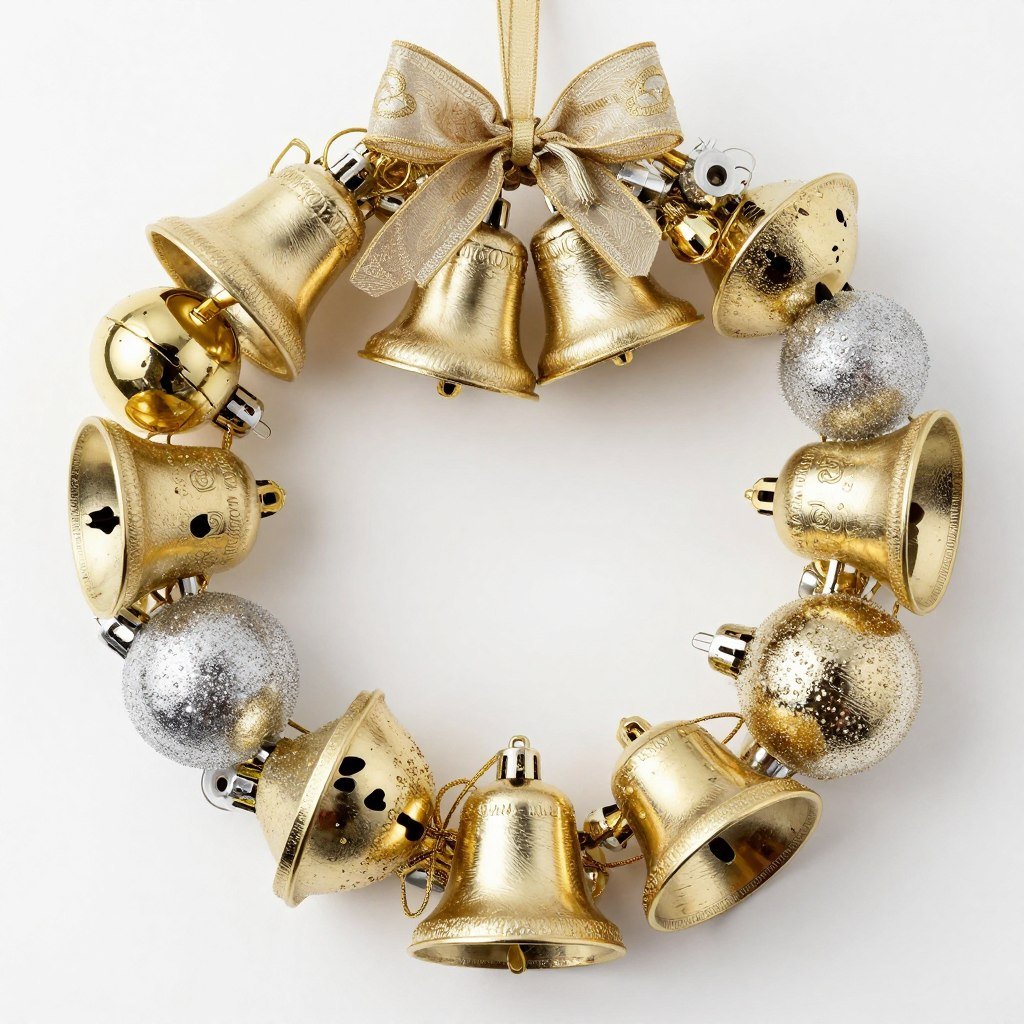
Bells, ornaments, and baubles catch light and add movement. Wire or glue these around the wreath perimeter.
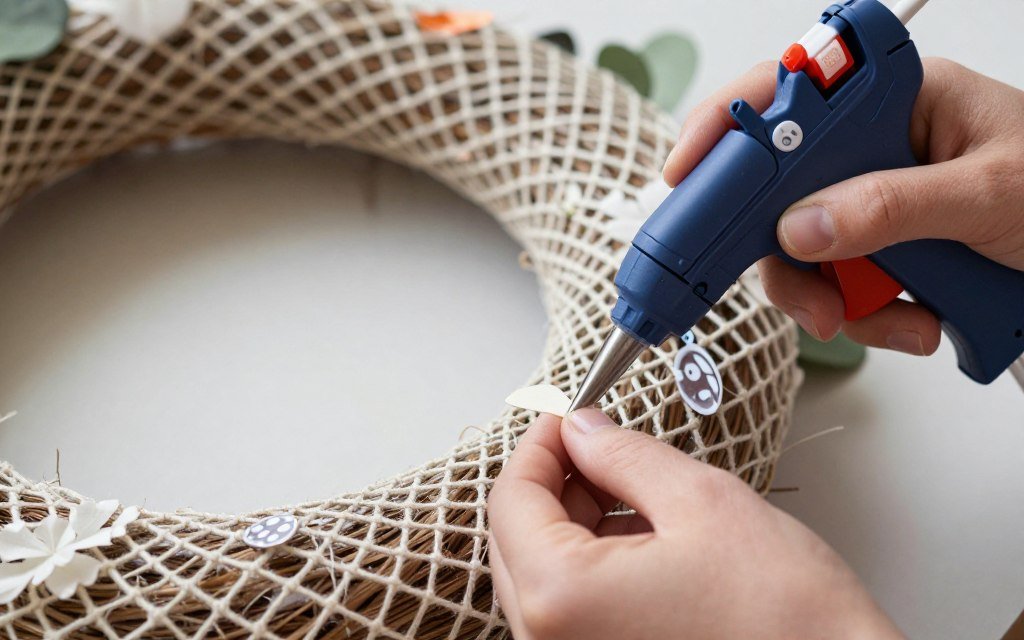
Securing Embellishments Properly
Hot glue works best for attaching flat-backed items like signs or large flowers. The glue dries quickly and holds firmly through various weather conditions.
Pipe cleaners secure items with stems or wire attachments. Thread the pipe cleaner through the mesh and around the wreath frame for maximum hold.
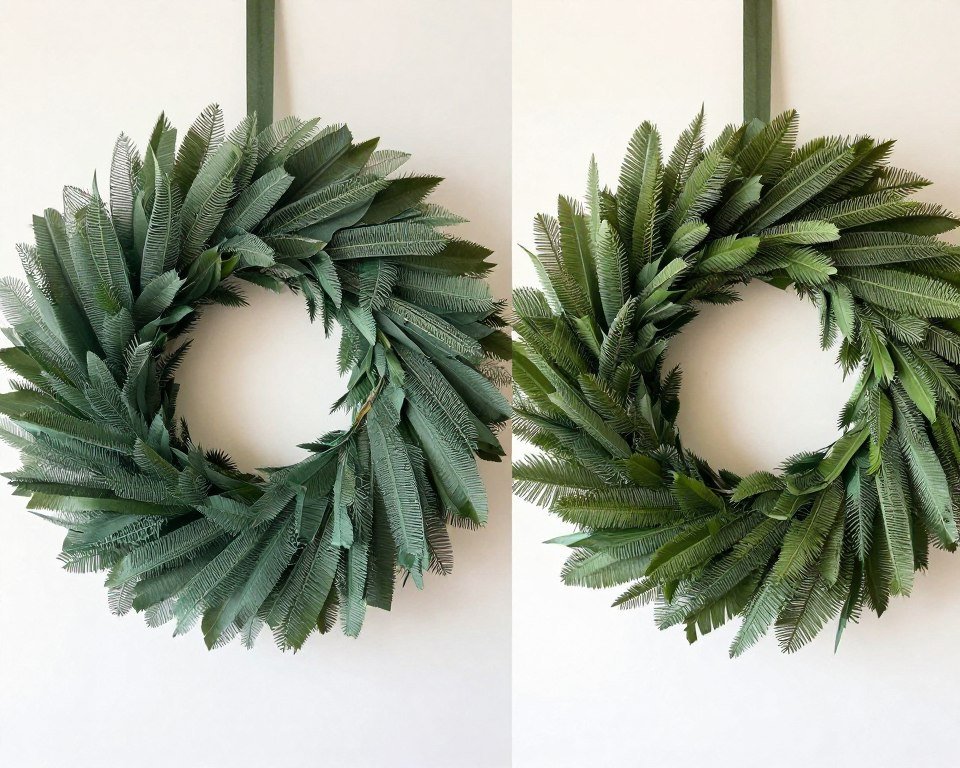
Creative Design Ideas and Variations
Once you master the basic technique, endless creative possibilities open up. Different mesh arrangement methods create completely unique looks.
Experimenting with various styles helps you find your personal wreath-making signature. Each method uses the same supplies but produces distinct results.

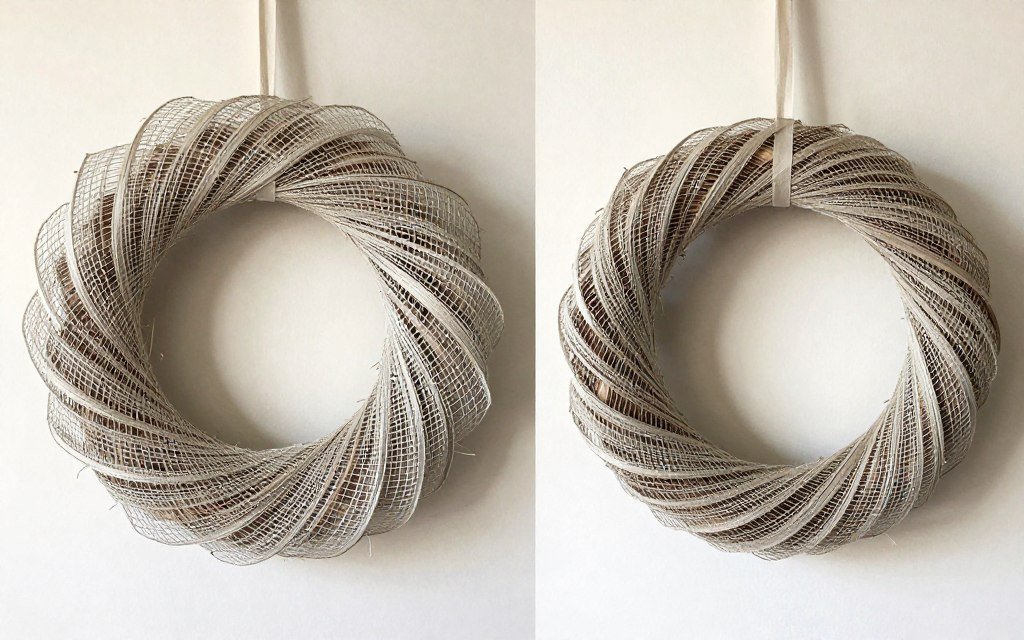
The Spiral Method
The spiral technique creates elegant, flowing lines around your wreath. This method works beautifully with just one or two colors.
Instead of individual loops, you weave one continuous length of mesh around the frame. The result resembles a colorful ribbon candy.
- Start with mesh still attached to the roll
- Twist the mesh once to create a curl
- Attach the curl to the frame with a pipe cleaner
- Move a few inches and create another twist
- Continue twisting and attaching around the entire frame
- Maintain consistent spacing between each attachment point
Ruffled Edge Technique
This variation creates soft, billowy edges that add romantic elegance. The method requires slightly more mesh but produces stunning results.
You create larger loops and gather them more tightly at the attachment point. This extra gathering makes the mesh edges ruffle outward.
Color Combination Ideas
Selecting harmonious colors elevates your wreath from homemade to designer quality.
- Classic Christmas: red, green, and gold metallics
- Elegant autumn: burgundy, orange, and cream
- Spring fresh: pink, yellow, and white combinations
- Patriotic: red, white, and blue mesh ribbons
Seasonal Theme Suggestions
Match your wreath to holidays and seasons with thoughtful theme selection.
- Halloween: black and orange with spider embellishments
- Valentine’s Day: red and pink with heart picks
- Easter: pastel mesh with egg and bunny decorations
- Fourth of July: stars, stripes, and patriotic ribbons
Year-Round Neutrals
Create versatile wreaths that work with any season or home decor style.
- Burlap and cream for farmhouse aesthetics
- Silver and white for modern elegance
- Natural browns with greenery for rustic looks
- Navy and white for coastal cottage themes
Monochromatic Elegance
Using shades of one color creates sophisticated, cohesive designs.
- Multiple blue tones from navy to powder
- Purple gradients from lavender to deep plum
- Green variations from sage to emerald
- Metallic layers in bronze, copper, and gold
Double Layer Wreath Construction
Advanced crafters often create depth by building two layers of mesh loops. The back layer uses longer loops while shorter loops form the front.
This technique requires more materials but creates incredibly full, professional-looking wreaths. The depth adds visual interest from every angle.
Professional Tips and Expert Techniques
Small adjustments in technique separate amateur-looking wreaths from professional-quality creations. These insider tips come from experienced wreath makers.
Attention to detail during construction saves time and frustration. Proper techniques also ensure your finished wreath lasts for years.
Achieving Fuller, More Professional Loops
The fullness of your mesh loops directly impacts the finished look. Thin, flat loops make wreaths appear homemade rather than handcrafted.
After attaching each loop, gently pull and fluff the mesh outward. This simple step adds significant volume and dimension.
Working with Deco Mesh: Deco mesh naturally wants to curl and twist. Instead of fighting this characteristic, work with it by letting the mesh curl slightly as you create each loop. These natural curls add beautiful texture to your finished wreath.
Managing Mesh While Working
Deco mesh can become tangled or twisted during assembly. Keeping your work organized prevents these frustrating issues.
Work with one mesh roll at a time rather than pre-cutting all pieces. This approach gives you flexibility to adjust loop sizes as needed.
- Keep unused rolls on a dowel or paper towel holder to prevent tangling
- Smooth out wrinkles before attaching each piece to the frame
- Let the mesh unroll naturally rather than forcing it flat
- Work in good lighting to see mesh texture clearly
- Take breaks every twenty minutes to maintain quality focus
Troubleshooting Common Construction Issues
Even experienced crafters encounter challenges during wreath assembly. Knowing how to fix problems saves your project from the scrap pile.
Most issues involve spacing, tension, or color balance. These problems are easily correctable if you catch them early.
| Problem | Cause | Solution |
| Wreath looks flat and thin | Loops spaced too far apart | Add filler loops between existing ones |
| Mesh edges stick together | Static electricity buildup | Spray lightly with water or anti-static spray |
| Loops falling or sagging | Pipe cleaners twisted too loosely | Reinforce loose loops with additional pipe cleaners |
| Colors look muddy together | Too many competing colors | Remove one color and redistribute remaining mesh |
| Bare spots visible on wreath | Inconsistent loop placement | Fill gaps with smaller loops in matching colors |
Tools That Make the Process Easier
While mesh wreaths require minimal tools, certain items improve your efficiency and results. These investments pay off if you plan to make multiple wreaths.
Quality wire cutters create clean pipe cleaner cuts without frayed edges. A dependable hot glue gun maintains consistent temperature for secure attachments.
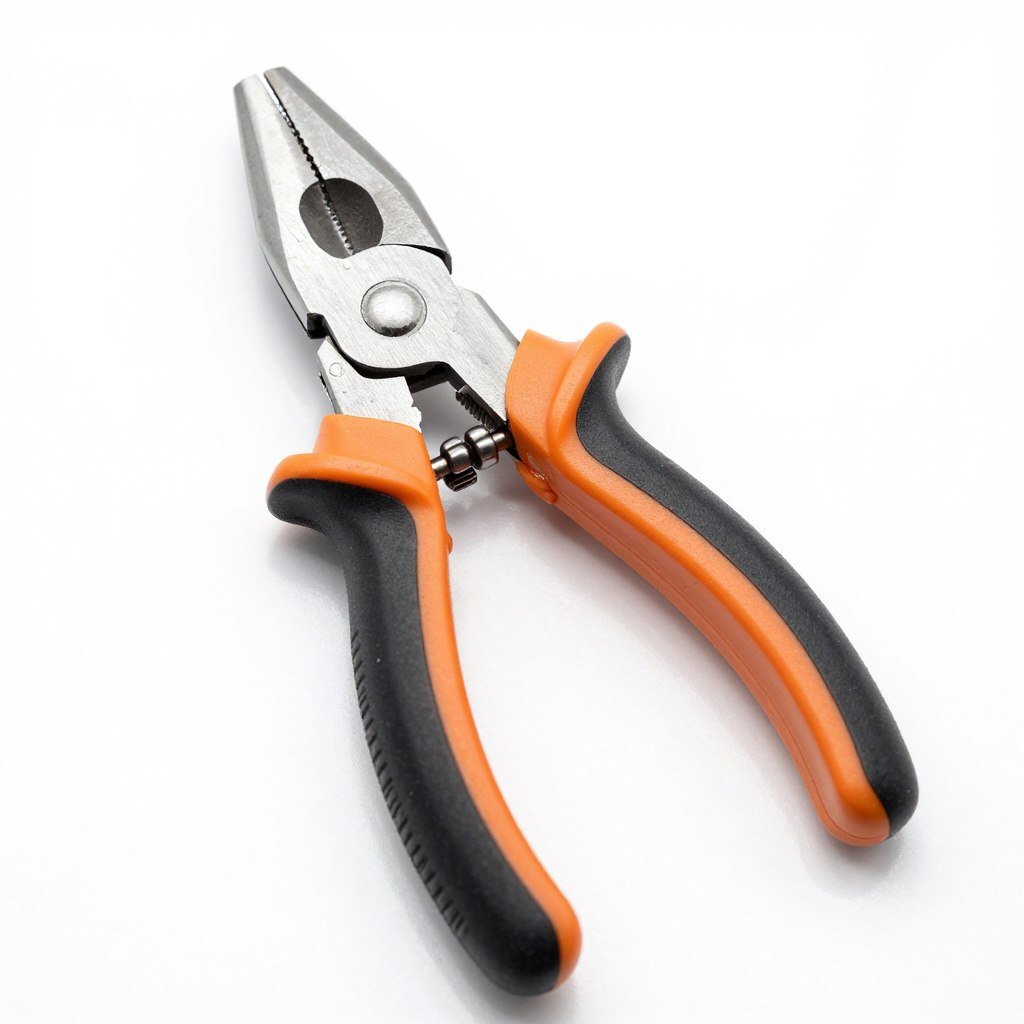
Wire Cutters
Sharp cutters slice through pipe cleaners and wire cleanly. Precision cuts create neater finished backs on your wreaths.
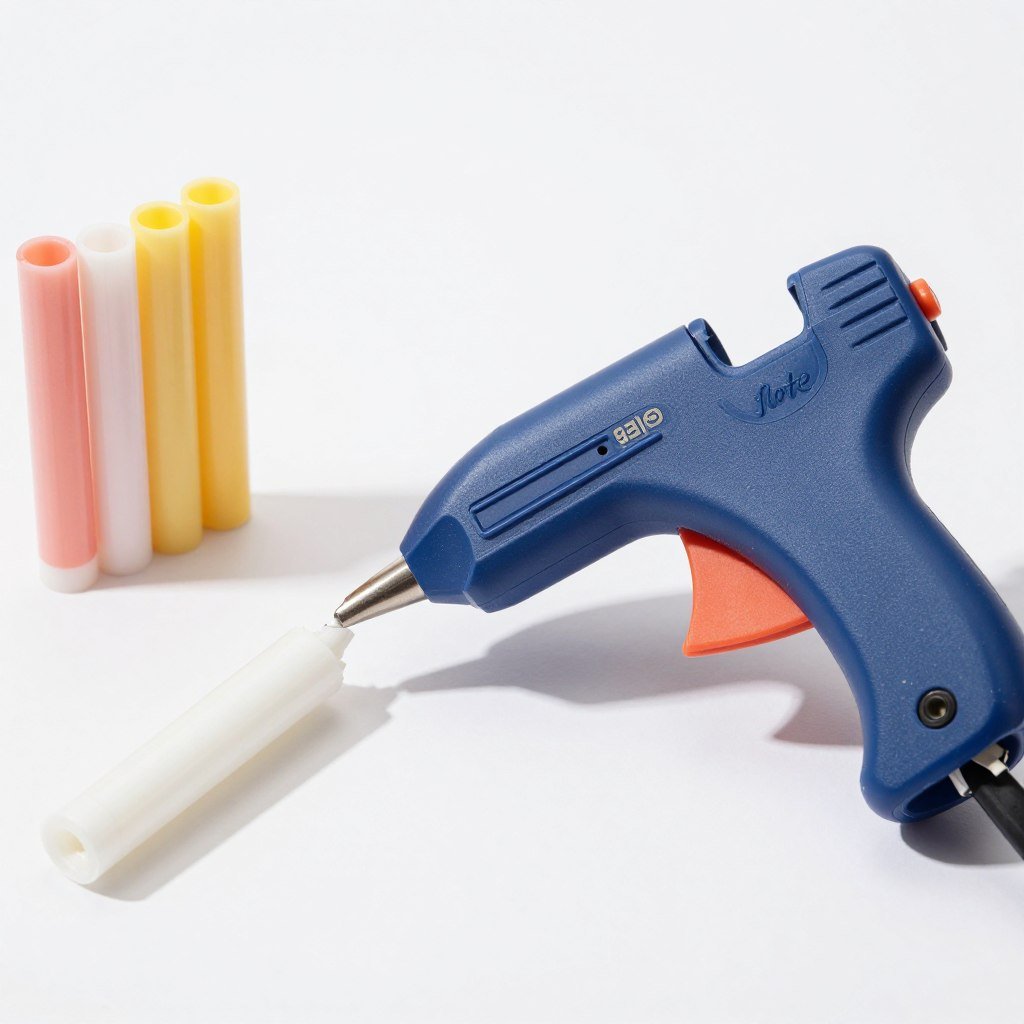
Hot Glue Gun
High-temperature glue guns provide strongest bonds for outdoor wreaths. Quick-heat models save waiting time between projects.
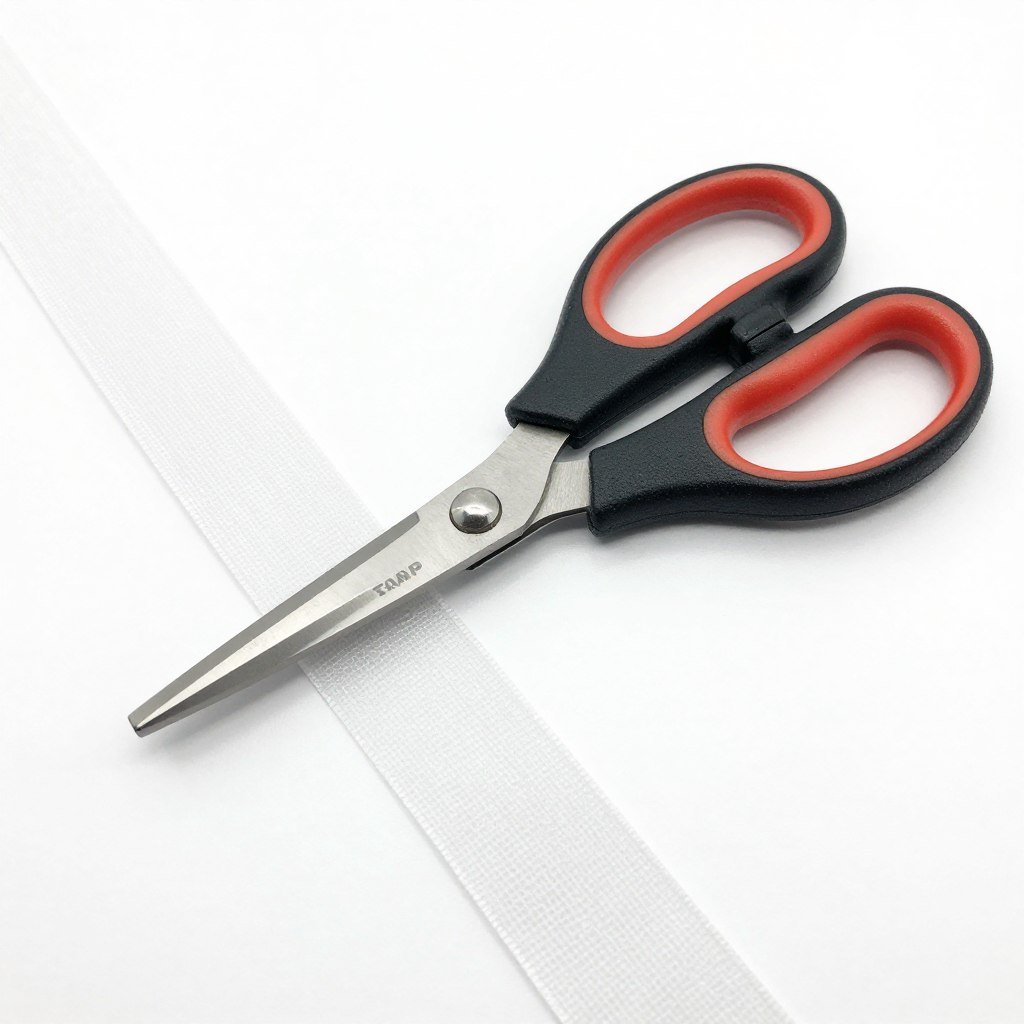
Fabric Scissors
Dedicated fabric scissors keep edges clean when trimming mesh and ribbon. Sharper blades prevent mesh from snagging or tearing.
Care and Maintenance for Long-Lasting Wreaths
Properly maintained deco mesh wreaths last for multiple seasons. These decorations represent time and money investments worth protecting.
Storage methods and cleaning techniques determine how well your wreaths survive between display periods. Simple precautions prevent damage and fading.
Protecting Outdoor Wreaths from Weather
Deco mesh handles outdoor conditions better than many craft materials. However, prolonged exposure to harsh elements causes deterioration.
Direct sunlight fades colors over time, especially bright reds and purples. Positioning wreaths under covered porches extends their lifespan significantly.
- Spray wreaths with UV-protectant fabric spray before hanging outdoors
- Bring wreaths inside during severe weather events
- Choose covered locations that block direct rain and snow
- Rotate wreaths between indoor and outdoor use
- Select fade-resistant mesh colors for permanent outdoor display
Cleaning Your Mesh Wreath
Dust and pollen accumulate on mesh surfaces over time. Regular cleaning maintains vibrant appearance and extends wreath life.
Gentle cleaning methods prevent damage to delicate mesh and attached decorations. Never machine wash or submerge wreaths completely.
- Remove loose dust with a soft brush or feather duster
- Shake the wreath gently outdoors to dislodge debris
- Use compressed air to blow dust from tight spaces
- Spot-clean stains with damp cloth and mild soap
- Allow wreaths to air dry completely before storing
Proper Storage Between Seasons
Storage containers protect wreaths from crushing, dust, and pests. The right storage approach keeps wreaths looking fresh year after year.
Large plastic storage containers work better than boxes because they prevent compression. Clear containers let you identify contents without opening them.
Storage Warning: Never store deco mesh wreaths in hot attics or damp basements. Extreme temperatures can melt adhesives, while moisture encourages mold growth on natural embellishments like burlap or wood.
Refreshing and Repairing Older Wreaths
Wreaths naturally lose some fullness after storage and repeated hanging. Simple refresh techniques restore their original beauty.
Fluffing compressed mesh and replacing worn decorations takes just minutes. These small efforts make old wreaths look brand new.
Quick Refresh Steps
- Remove the wreath from storage carefully
- Shake gently to restore mesh shape
- Fluff each loop individually by hand
- Replace any damaged or faded decorative elements
- Add new ribbon or picks for updated looks
- Secure any loose pipe cleaners
- Update colors by adding new mesh layers
Common Mistakes to Avoid
Learning from others’ mistakes saves you time, materials, and frustration. New wreath makers often encounter the same pitfalls.
Understanding these common errors before starting your project sets you up for success. Prevention proves much easier than correction.
Using Too Little Mesh
The most frequent beginner mistake involves underestimating mesh quantity. Skimpy wreaths lack the lush, full appearance that makes deco mesh wreaths attractive.
Purchase more rolls than you think necessary. Extra mesh lets you fill gaps and create fuller loops without running short mid-project.
Signs You Used Enough Mesh
- Frame barely visible through loops
- Wreath looks full from all angles
- No thin or bare patches
- Loops overlap slightly
- Finished wreath feels substantial
Signs You Need More Mesh
- Wire frame shows through easily
- Wreath looks different from various angles
- Visible gaps between loops
- Flat appearance overall
- Finished wreath feels lightweight
Inconsistent Loop Sizing
Random loop sizes create chaotic, unbalanced wreaths. While some size variation adds interest, dramatic differences look unintentional.
Measure your first few loops to establish a consistent size. After creating several loops, your hands naturally replicate the measurement.
Choosing Incompatible Color Combinations
Color selection makes or breaks wreath aesthetics. Colors that clash create visual confusion rather than harmony.
Test color combinations by placing mesh rolls next to each other before purchasing. Natural and artificial light both affect how colors interact.
- Limit wreaths to three colors maximum for cohesive looks
- Use one dominant color with two accent colors
- Choose colors from the same temperature family
- Consider where the wreath hangs when selecting colors
- Reference color wheels for harmonious combinations
Over-Decorating the Base
Enthusiastic crafters sometimes add too many embellishments. Overcrowded wreaths lose focus and appear cluttered rather than festive.
The mesh itself serves as the primary decoration. Embellishments should accent rather than compete with the mesh base.
Decoration Rule: If removing an element makes your wreath look better, it was unnecessary. Start with fewer decorations and add more only if the wreath needs additional interest.
Neglecting the Wreath Back
Many beginners forget that wreath backs often show through glass doors or windows. Messy backs with exposed pipe cleaners look unfinished.
Trim pipe cleaner ends close to twists for neater backs. Consider adding a backing circle of felt or fabric for wreaths displayed against glass.
Budget-Friendly Tips for Wreath Making
Creating beautiful wreaths does not require expensive supplies. Smart shopping and strategic planning keep costs manageable.
The craft industry offers sales and discounts throughout the year. Timing purchases around these sales dramatically reduces project costs.
Best Times to Buy Supplies
Craft stores run predictable sales cycles that savvy shoppers exploit. Planning purchases around these sales cuts supply costs by half or more.
Hobby Lobby offers fifty percent discounts on different categories each week. Michaels provides similar rotating sales and accepts competitor coupons.
Seasonal Clearance Strategy
Buy seasonal supplies immediately after holidays end. Stores deeply discount themed items to make room for new inventory.
- Purchase Christmas supplies in January
- Stock up on autumn items in November
- Buy spring decorations after Easter
- Grab patriotic supplies after July Fourth
Off-Season Planning
Make wreaths for upcoming holidays months in advance using clearance supplies from the previous year.
- Create next year’s Christmas wreaths in January
- Build Halloween projects in November
- Assemble Easter wreaths in May
- Design patriotic pieces in August
Stretching Your Mesh Further
Mesh consumption directly impacts project costs. Techniques that use less mesh while maintaining fullness save significant money.
Creating slightly smaller loops reduces mesh usage without noticeably affecting finished appearance. The difference becomes invisible once the wreath is complete.
- Make loops seven inches instead of ten inches long
- Use the spiral method which requires less total mesh
- Mix expensive metallic mesh with cheaper solid colors
- Purchase solid colors from dollar stores when possible
- Save leftover mesh scraps for small filler loops
Reusing Frames and Materials
Wire wreath forms last indefinitely with proper care. Disassemble old wreaths to reuse frames for new seasonal designs.
Gently cut pipe cleaners to remove old mesh. The frame remains perfectly usable for your next project.
Material Reuse: Many decorative elements work across multiple seasons. Burlap ribbon, wooden signs, and neutral picks transition easily from one wreath to another. Store these versatile items separately for future projects.
Taking Your Skills to the Next Level
Once you master basic wreaths, advanced techniques open new creative possibilities. These projects challenge your skills while producing stunning results.
Advanced wreaths often combine multiple methods or incorporate unusual materials. The complexity creates one-of-a-kind statement pieces.

Mixed Media Wreath Designs
Combining deco mesh with other materials creates unique textural contrasts. Burlap, tulle, and fabric ribbons complement mesh beautifully.
These mixed-material wreaths require more planning but offer unlimited design potential. Each material adds distinct visual and tactile qualities.
Mesh and Burlap
Rustic burlap grounds bright mesh colors. This combination works perfectly for farmhouse and autumn themes.
- Use burlap for base layers
- Add mesh as accent pops
- Incorporate natural elements
Mesh and Tulle
Delicate tulle adds romantic softness to structured mesh. Ideal for weddings and spring celebrations.
- Layer tulle under mesh loops
- Create ethereal, flowing effects
- Perfect for pastel color schemes
Mesh and Fabric
Patterned fabric ribbons introduce prints impossible with mesh alone. This technique expands design options significantly.
- Choose coordinating fabric patterns
- Mix textures for dimension
- Balance solid and printed elements
Creating Shaped Wreaths
Wreath forms come in shapes beyond traditional circles. Hearts, stars, and squares offer fresh alternatives for special occasions.
The same attachment techniques work on shaped forms. However, corners and points require special attention to maintain fullness.
Selling Your Handmade Wreaths
Many crafters turn wreath-making into profitable side businesses. Handmade wreaths sell well at craft fairs, online marketplaces, and through social media.
Calculate costs carefully to ensure profitable pricing. Factor in materials, time, and platform fees when setting prices.
Start Creating Your Beautiful Deco Mesh Wreath Today
Deco mesh wreath making combines creativity with accessible techniques anyone can master. The projects require minimal investment while delivering impressive decorative results.
Your first wreath might take a few hours to complete. However, each subsequent project becomes faster as your skills develop naturally.

Gather your supplies and choose colors that excite you. The most rewarding wreaths reflect your personal style and creative vision.
Remember that practice improves results dramatically. Your fifth wreath will look significantly better than your first, and that progression represents part of the craft’s appeal.
Start with simple color combinations and basic techniques. As confidence builds, experiment with advanced methods and mixed materials.
The skills you develop through wreath making transfer to other craft projects. Many successful crafters credit mesh wreaths as their gateway into broader DIY pursuits.
Most importantly, enjoy the creative process itself. The satisfaction of hanging your handmade wreath makes every loop and twist worthwhile.